Cloudflare
Learn how to integrate Cloudflare with Strapi

Why Use Cloudflare?
Cloudflare's global network caches your content closer to each visitor, reducing latency and speeding up load times. This applies not just to your static assets but also to Strapi's REST API with CDN, which ensures rapid data delivery for both static assets and API responses.
By combining Cloudflare's capabilities with Strapi's open-source capabilities, your users get a smoother experience, and you save on bandwidth costs. Plus, during heavy traffic or server issues, Cloudflare helps keep your site online. Whether you're managing Strapi for editorial content or complex data structures, integrating these technologies enhances both performance and security.
For more details, check out Cloudflare's official documentation.
Why Use Strapi?
Strapi is the leading open-source headless CMS offering features, like customizable APIs, role-based permissions, multilingual support, etc. It simplifies content management and integrates effortlessly with modern frontend frameworks.
Explore the Strapi documentation for more details.
Strapi 5 Highlights
The out-of-the-box Strapi features allow you to get up and running in no time:
- Single types: Create one-off pages that have a unique content structure.
- Draft and Publish: Reduce the risk of publishing errors and streamline collaboration.
- 100% TypeScript Support: Enjoy type safety & easy maintainability
- Customizable API: With Strapi, you can just hop in your code editor and edit the code to fit your API to your needs.
- Integrations: Strapi supports integrations with Cloudinary, SendGrid, Algolia, and others.
- Editor interface: The editor allows you to pull in dynamic blocks of content.
- Authentication: Secure and authorize access to your API with JWT or providers.
- RBAC: Help maximize operational efficiency, reduce dev team support work, and safeguard against unauthorized access or configuration modifications.
- i18n: Manage content in multiple languages. Easily query the different locales through the API.
- Plugins: Customize and extend Strapi using plugins.
Learn more about Strapi 5 feature.
Setup Strapi 5 Headless CMS
We are going to start by setting up our Strapi 5 project with the following command:
🖐️ Note: make sure that you have created a new directory for your project.
You can find the full documentation for Strapi 5 here.
Install Strapi
npx create-strapi-app@latest serverYou will be asked to choose if you would like to use Strapi Cloud we will choose to skip for now.
 Strapi   v5.6.0 🚀 Let's create your new project

...

? Please log in or sign up.
  Login/Sign up
❯ Skip
After that, you will be asked how you would like to set up your project. We will choose the following options:
? Do you want to use the default database (sqlite) ? Yes
? Start with an example structure & data? Yes <-- make sure you say yes
? Start with Typescript? Yes
? Install dependencies with npm? Yes
? Initialize a git repository? Yes
Once everything is set up and all the dependencies are installed, you can start your Strapi server with the following command:
cd server
npm run develop
You will be greeted with the Admin Create Account screen.
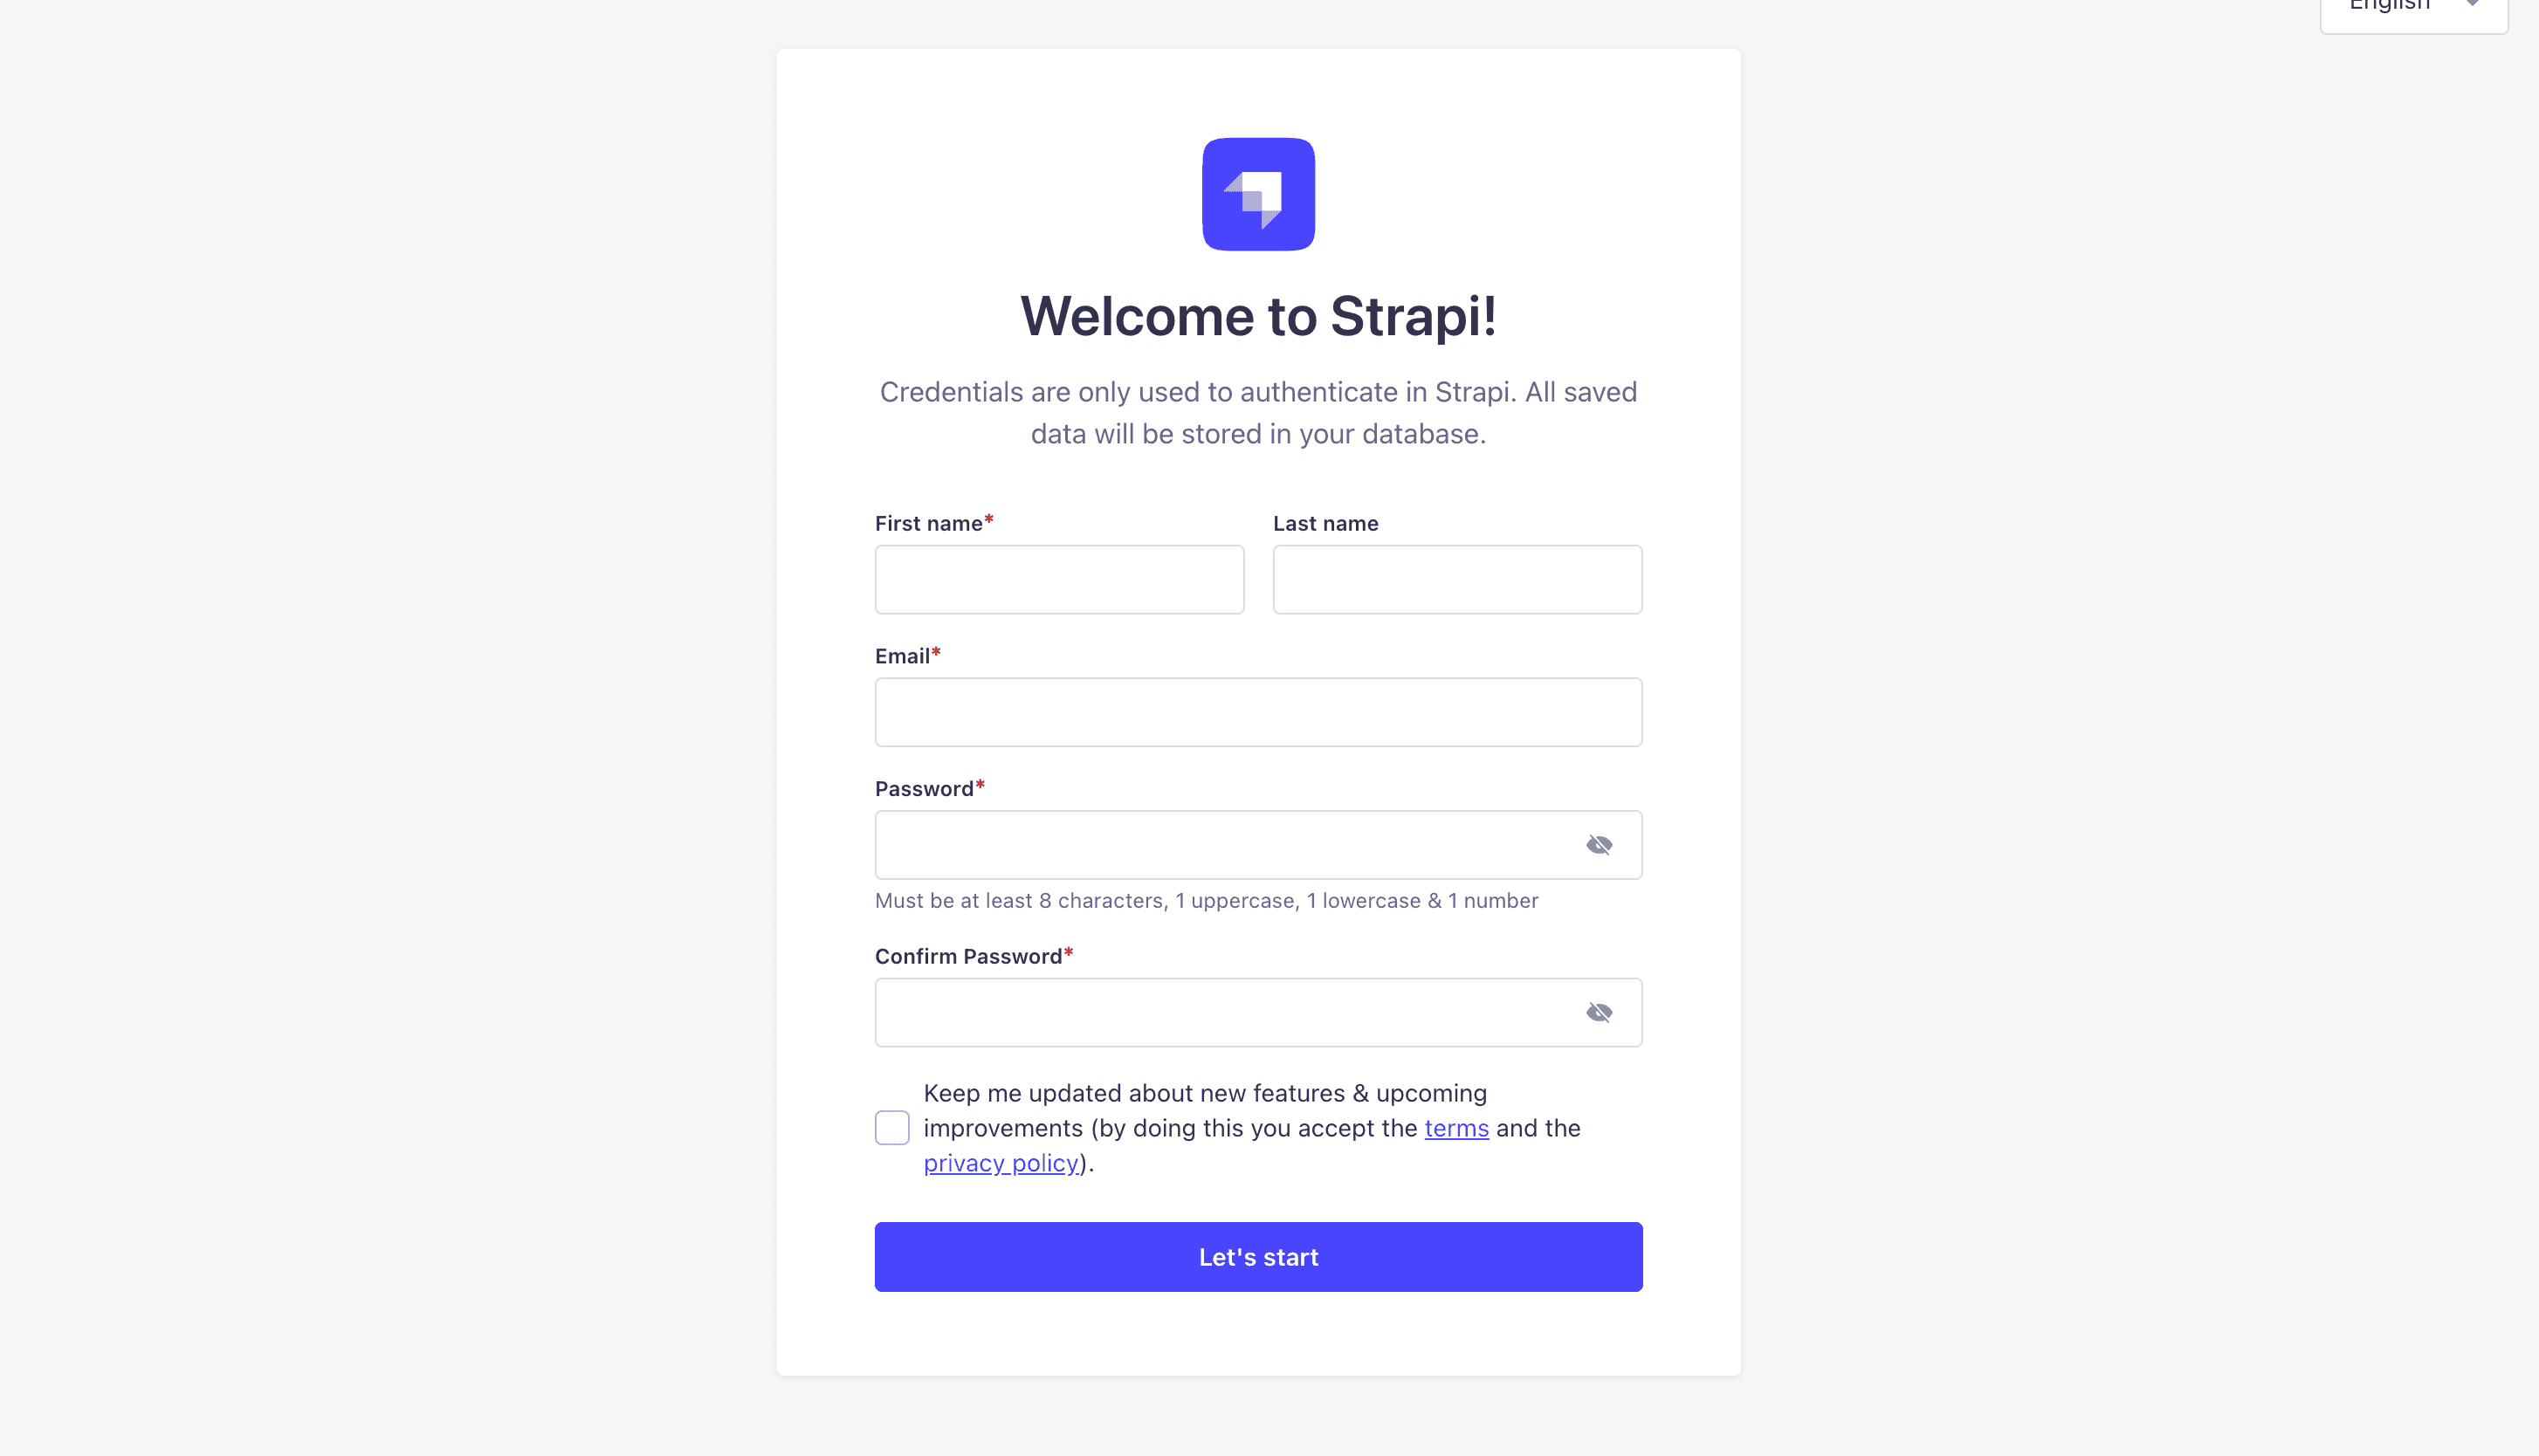
Go ahead and create your first Strapi user. All of this is local so you can use whatever you want.
Once you have created your user, you will be redirected to the Strapi Dashboard screen.

Publish Article Entries
Since we created our app with the example data, you should be able to navigate to your Article collection and see the data that was created for us.
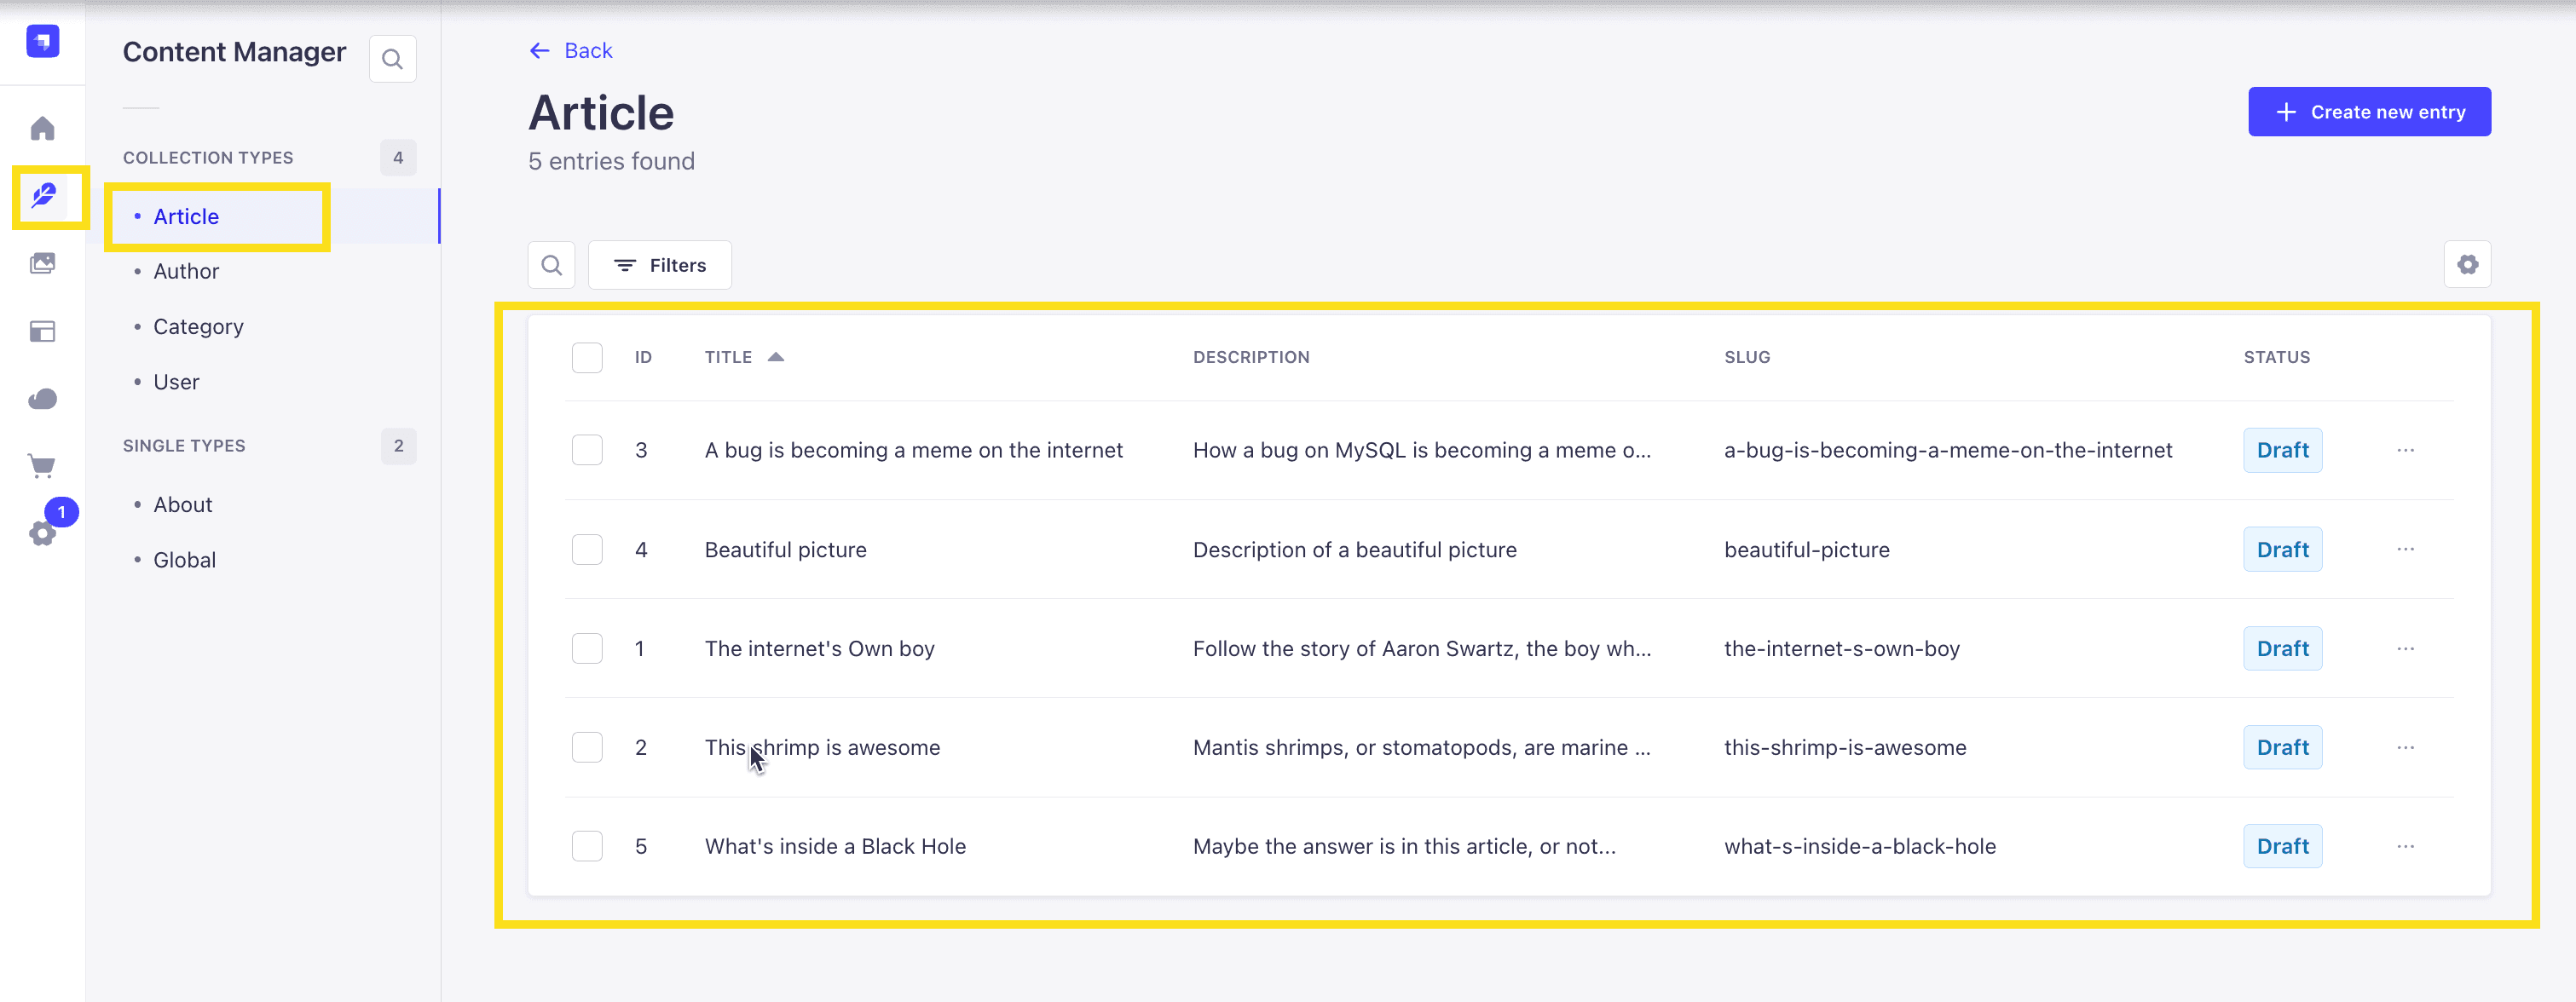
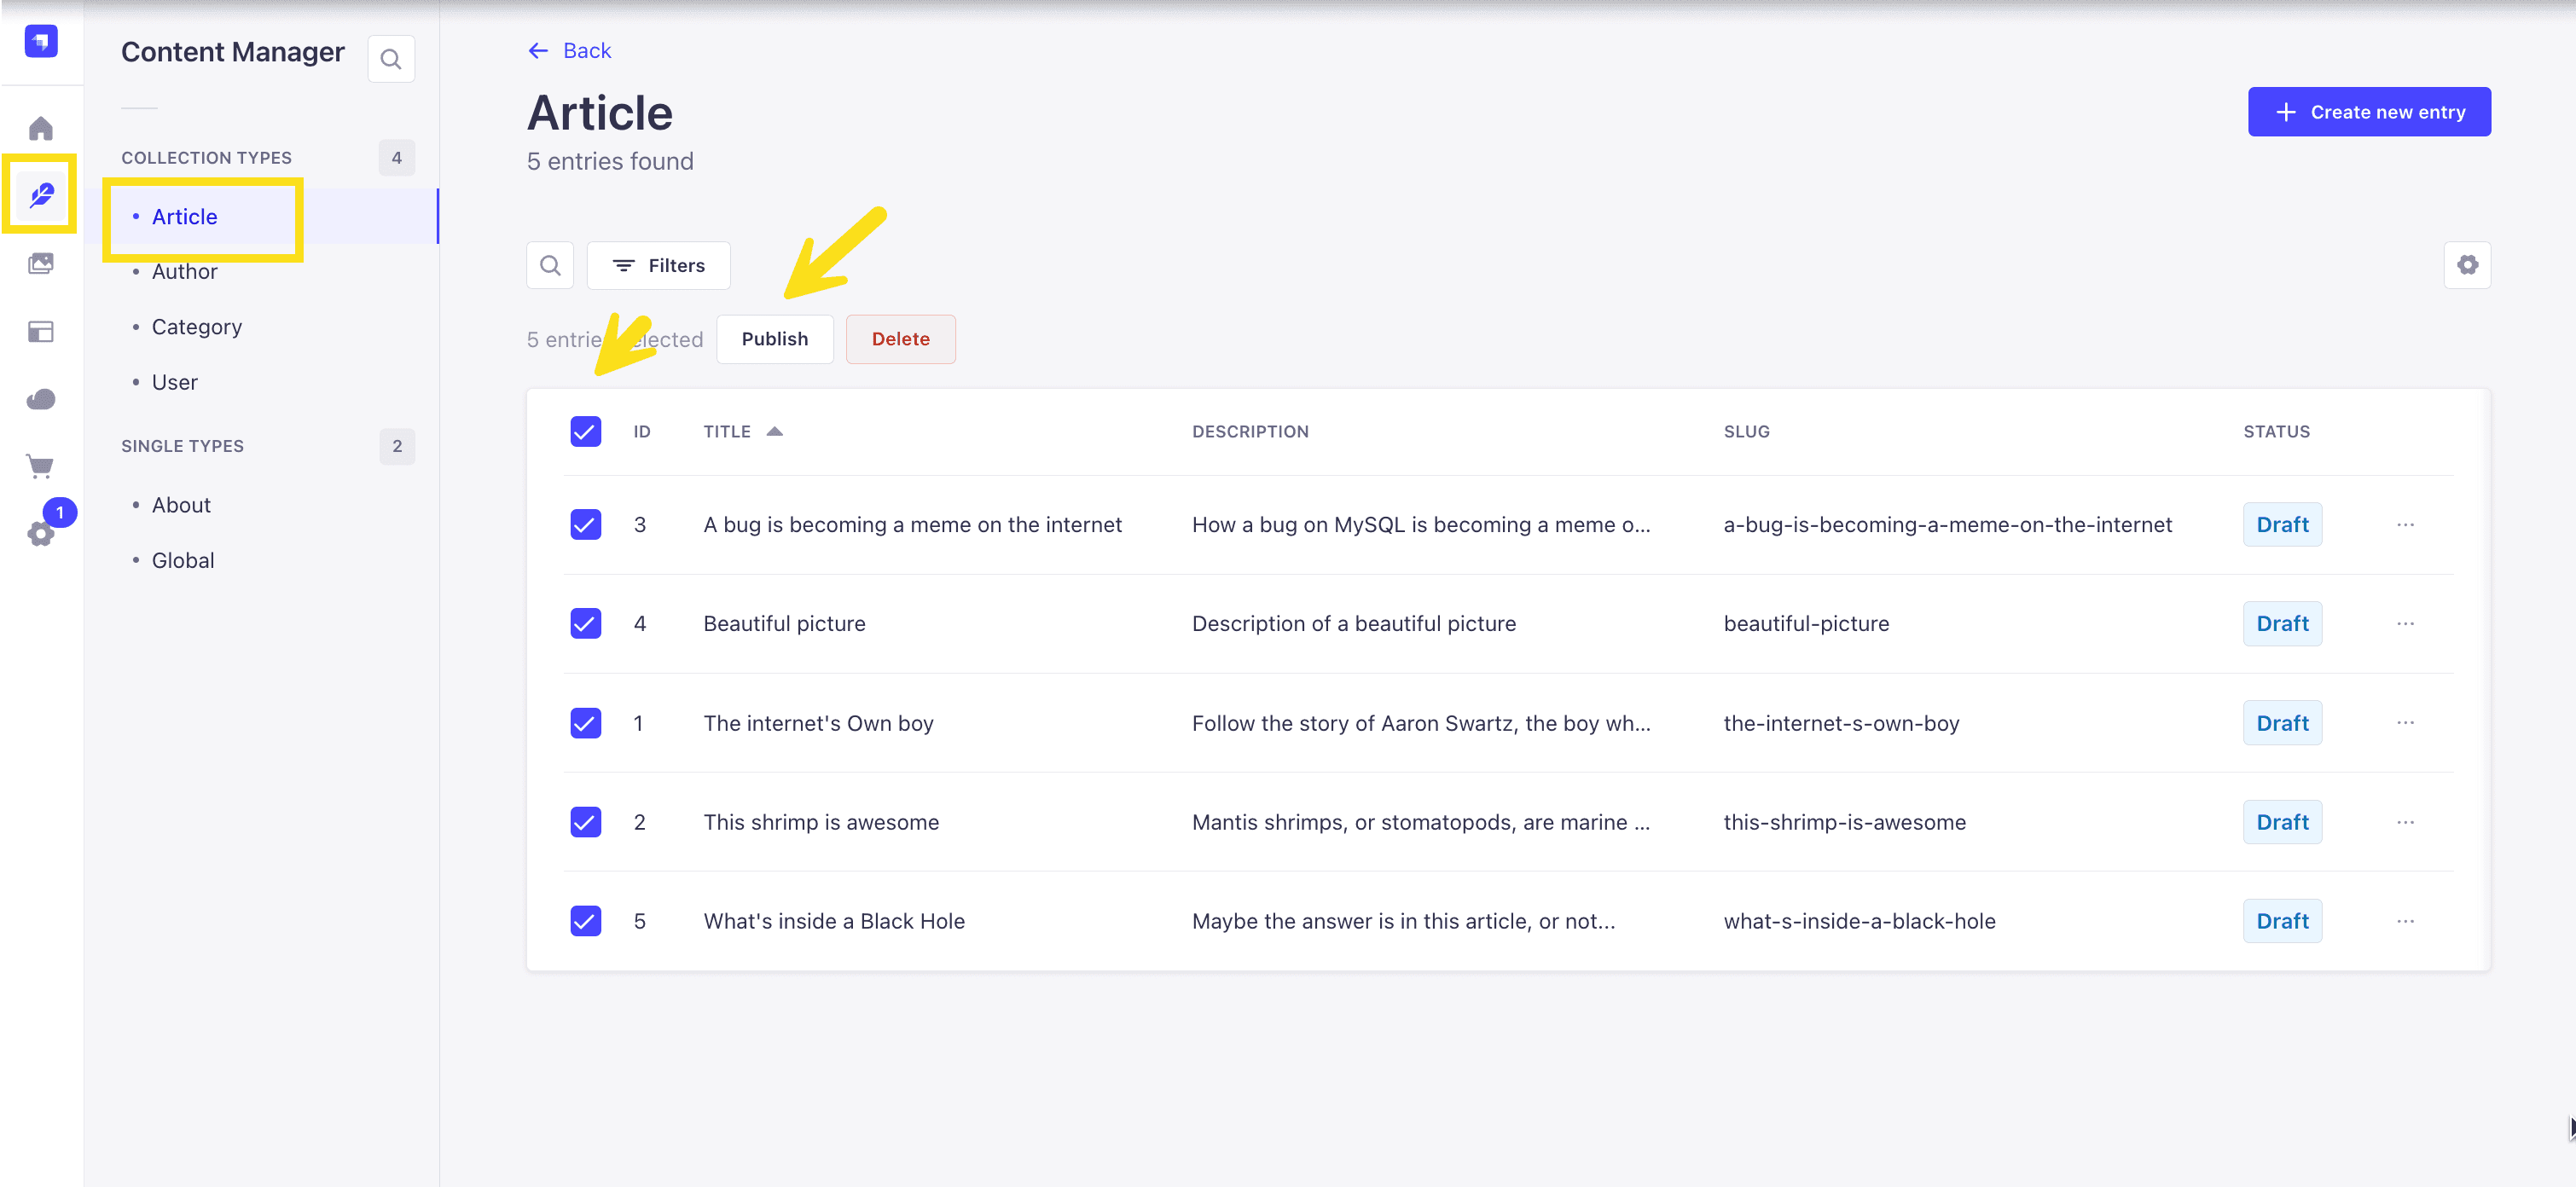
Now, let's make sure that all of the data is published. If not, you can select all items via the checkbox and then click the Publish button.
Enable API Access
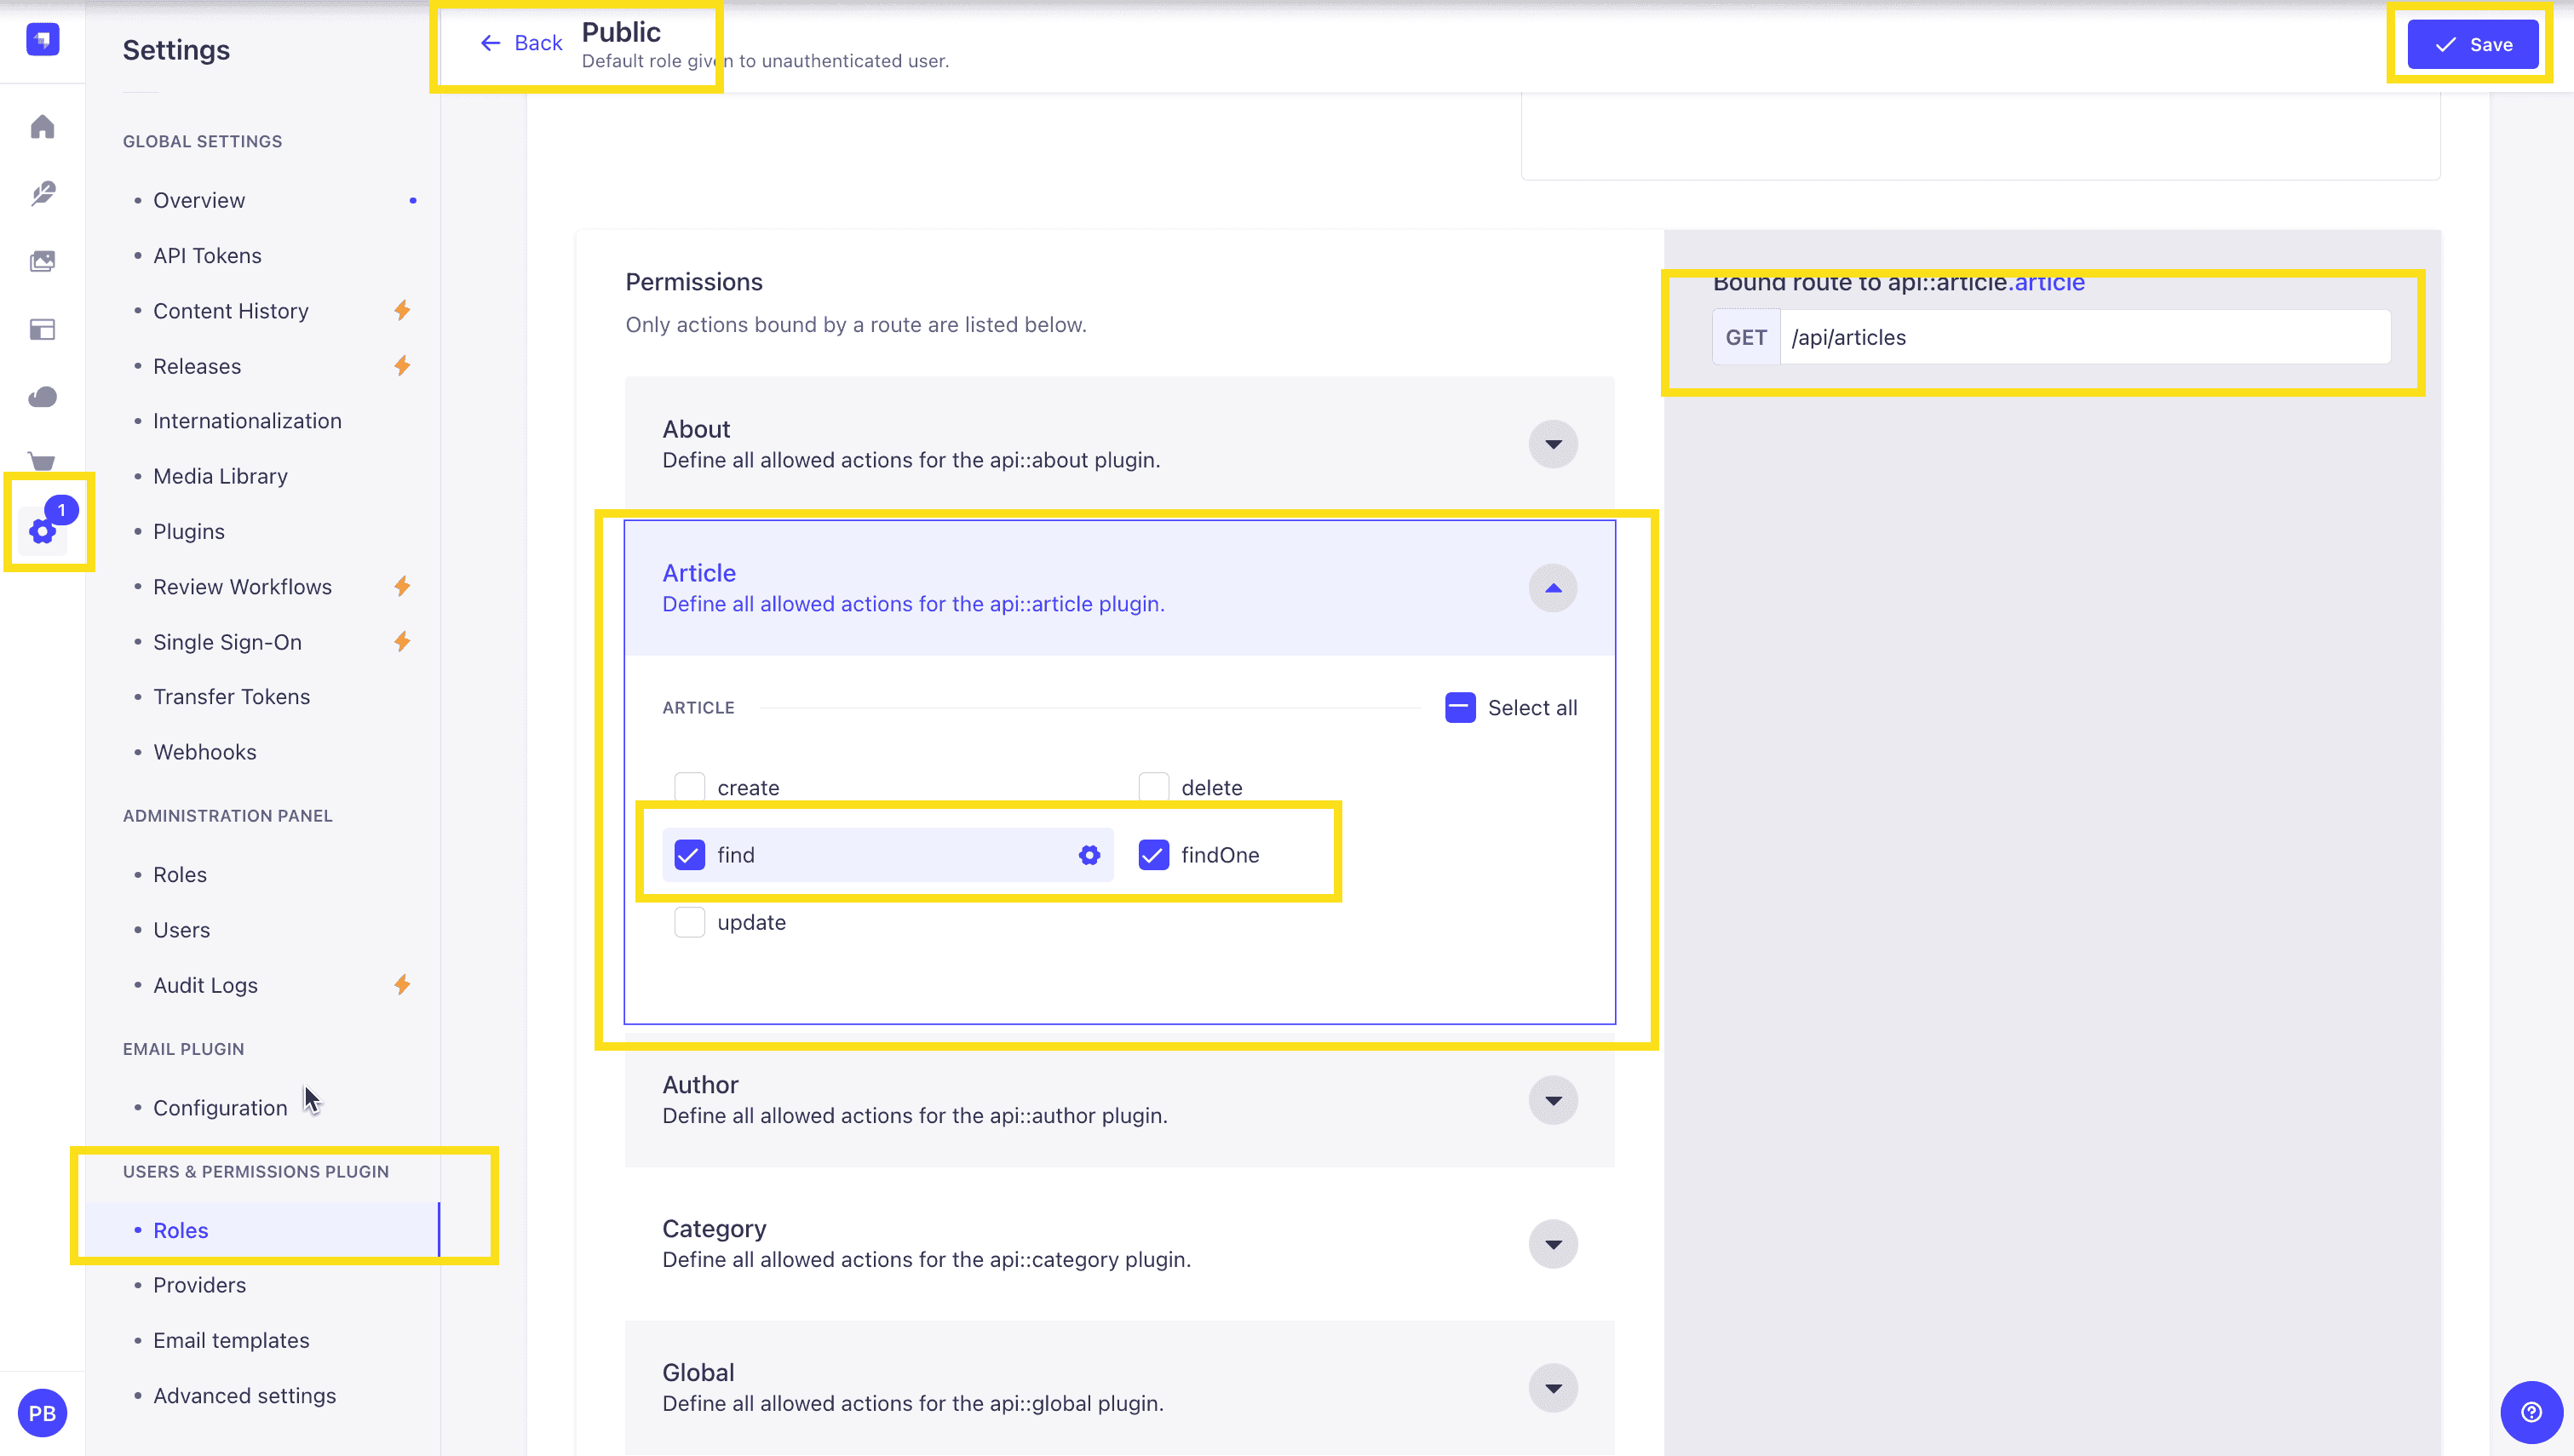
Once all your articles are published, we will expose our Strapi API for the Articles Collection. This can be done in Settings -> Users & Permissions plugin -> Roles -> Public -> Article.
You should have find and findOne selected. If not, go ahead and select them.
Test API
Now, if we make a GET request to http://localhost:1337/api/articles, we should see the following data for our articles.
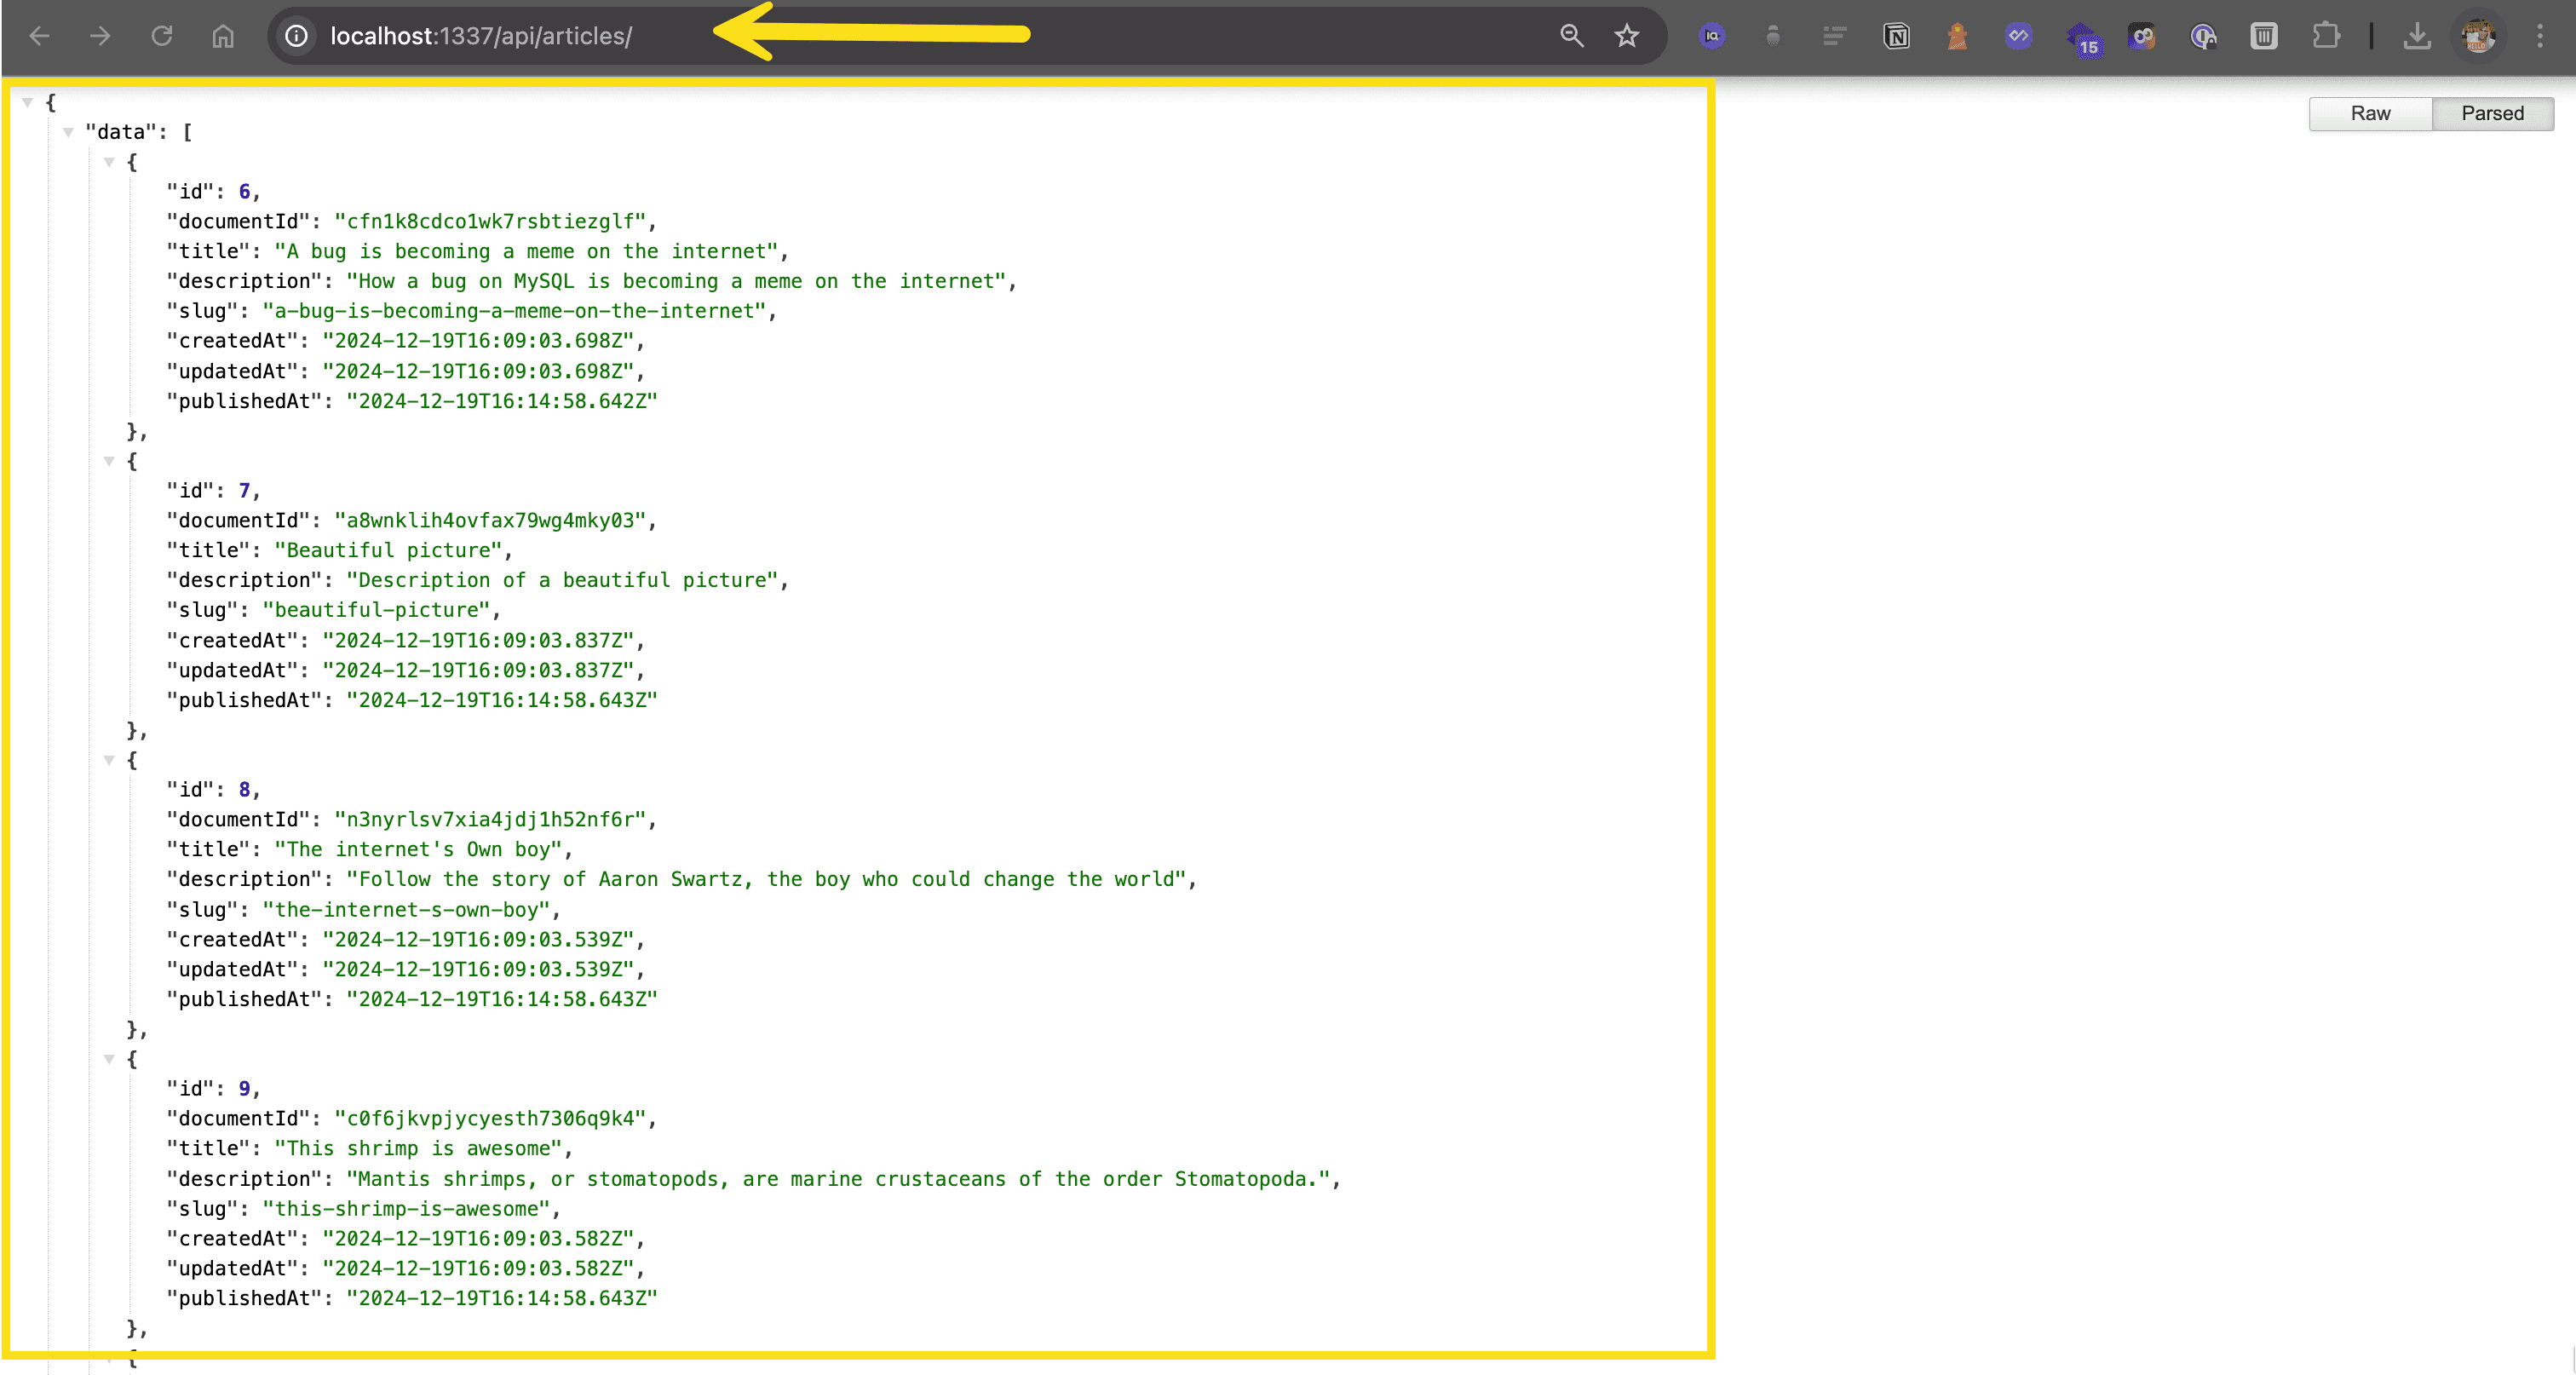
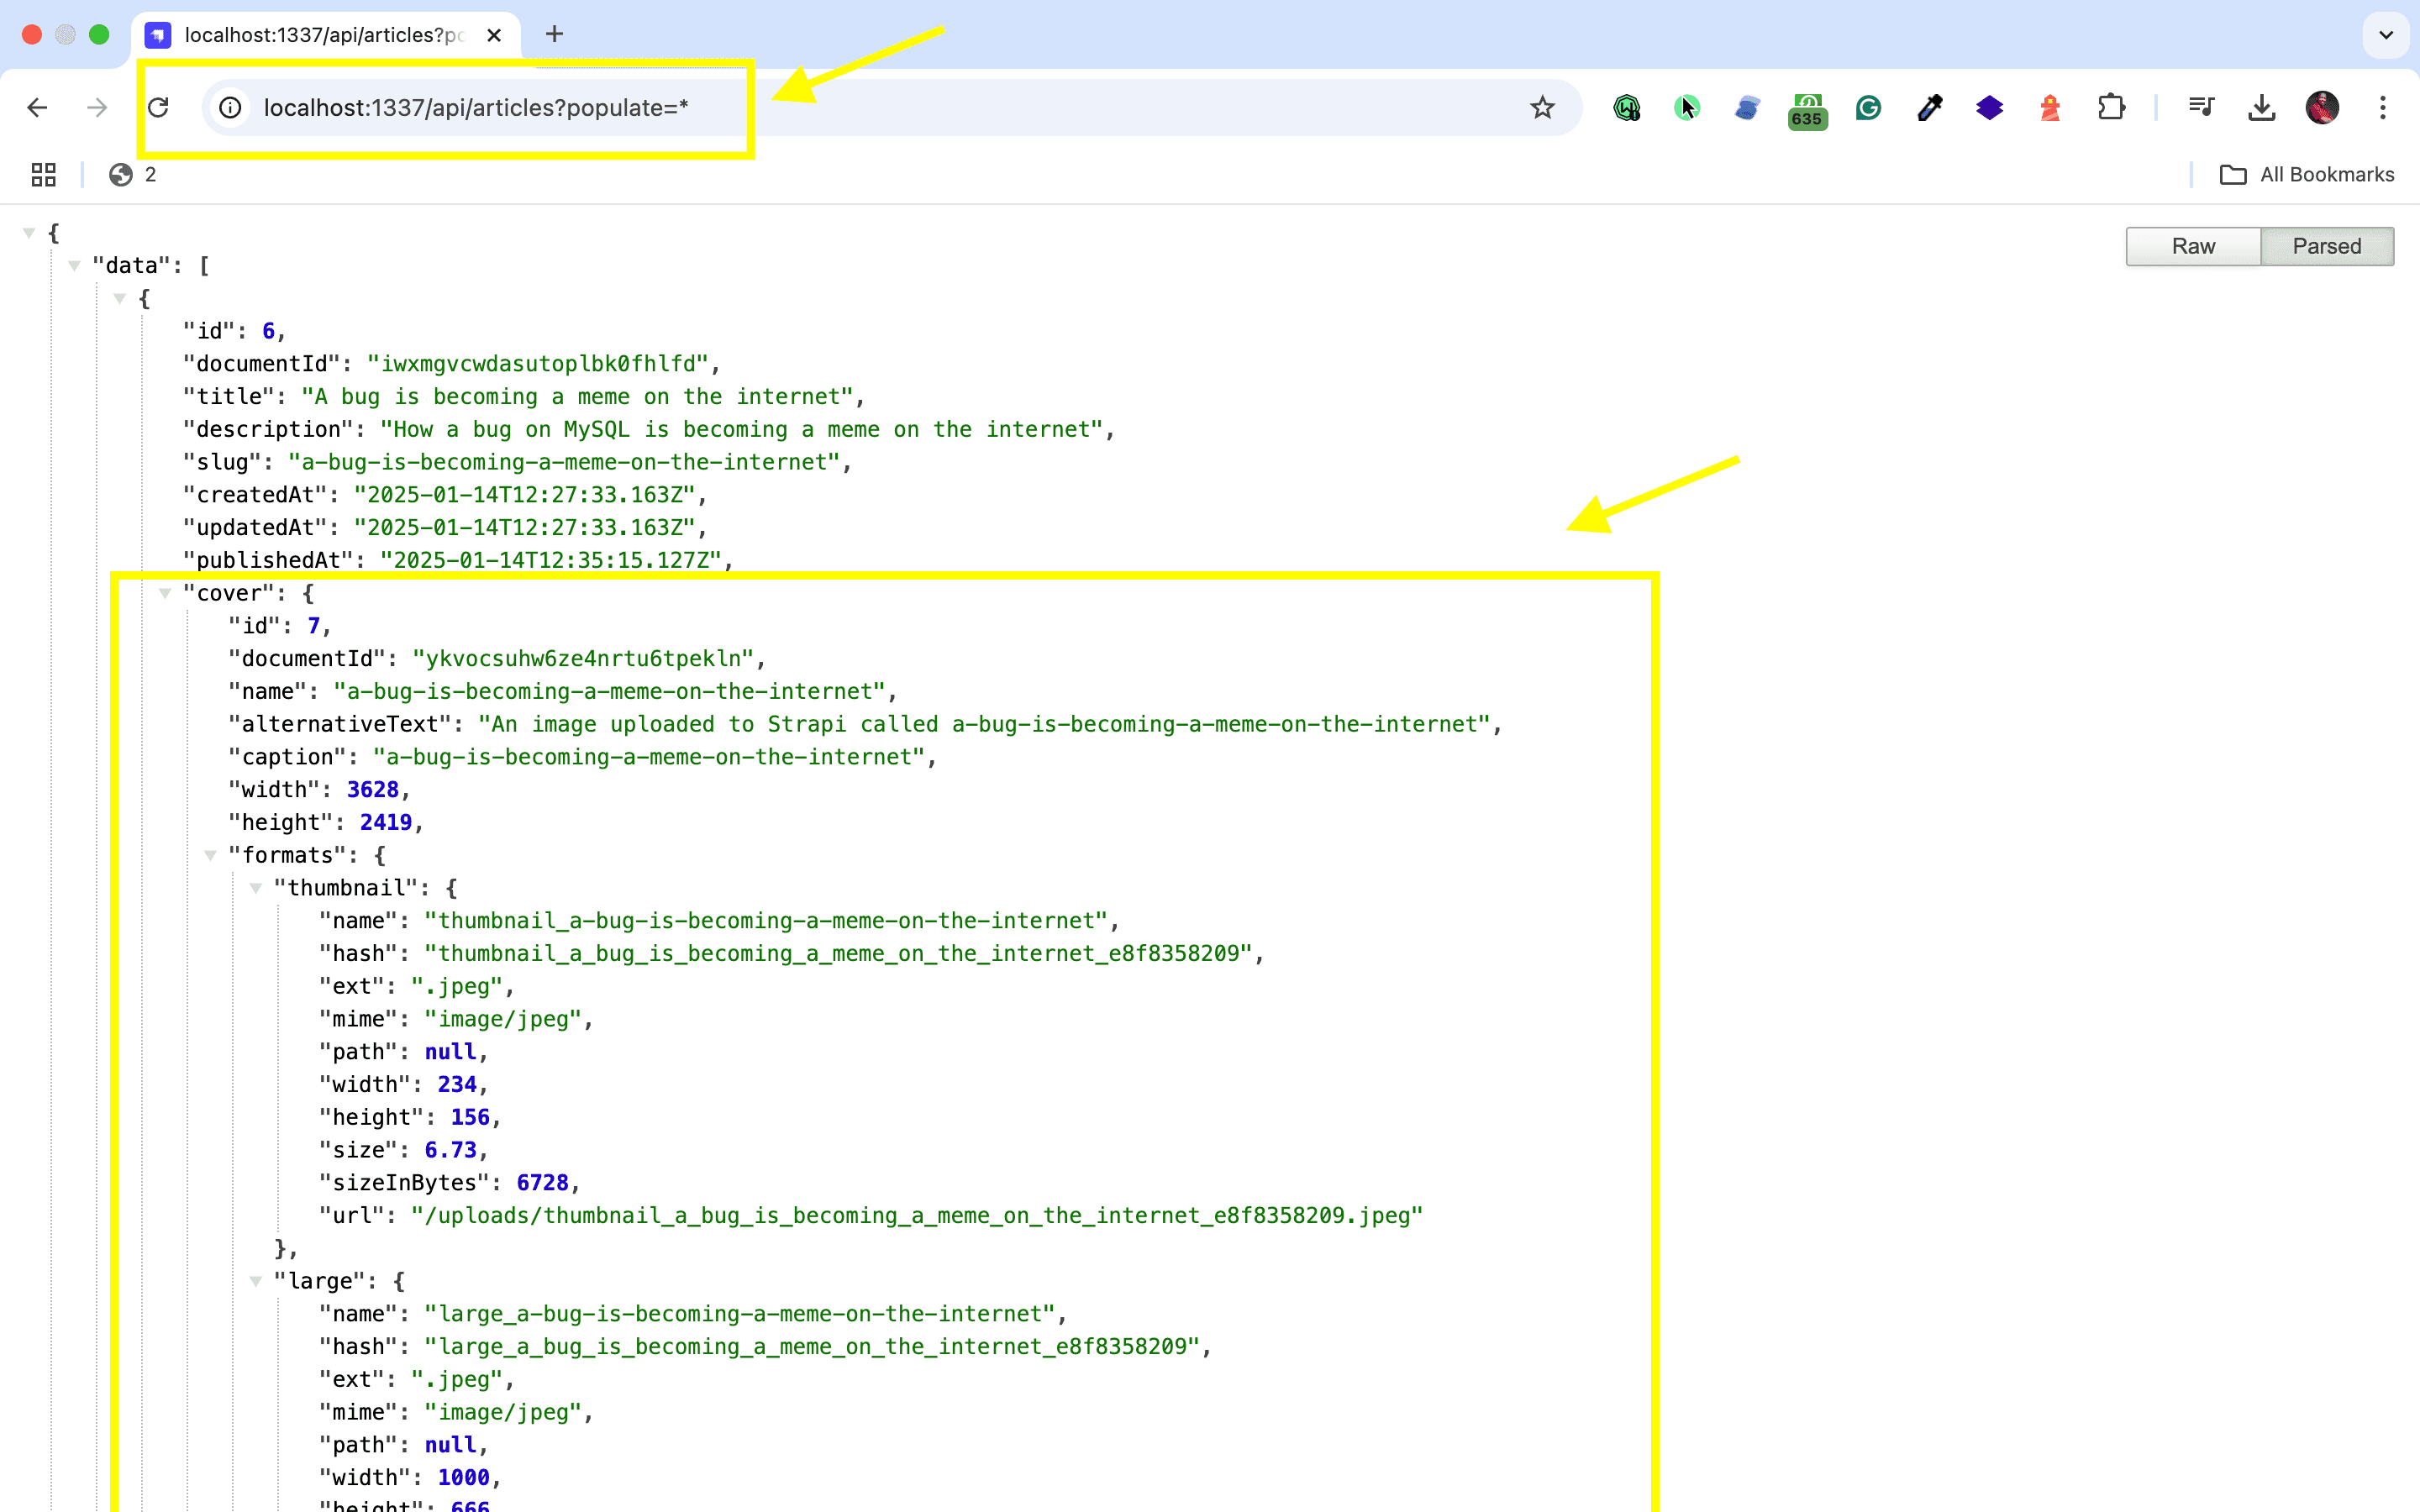
🖐️ Note: The article covers (images) are not returned. This is because the REST API by default does not populate any relations, media fields, components, or dynamic zones.. Learn more about REST API: Population & Field Selection.
So, let's get the article covers by using the populate=* parameter: http://localhost:1337/api/articles?populate=*
Getting Started With Cloudflare
Ready to enhance your Strapi application by integrating it with Cloudflare? Whether you're using Strapi Cloud services or hosting Strapi yourself, integrating with Cloudflare can significantly improve your application's performance. Often, this means pairing media management with Strapi with Cloudflare R2 storage. Here's a straightforward way to put it all together.
Configuring Your Strapi Environment
First things first: make sure your leading open-source CMS, Strapi, is set up and running on your server. That includes configuring your database and setting any necessary environment variables. Depending on your API approach—whether you choose REST or GraphQL—make sure your configurations are set appropriately. For more insights on choosing, check out REST vs GraphQL in Strapi and how REST and GraphQL integration can benefit your project. Understanding the API evolution with Strapi can also help you make informed decisions.
Next, log into your Cloudflare dashboard and create a Cloudflare R2 bucket. Choose a unique name and select a region close to your main audience. Then, generate API tokens with the right read/write permissions for your R2 bucket. Ensuring secure communication between Strapi and Cloudflare R2 is crucial. For more on securing your Strapi APIs, refer to Strapi API authentication. These tokens will allow secure communication between Strapi and Cloudflare R2.
Installing and Adjusting Settings for Integration
Once your Cloudflare environment is ready, install the Cloudflare R2 provider package in your Strapi project:
npm install strapi-provider-upload-cloudflare-r2Then open your ./config/plugins.js file and add your R2 provider settings. Please provide the specific configuration details or settings required for adding the R2 provider in the ./config/plugins.js file for Strapi to ensure accuracy in implementation.
Plug in your access key, secret key, and bucket name where indicated.
Verifying the Integration
To make sure everything's working, ensure you have configured the necessary Strapi user roles and permissions to manage media files. Then, upload a media file through the Strapi admin panel. If all goes well, the file should appear in your Cloudflare R2 bucket. By integrating Cloudflare with Strapi, you're tapping into efficient, scalable storage that handles media assets smoothly, especially when utilizing the Strapi Media Library, keeping your app's performance quick and easy to manage.
Awesome, great job!
Strapi Open Office Hours
If you have any questions about Strapi 5 or just would like to stop by and say hi, you can join us at Strapi's Discord Open Office Hours Monday through Friday at 12:30 pm - 1:30 pm CST: Strapi Discord Open Office Hours
For more details, visit the Strapi documentation and Cloudflare documentation.
Frequently Asked Questions
Cloudflare's CDN caches Strapi API responses and media at edge locations worldwide, reducing latency and server load. Configure cache rules for optimal performance.
Yes, configure Strapi's upload plugin to use Cloudflare R2 as the storage provider. R2 offers S3-compatible storage without egress fees.
Use Strapi lifecycle hooks to purge Cloudflare cache when content changes. Call Cloudflare's API to invalidate specific URLs or cache tags.
Yes, Workers can add edge logic like authentication, redirects, or response transformation. They process requests before they reach Strapi or modify responses after.
Exclude the admin panel from aggressive caching, as it requires real-time interaction. Configure page rules to bypass cache for /admin/* paths.