Google Maps
Learn how to integrate Google Maps with Strapi

Why Use Google Maps?
Integrating Google Maps with Strapi allows you to leverage comprehensive tools for real-time navigation, traffic alerts, and precise routing within your applications. The Street View feature lets you virtually explore streets worldwide, and access to detailed business data means you can integrate information on hotels, restaurants, and shops directly into your Strapi-powered platforms.
For more geolocation data insights, you can explore additional resources to enhance your application's capabilities. To dive deeper, visit Google Maps' official documentation.
Why Use Strapi?
Strapi is the leading open-source headless CMS offering features, like customizable APIs, role-based permissions, multilingual support, etc. It simplifies content management and integrates effortlessly with modern frontend frameworks.
Explore the Strapi documentation for more details.
Strapi 5 Highlights
The out-of-the-box Strapi features allow you to get up and running in no time:
- Single types: Create one-off pages that have a unique content structure.
- Draft and Publish: Reduce the risk of publishing errors and streamline collaboration.
- 100% TypeScript Support: Enjoy type safety & easy maintainability
- Customizable API: With Strapi, you can just hop in your code editor and edit the code to fit your API to your needs.
- Integrations: Strapi supports integrations with Cloudinary, SendGrid, Algolia, and others.
- Editor interface: The editor allows you to pull in dynamic blocks of content.
- Authentication: Secure and authorize access to your API with JWT or providers.
- RBAC: Help maximize operational efficiency, reduce dev team support work, and safeguard against unauthorized access or configuration modifications.
- i18n: Manage content in multiple languages. Easily query the different locales through the API.
- Plugins: Customize and extend Strapi using plugins.
Learn more about Strapi 5 feature.
Setup Strapi 5 Headless CMS
We are going to start by setting up our Strapi 5 project with the following command:
🖐️ Note: make sure that you have created a new directory for your project.
You can find the full documentation for Strapi 5 here.
Install Strapi
npx create-strapi-app@latest serverYou will be asked to choose if you would like to use Strapi Cloud we will choose to skip for now.
 Strapi   v5.6.0 🚀 Let's create your new project

To deploy your project, create a new project on the Strapi Cloud dashboard.

? Please log in or sign up.
  Login/Sign up
❯ Skip
After that, you will be asked how you would like to set up your project. We will choose the following options:
? Do you want to use the default database (sqlite) ? Yes
? Start with an example structure & data? Yes <-- make sure you say yes
? Start with Typescript? Yes
? Install dependencies with npm? Yes
? Initialize a git repository? Yes
Once everything is set up and all the dependencies are installed, you can start your Strapi server with the following command:
cd server
npm run develop
You will be greeted with the Admin Create Account screen.
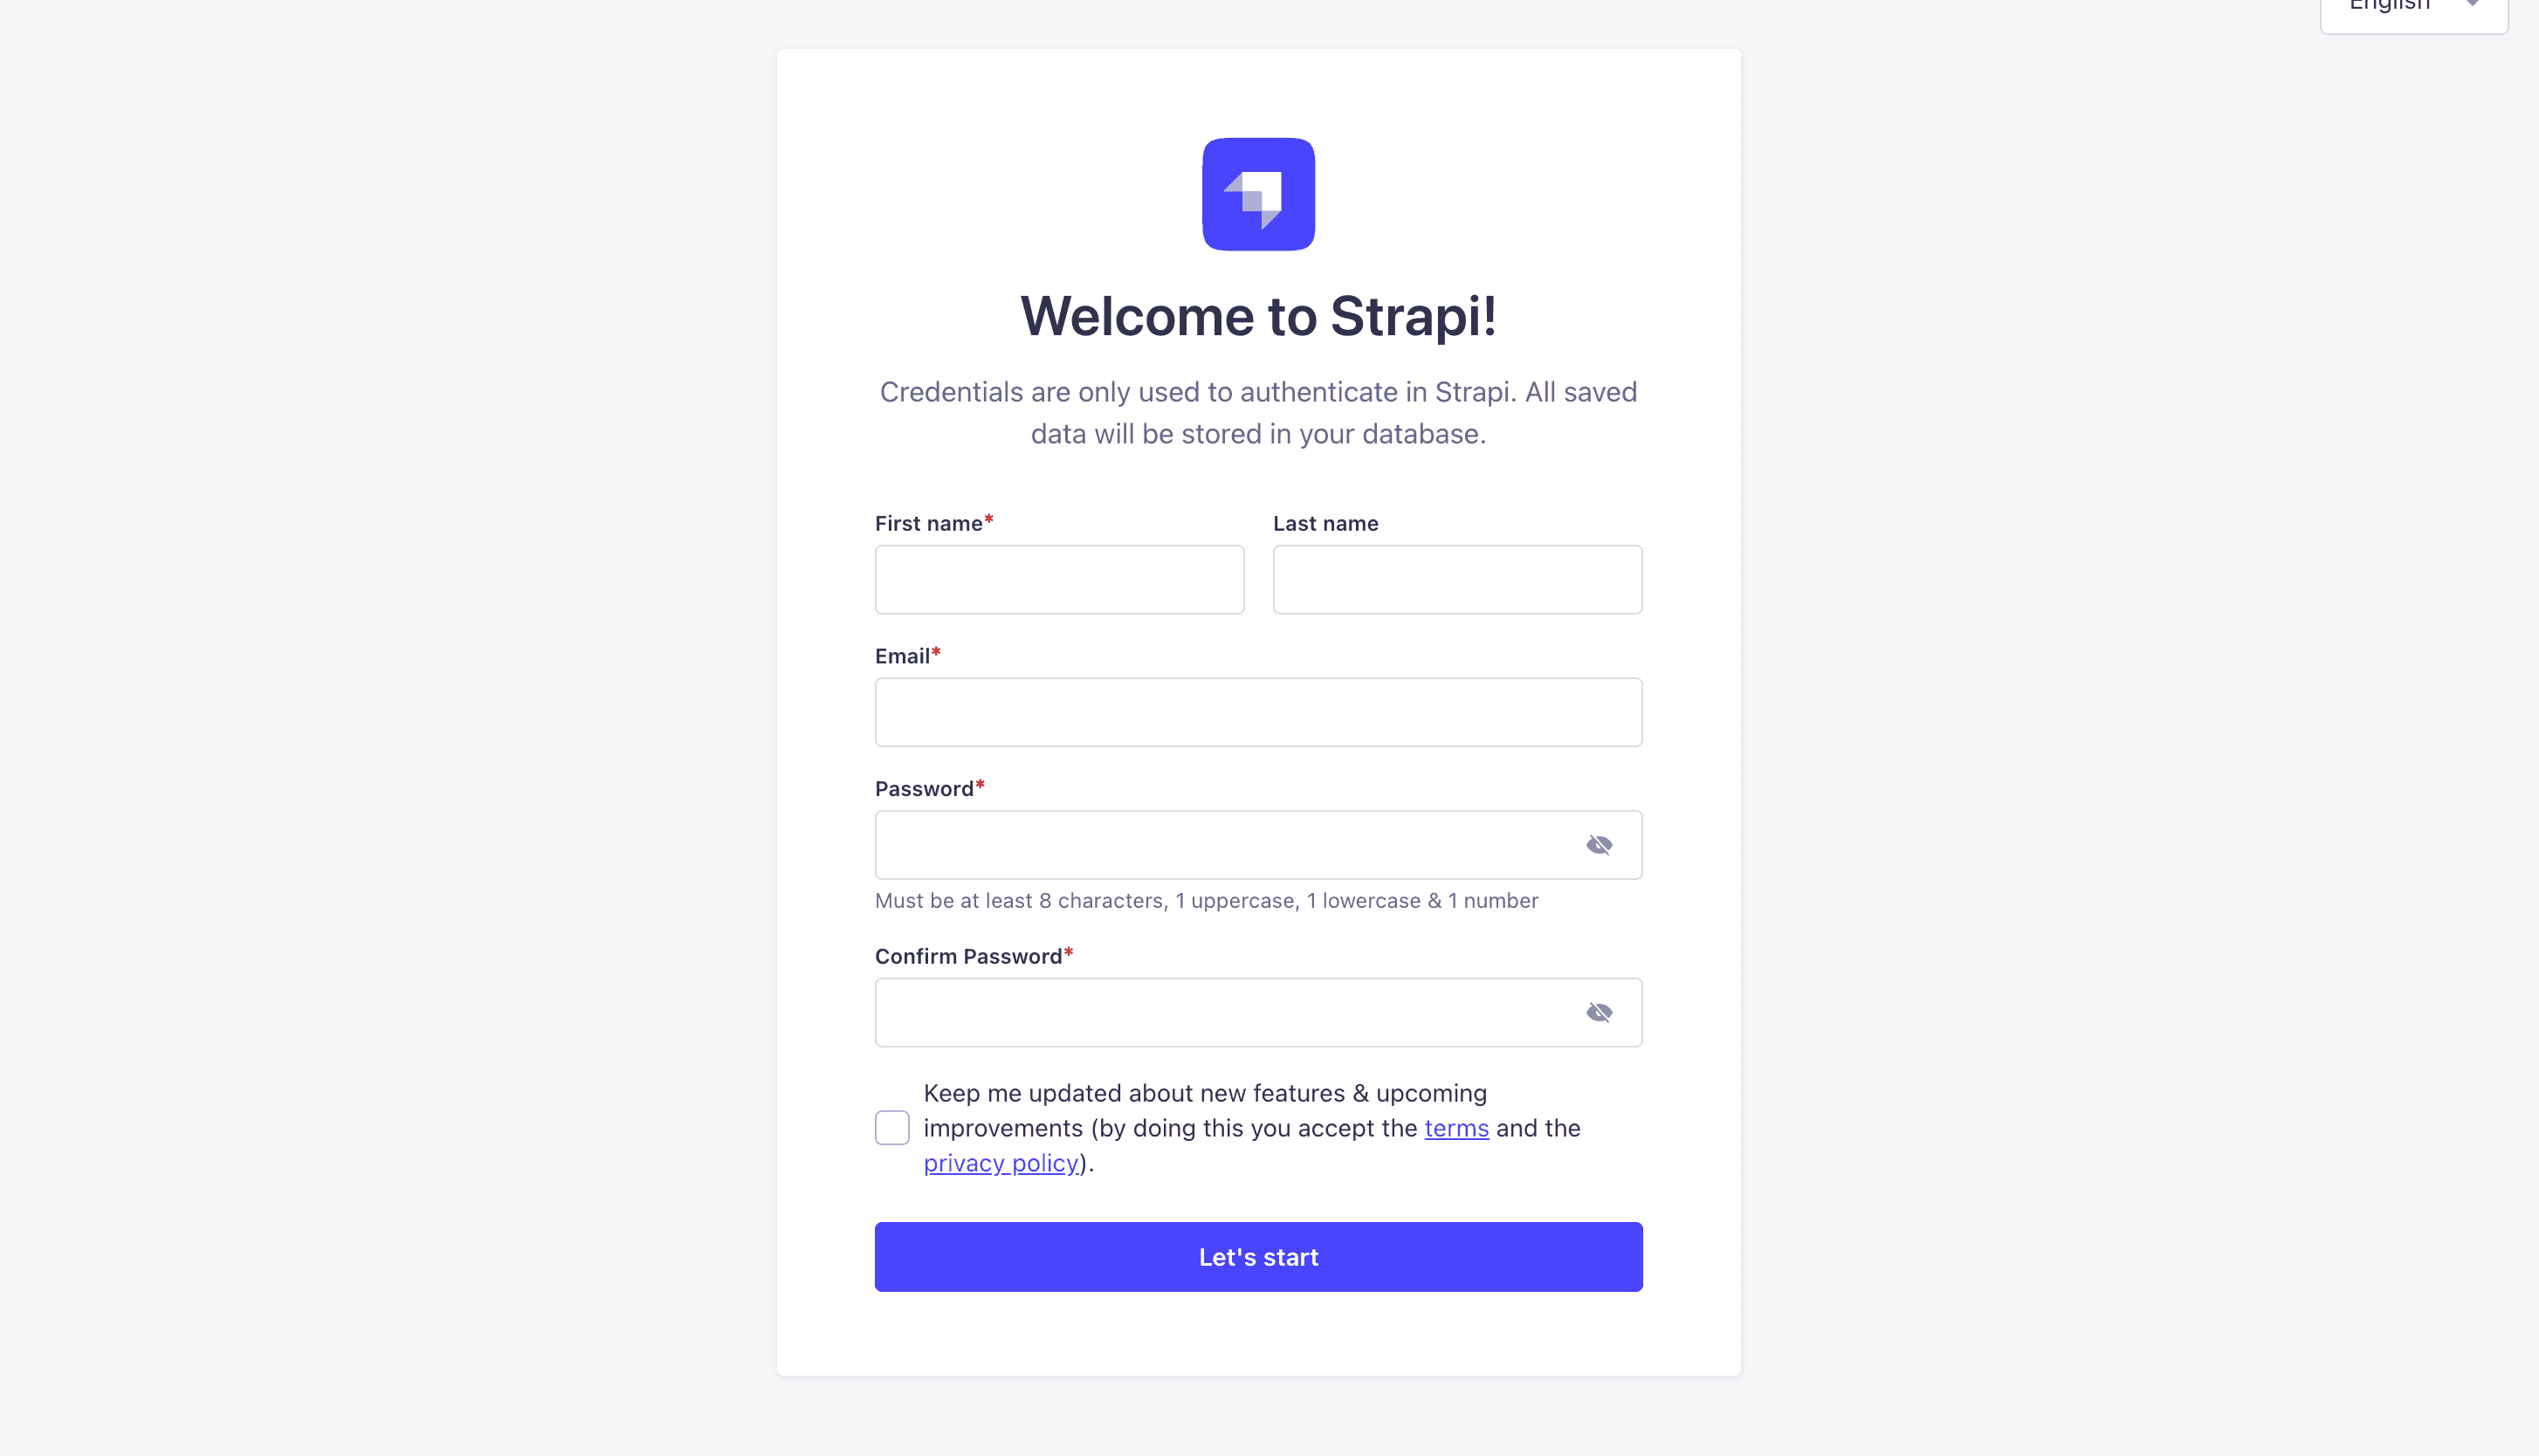
Go ahead and create your first Strapi user. All of this is local so you can use whatever you want.
Once you have created your user, you will be redirected to the Strapi Dashboard screen.
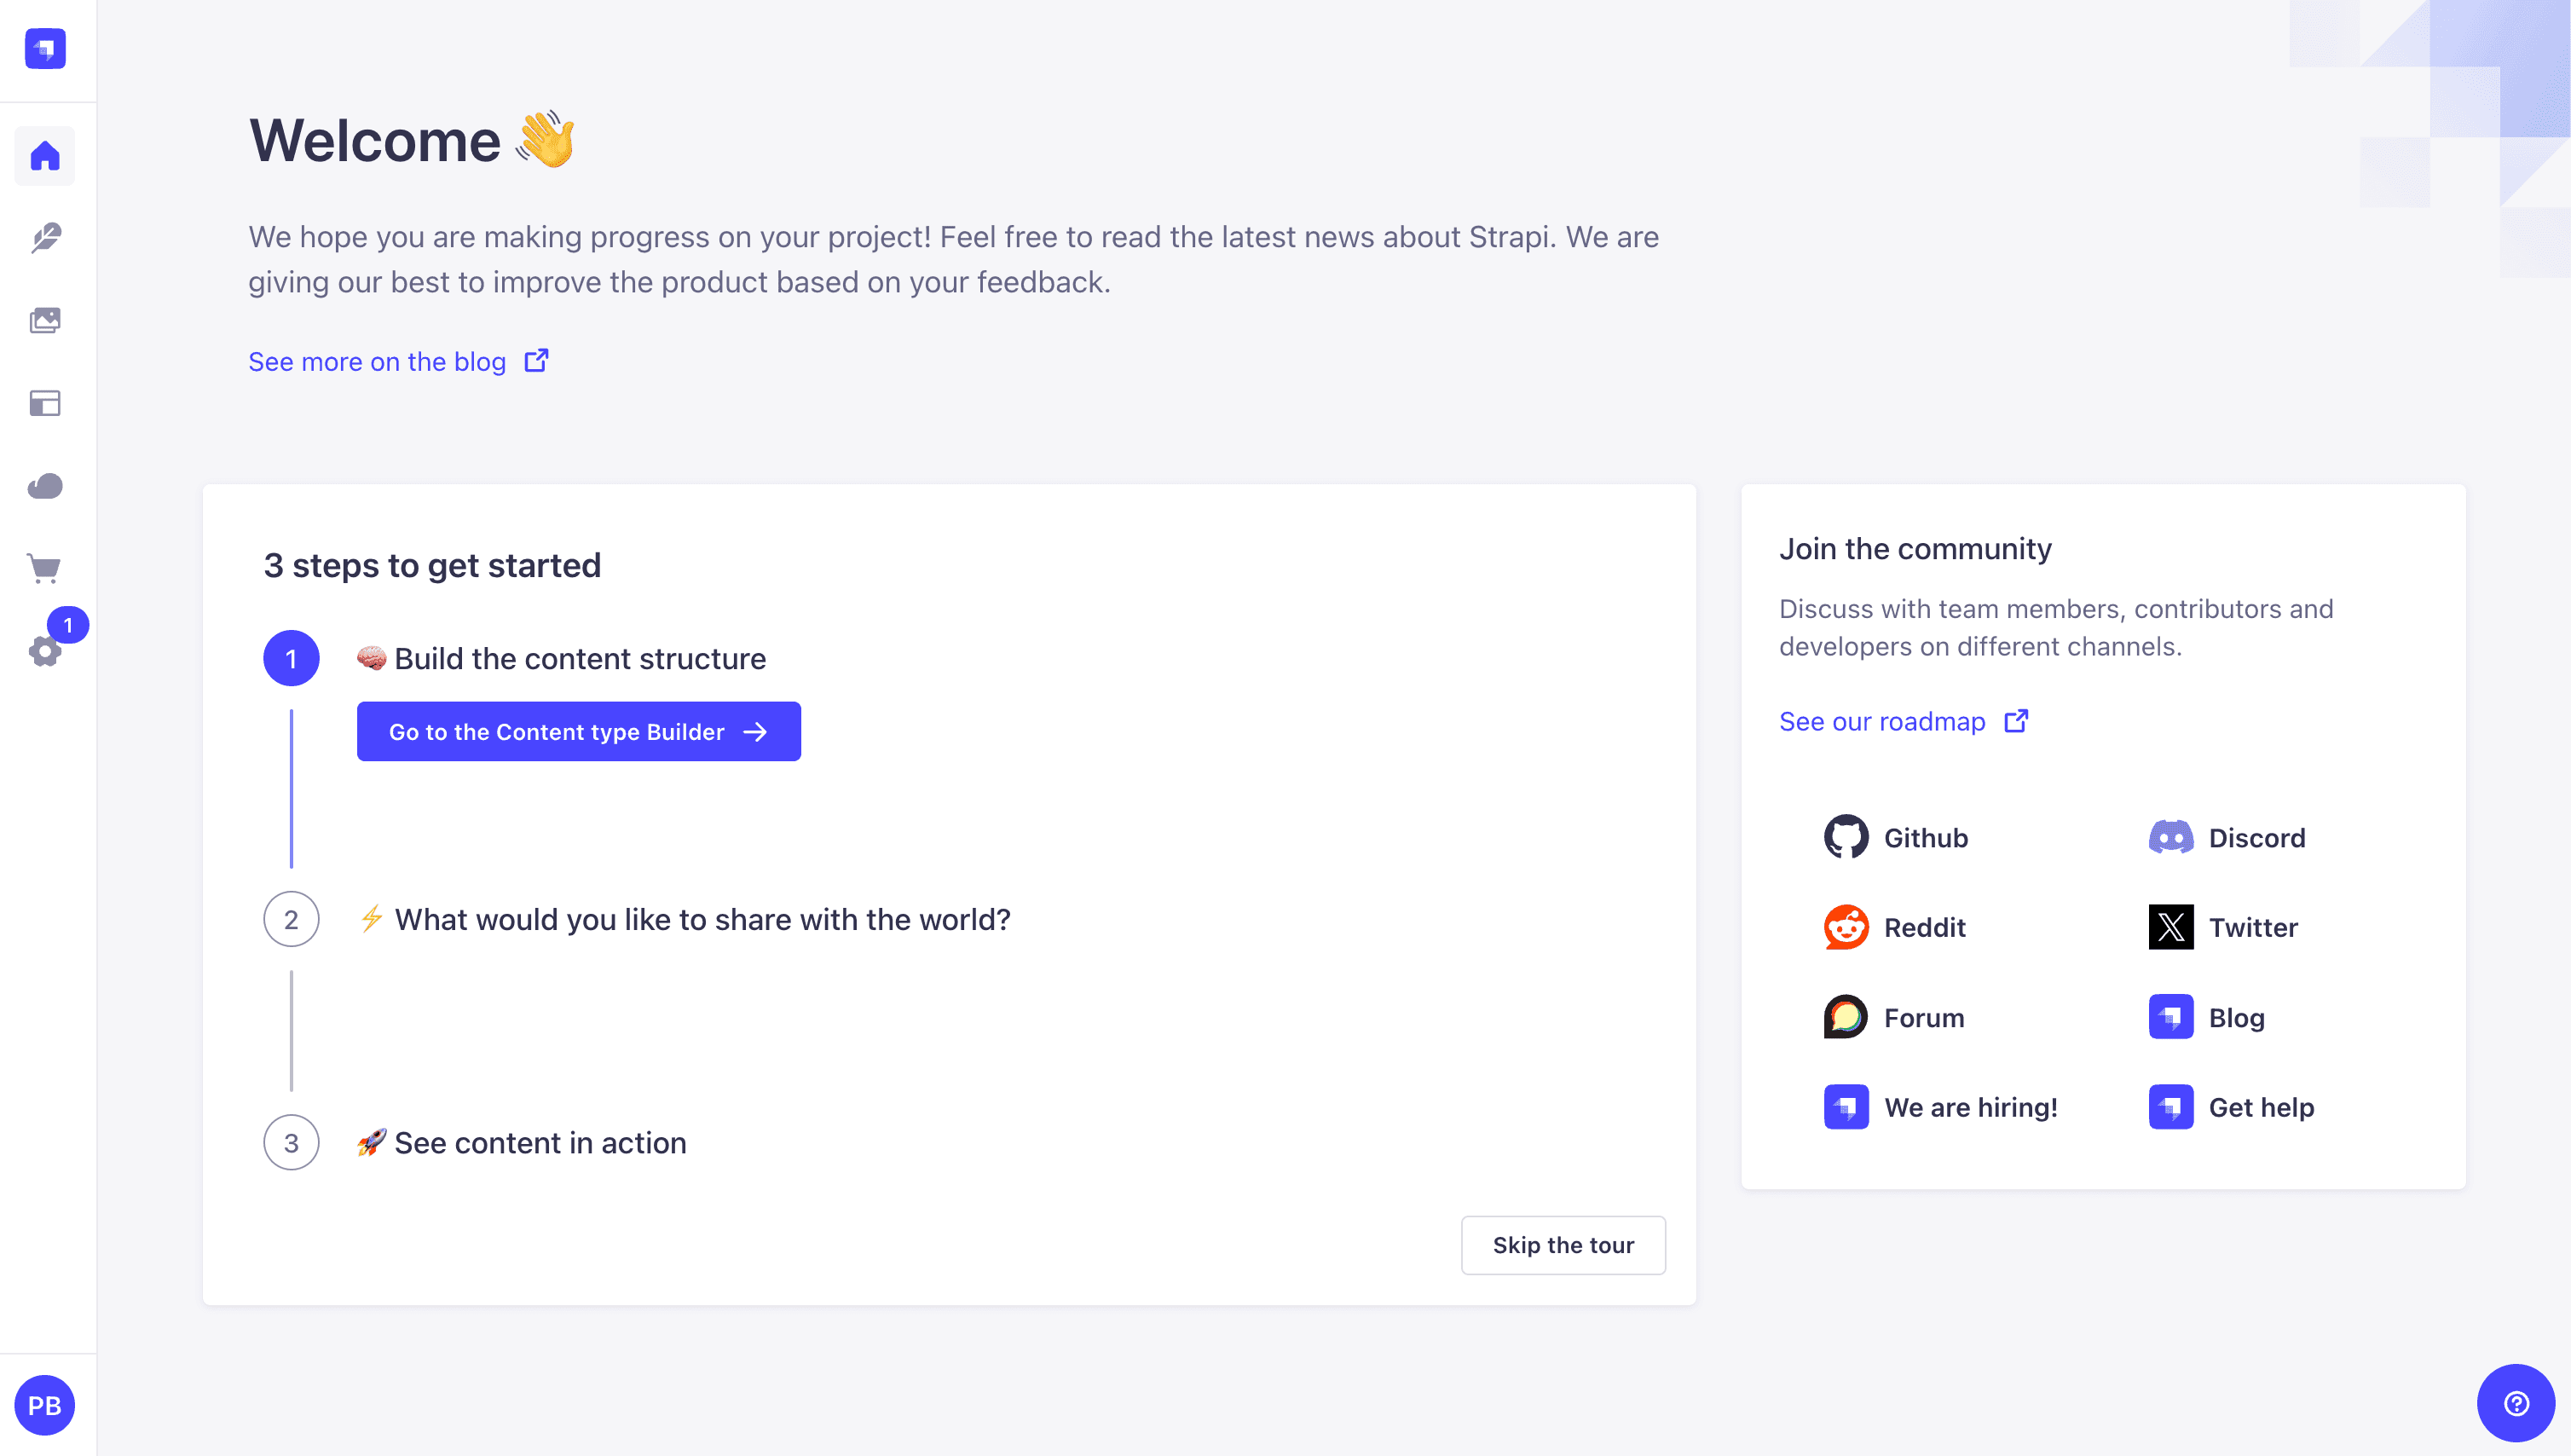
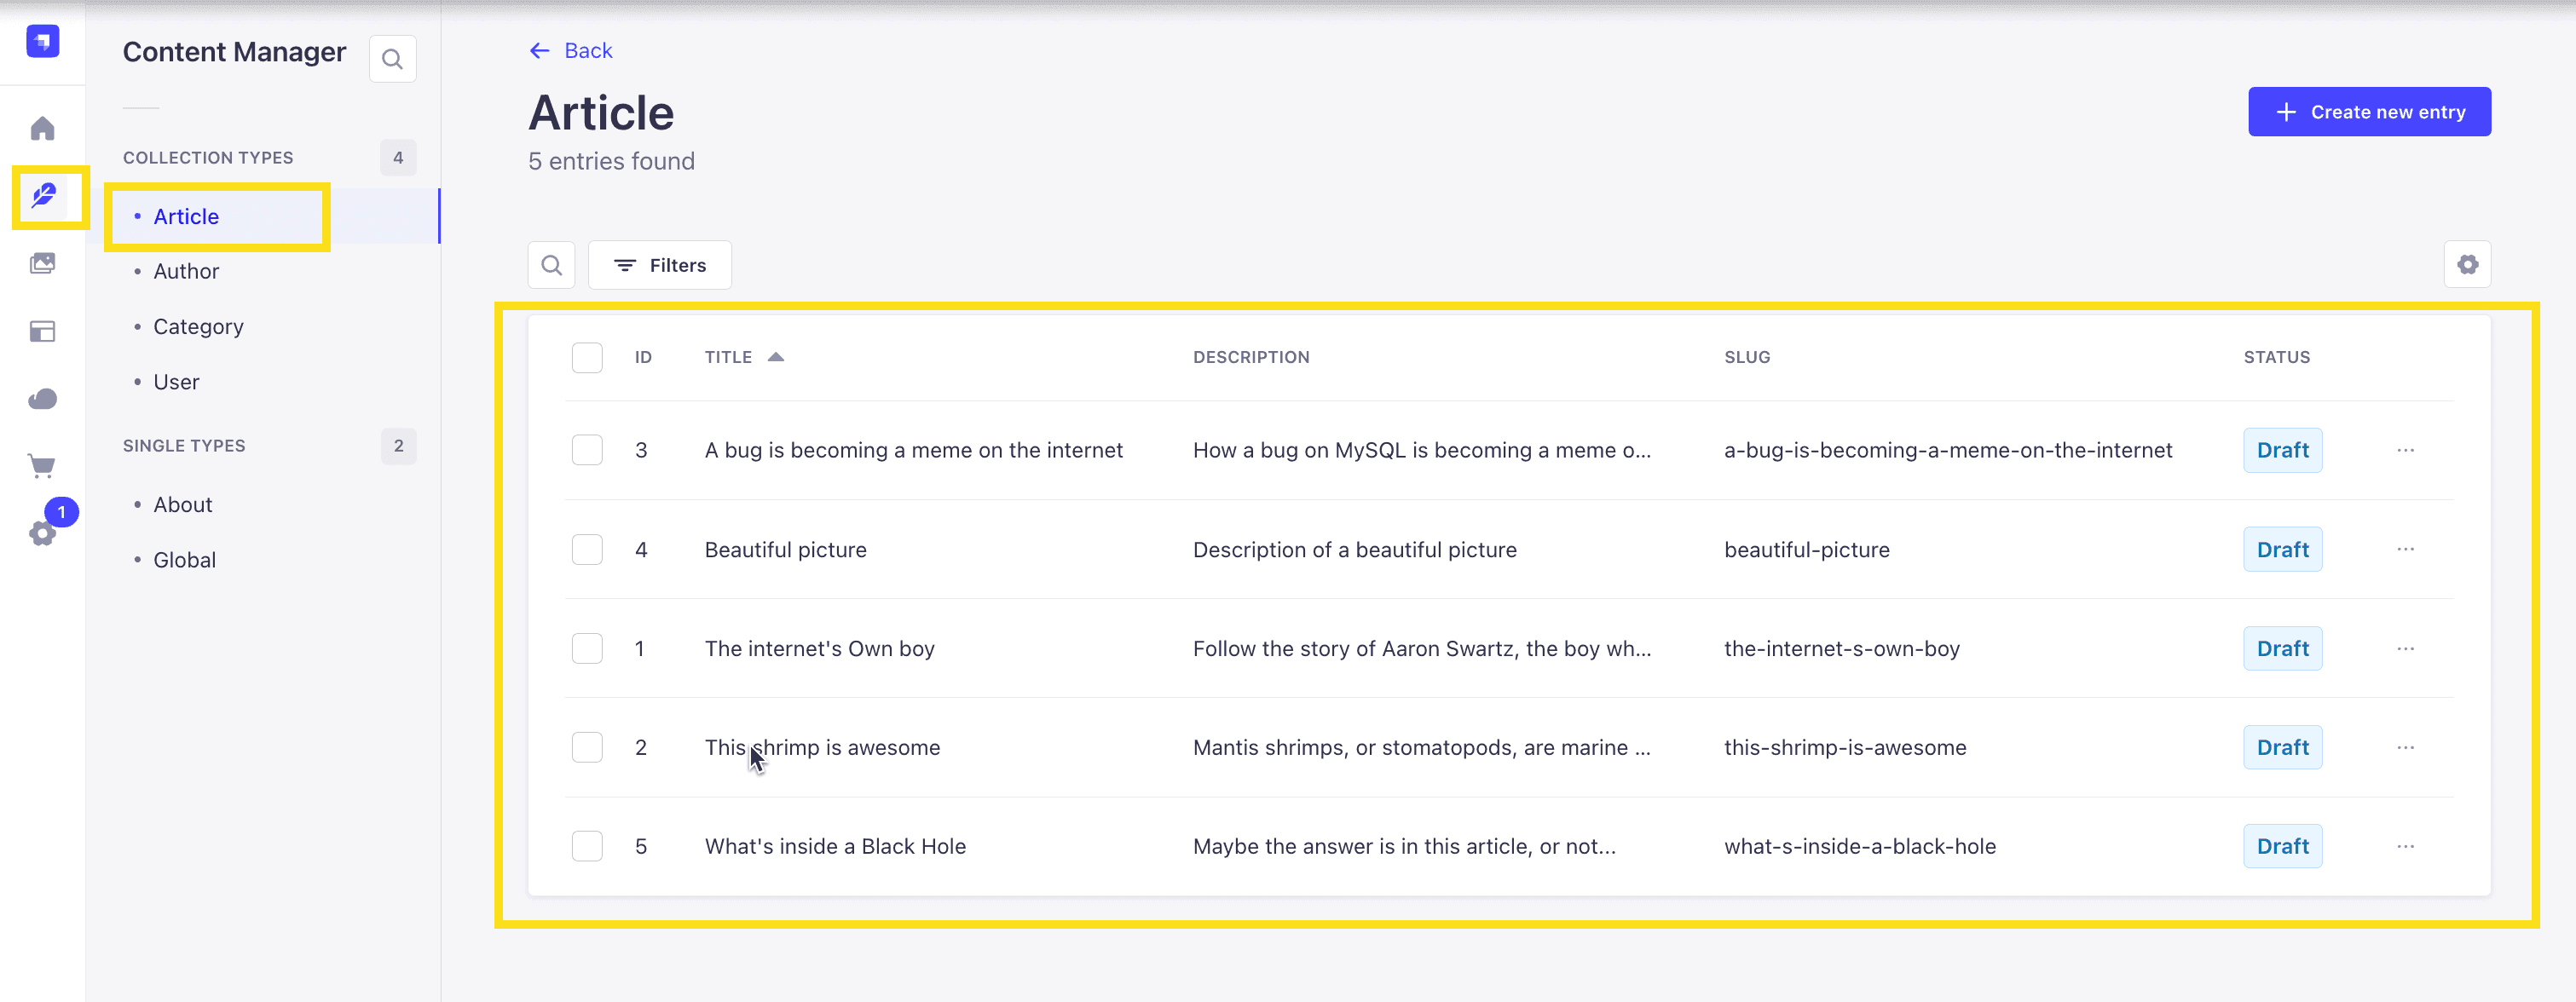
Publish Article Entries
Since we created our app with the example data, you should be able to navigate to your Article collection and see the data that was created for us.
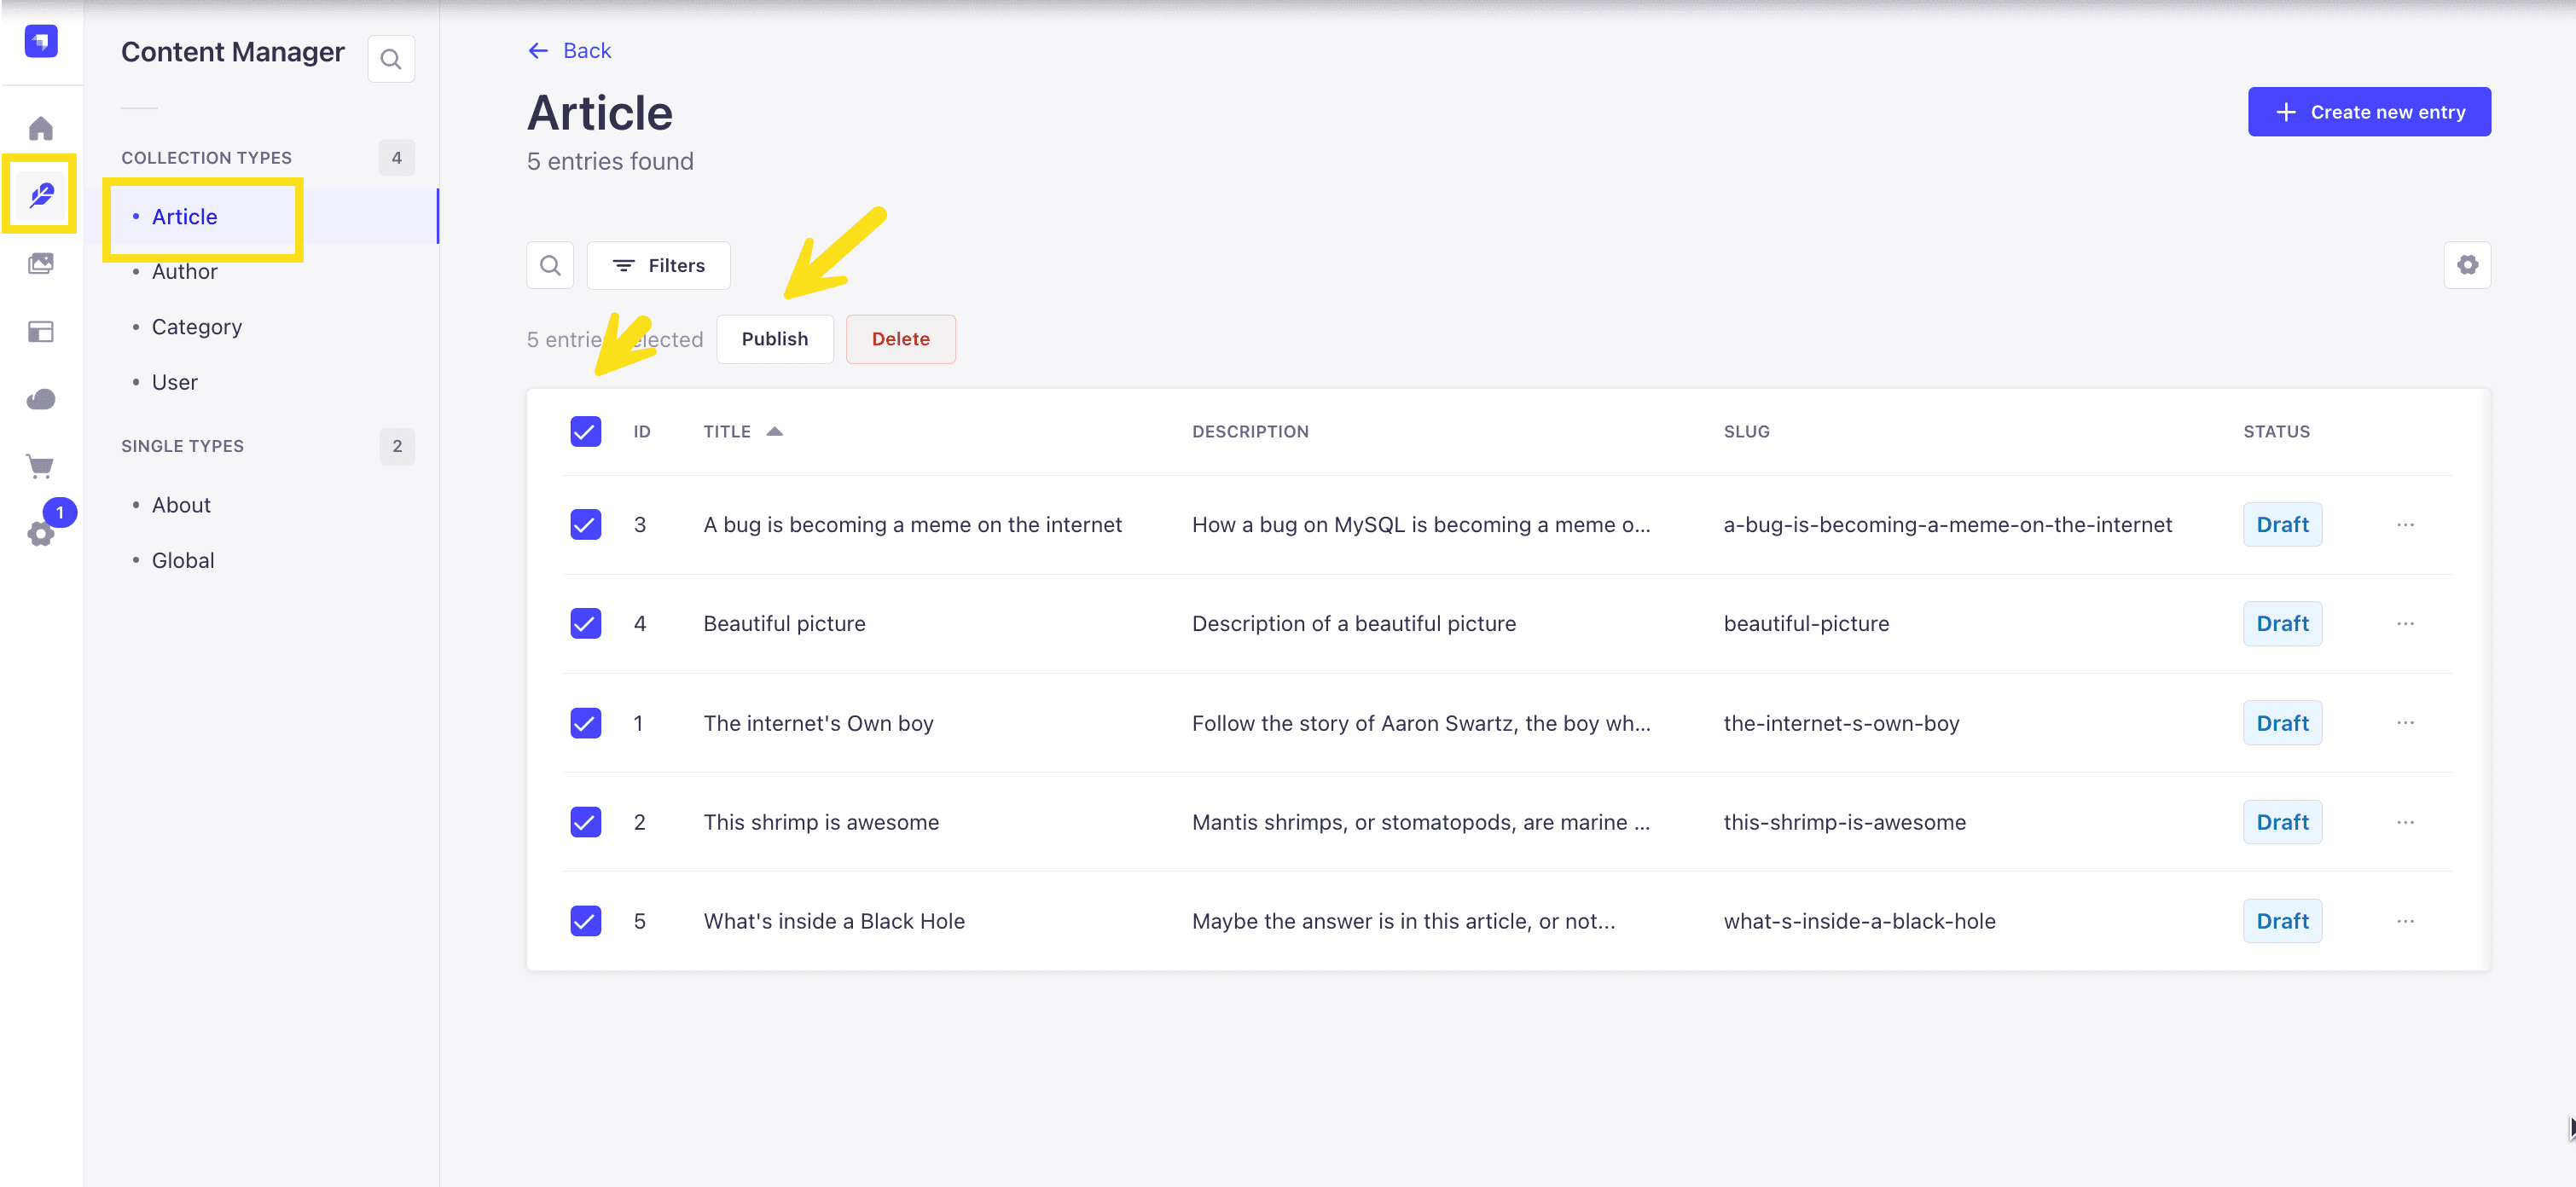
Now, let's make sure that all of the data is published. If not, you can select all items via the checkbox and then click the Publish button.
Enable API Access
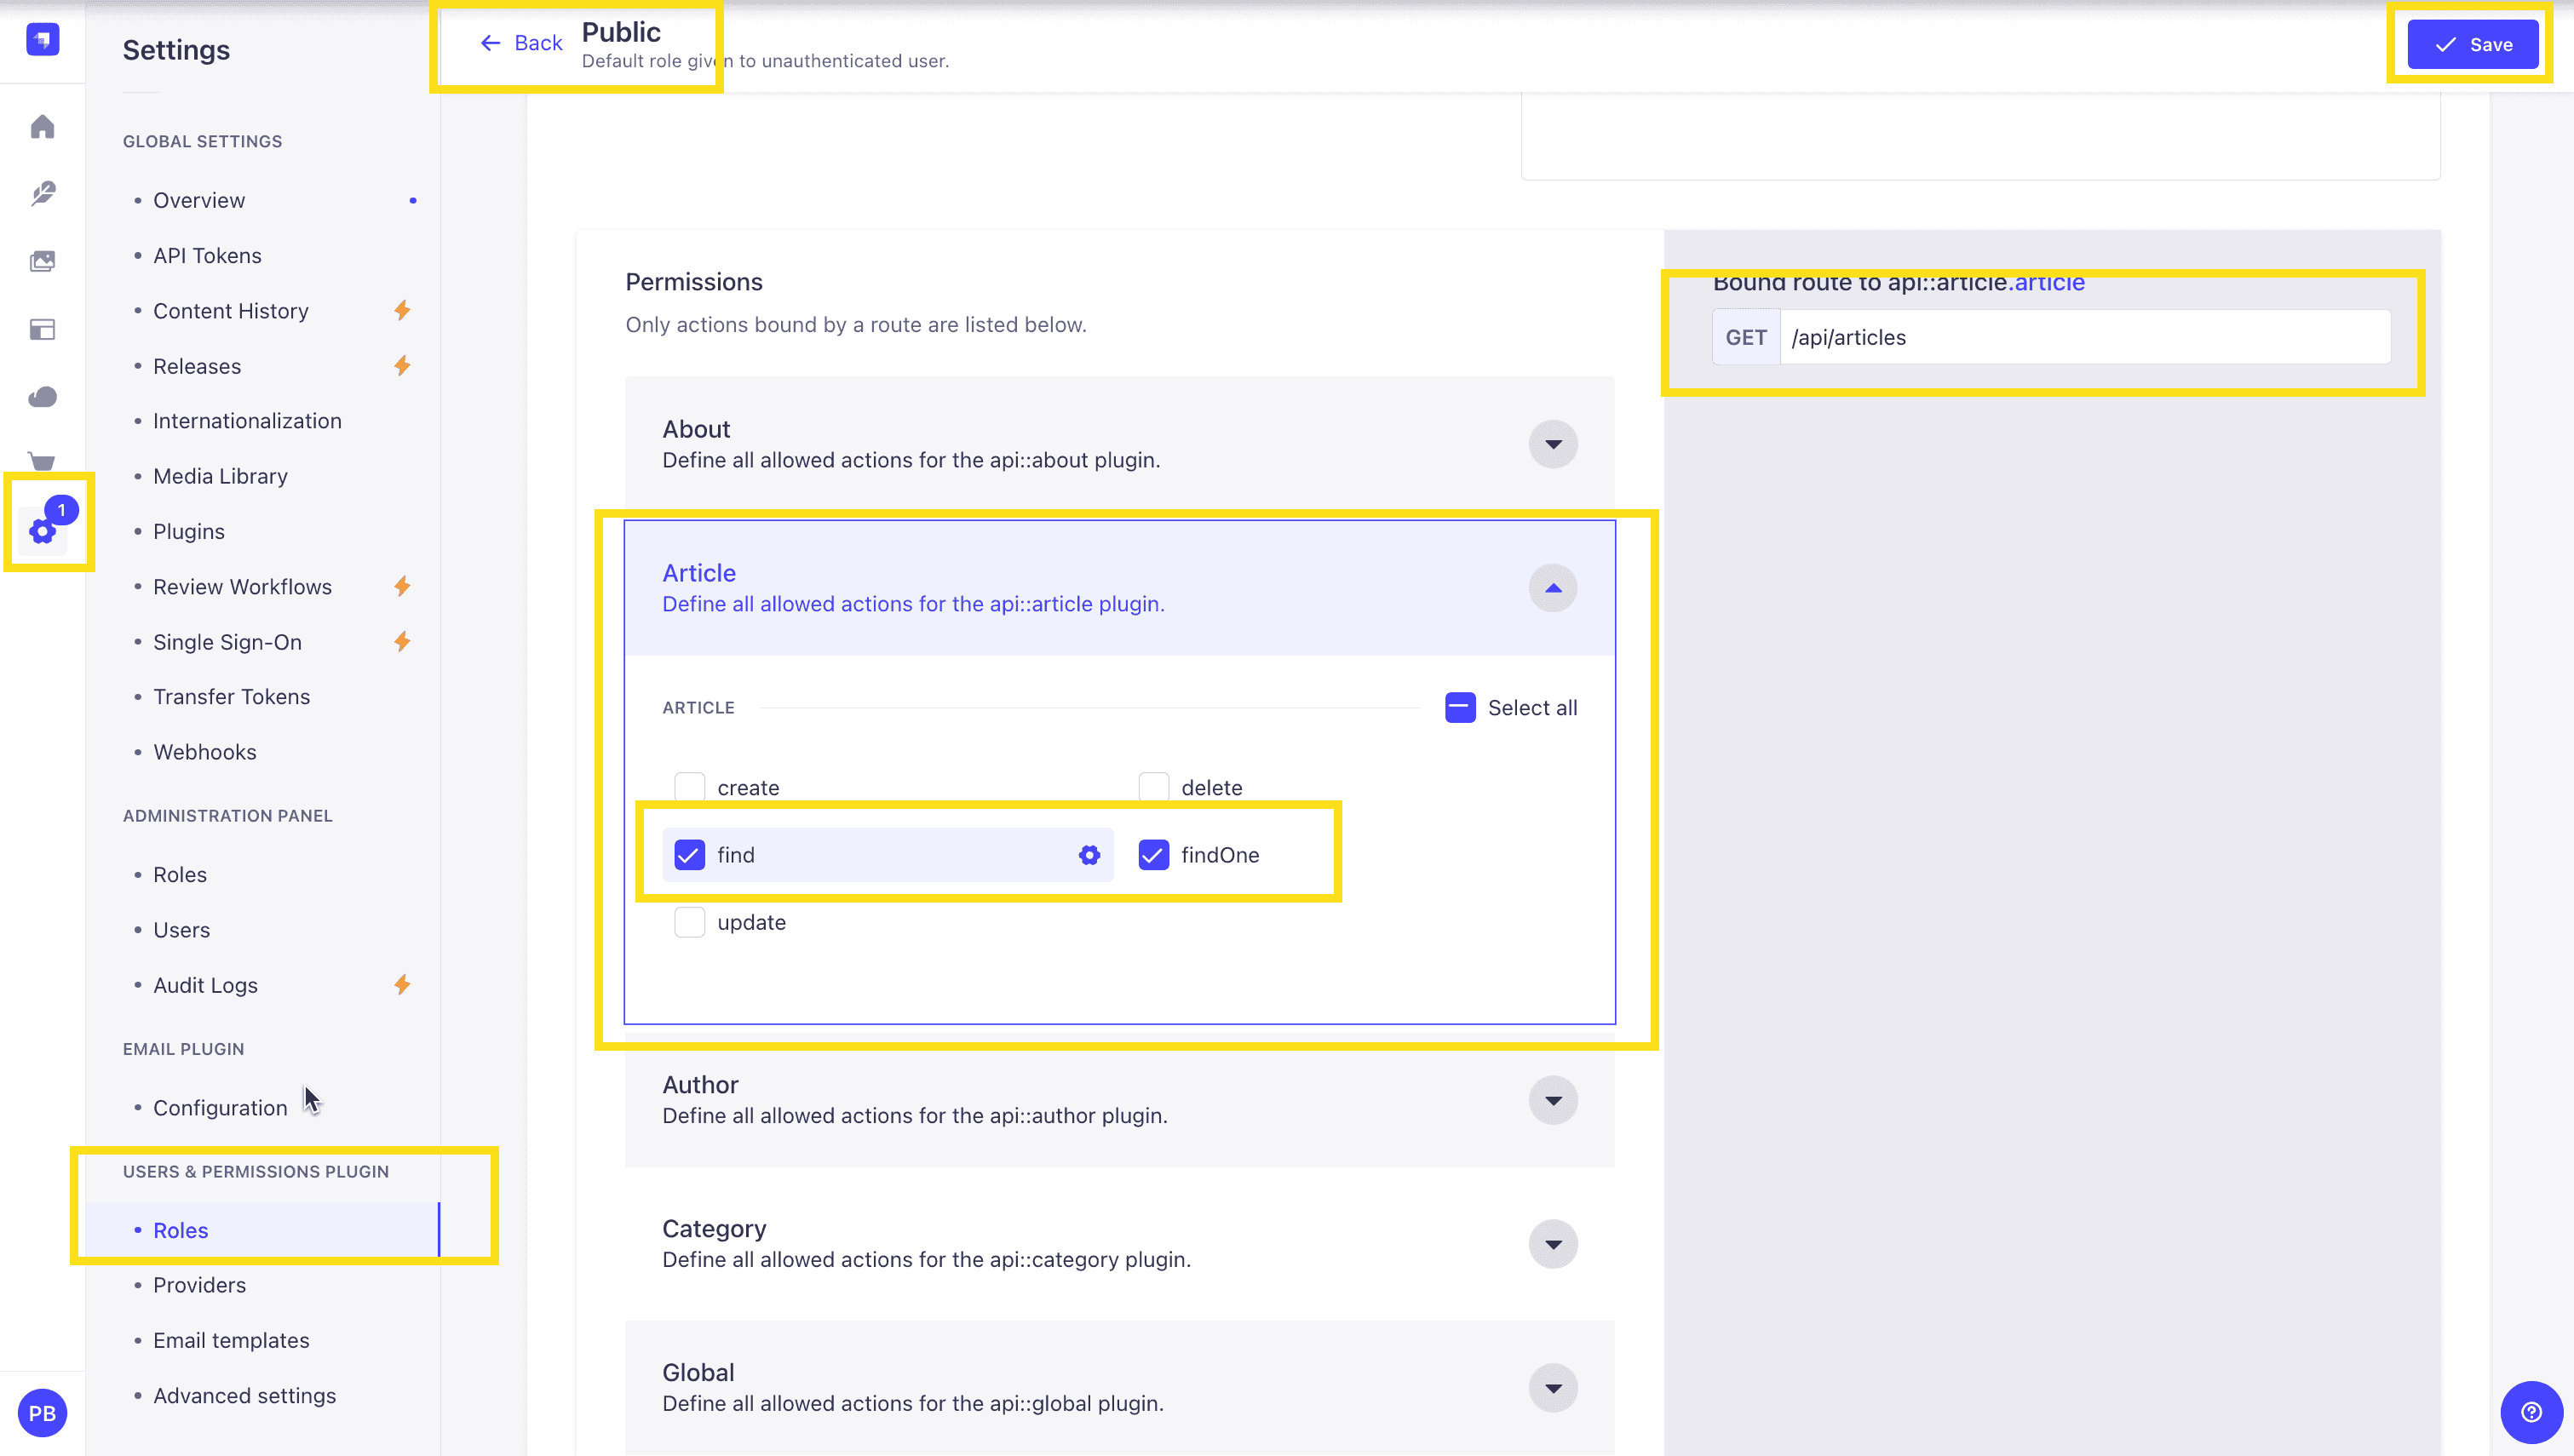
Once all your articles are published, we will expose our Strapi API for the Articles Collection. This can be done in Settings -> Users & Permissions plugin -> Roles -> Public -> Article.
You should have find and findOne selected. If not, go ahead and select them.
Test API
Now, if we make a GET request to http://localhost:1337/api/articles, we should see the following data for our articles.
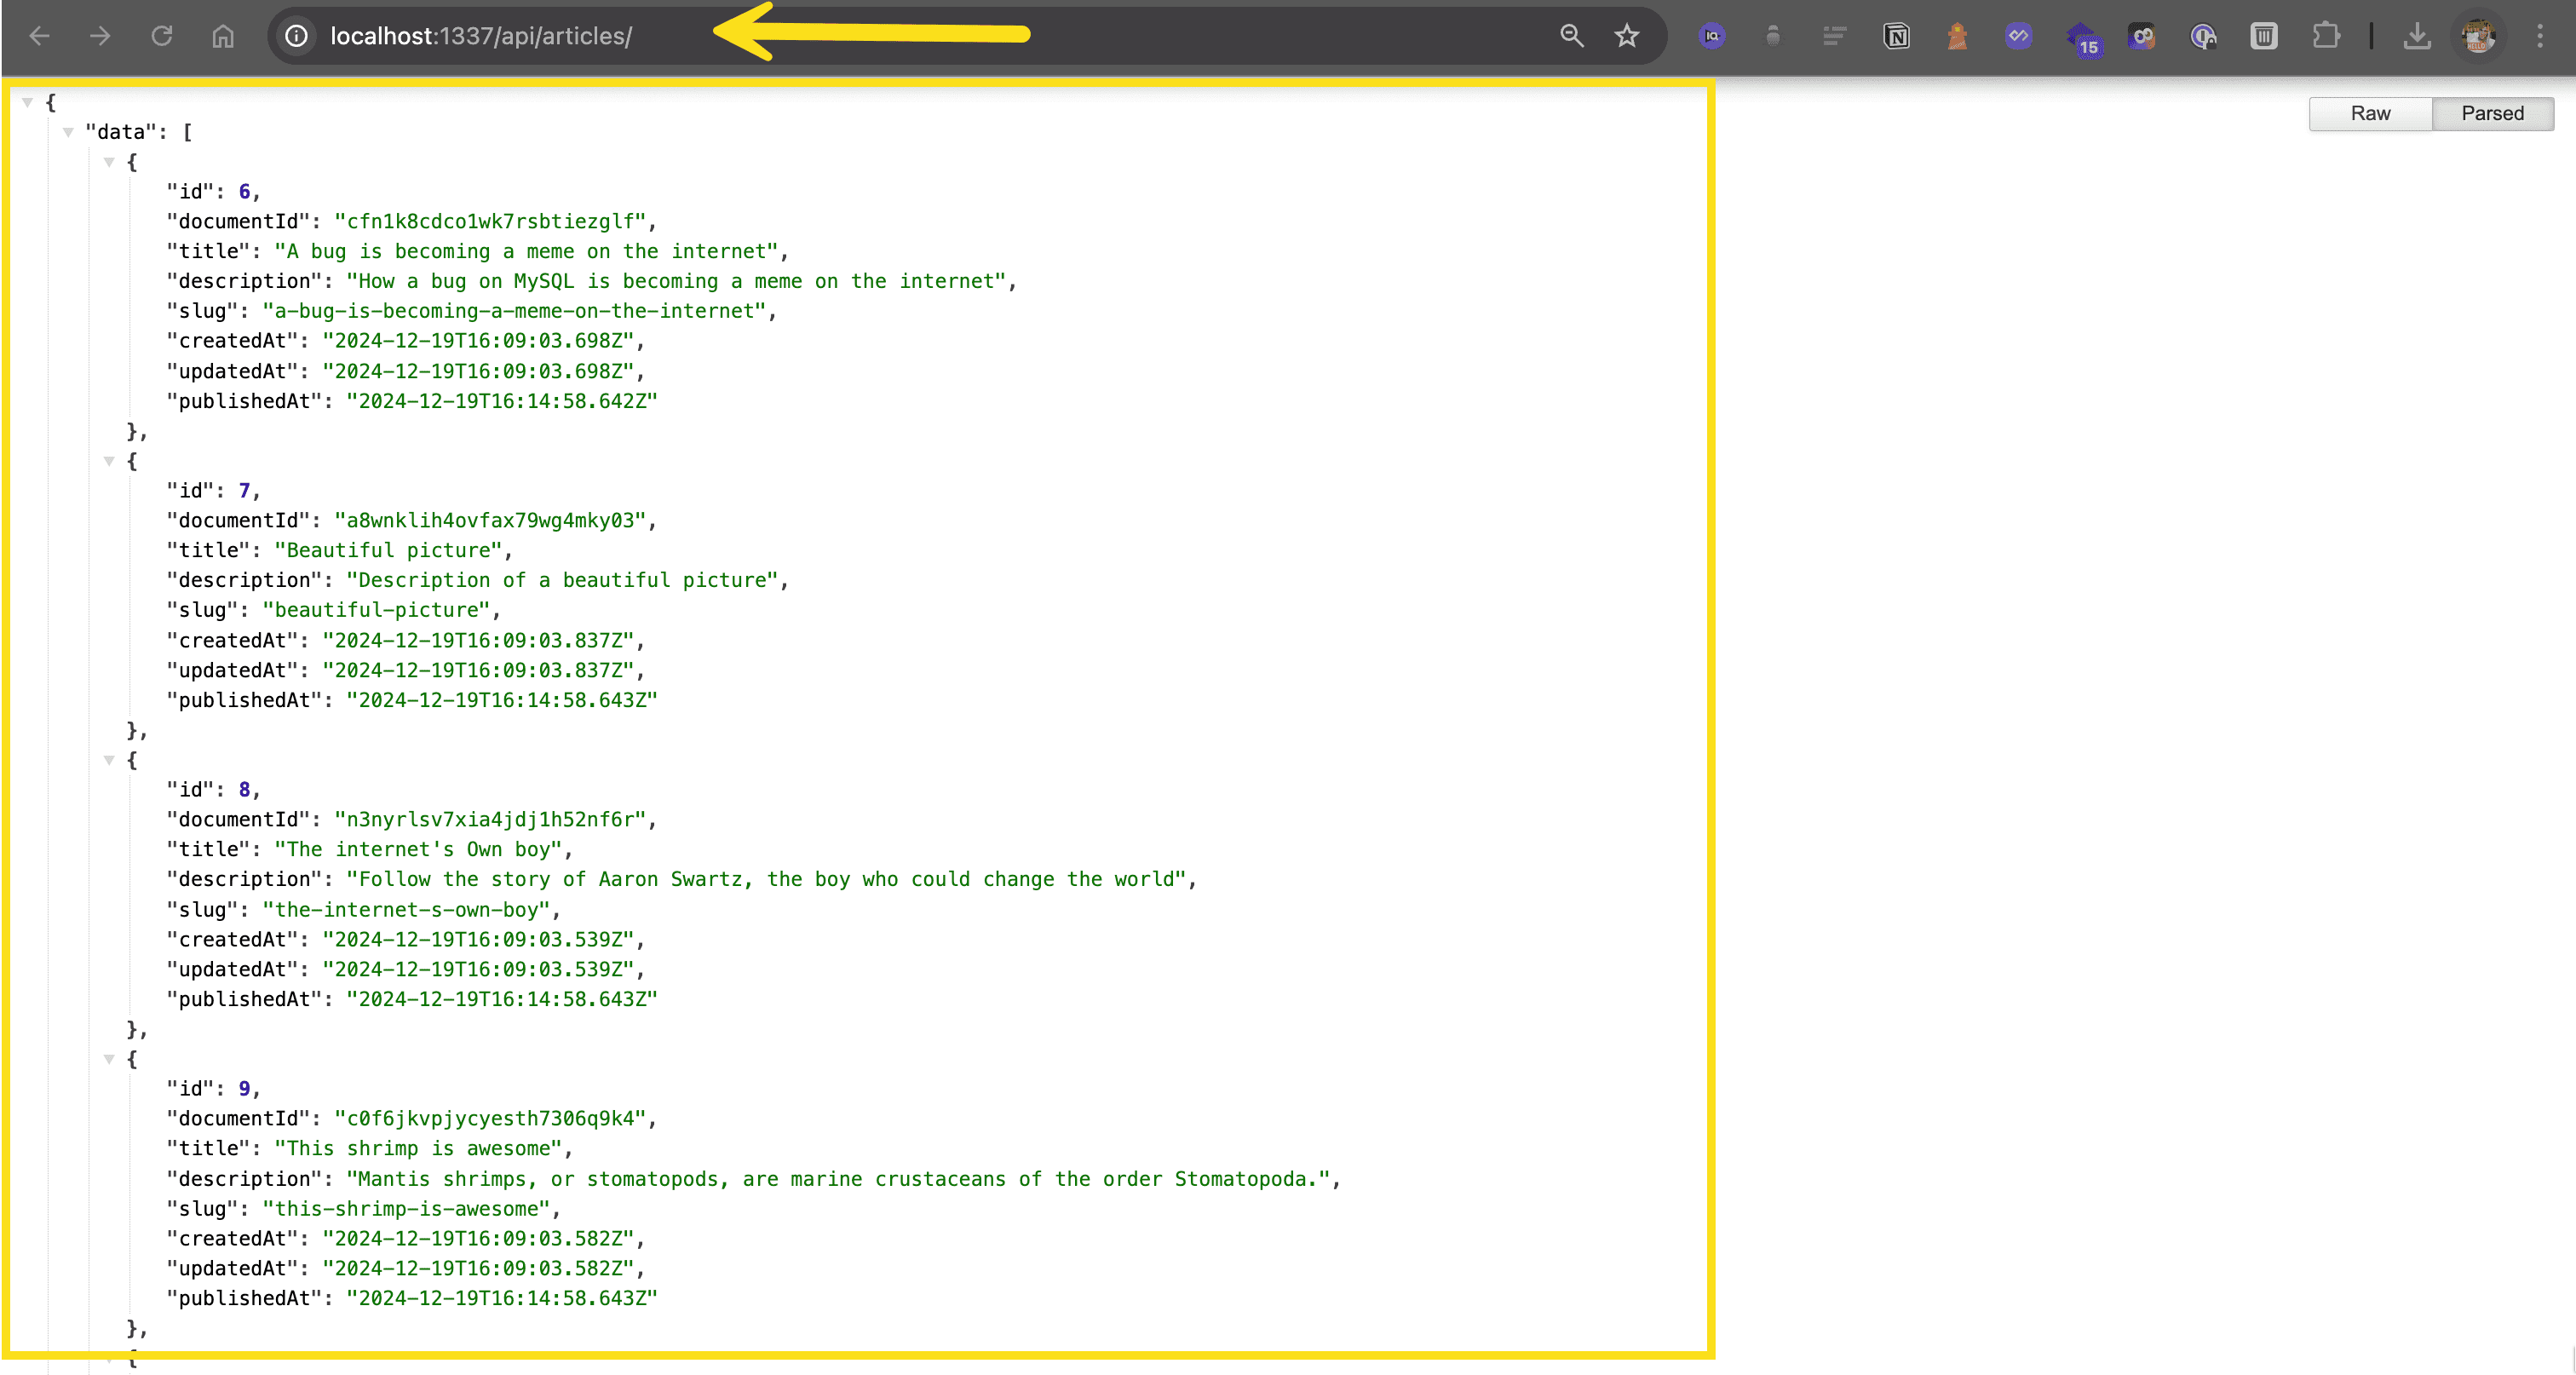
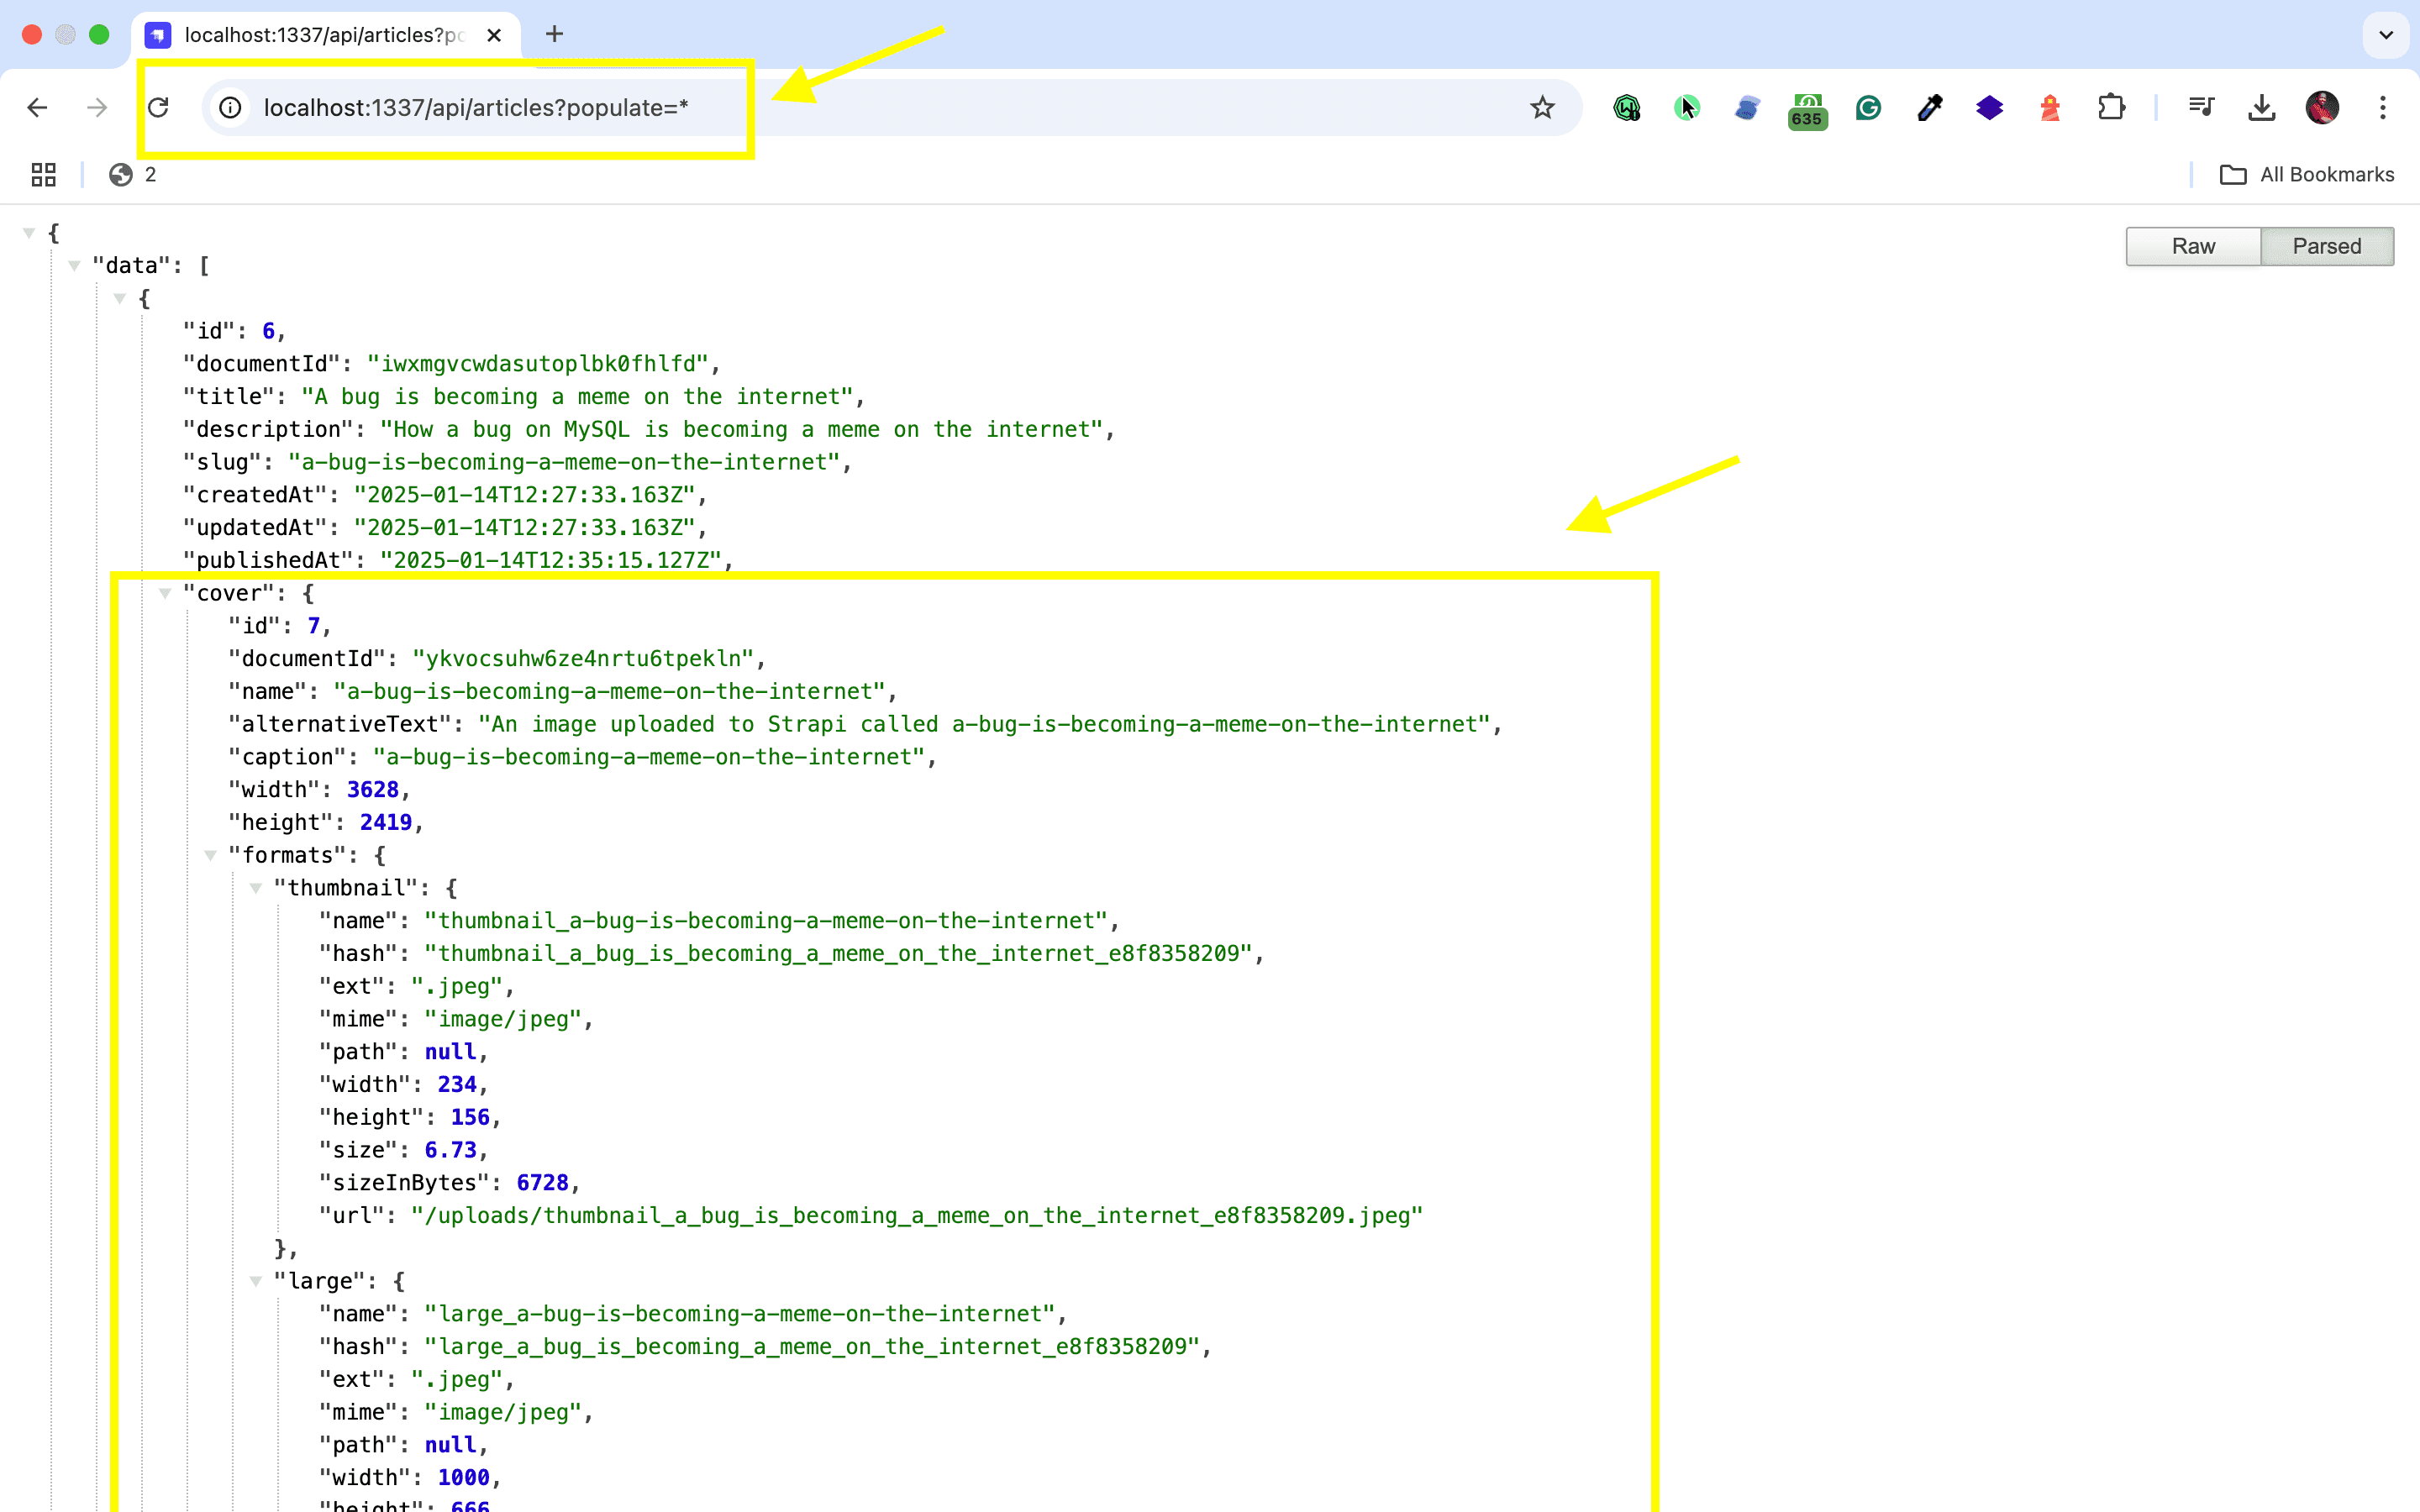
🖐️ Note: The article covers (images) are not returned. This is because the REST API by default does not populate any relations, media fields, components, or dynamic zones.. Learn more about REST API: Population & Field Selection.
So, let's get the article covers by using the populate=* parameter: http://localhost:1337/api/articles?populate=*
Getting Started With Google Maps
Installing and Adjusting Settings for Google Maps Integration
Head over to the Google Cloud Console to secure your API key. Create a new project, enable the Maps JavaScript API, and generate your key. Once you have it, store it in a Strapi environment variable to keep it secure and ensure only authorized requests can access it.
Depending on your project's needs, you might want to add supporting plugins or dependencies to your Strapi setup. Strapi offers an open-source headless CMS with TypeScript support, allowing you to create and write code using TypeScript files. You can also explore additional plugins and integrations available in the Strapi Market to meet your specific requirements.
Install Google Maps Services Package
npm install @googlemaps/google-maps-services-jsImport the Google Maps Client using TypeScript and ES6 module:
import {Client} from "@googlemaps/google-maps-services-js";Code Implementation for Integrating Google Maps with Strapi
To create an endpoint in your Strapi backend for retrieving data from Google Maps, you can build a controller in ./src/api/[content-type]/controllers/[content-type].ts that utilizes the npm install @googlemaps/google-maps-services-js package. Here's an example:
module.exports = {
  async getMapData(ctx) {
    const client = new Client({});

    client
      .elevation({
        params: {
          locations: [{ lat: 45, lng: -110 }],
          key: process.env.GOOGLE_MAPS_API_KEY,
        },
        timeout: 1000, // milliseconds
      })
      .then((r) => {
        console.log(r.data.results[0].elevation);
      })
      .catch((e) => {
        console.log(e.response.data.error_message);
      });
  },
};
Be sure to replace 'GOOGLE_MAPS_API_KEY' with your actual API key. Set up matching routes, and configure your Strapi models and permissions. Depending on your application's architecture, you might use REST or GraphQL APIs to interact with your data. If you're unsure which one to choose, read our comparison of REST vs GraphQL to make an informed decision.
If you're interested in integrating IP-based geolocation data into your map, consider exploring IP geolocation with Maps for additional functionality.
Once everything's in place, you'll have a direct connection between Google Maps and your Strapi project.
Well done!
Strapi Open Office Hours
If you have any questions about Strapi 5 or just would like to stop by and say hi, you can join us at Strapi's Discord Open Office Hours Monday through Friday at 12:30 pm - 1:30 pm CST: Strapi Discord Open Office Hours
For more details, visit the Strapi documentation and Google Maps documentation.
Frequently Asked Questions
Store location data in Strapi content types (coordinates, addresses), then use the Google Maps JavaScript API in your frontend to display this location data on interactive maps.
Create content types for locations with coordinate fields. Fetch location data from Strapi's API and convert it to Google Maps marker format for display on your map.
Store the API key in frontend environment variables (for client-side use) or Strapi's environment for server-side geocoding. Configure API key restrictions in Google Cloud Console.
Yes, create overlay content in Strapi (regions, routes, areas) and render it using Google Maps' polygon, polyline, or custom overlay APIs. Manage overlay data through Strapi's admin.
Implement marker clustering for many points, use viewport-based loading to fetch only visible locations, and cache geocoding results to reduce API calls.