Lexical
Learn how to integrate Lexical with Strapi
Why Use Lexical?
Lexical, developed by Facebook, is a text editor framework that focuses on reliability, accessibility, and performance—making it an excellent choice for integration with Strapi. Lexical ships with React bindings but integrates with any JavaScript framework you prefer. Strapi is primarily an open-source headless CMS that integrates with various technologies. It provides APIs that can be consumed by JavaScript in browsers and by Swift in iOS applications. When you integrate Lexical with Strapi, building anything from a simple plain-text editor to a full-featured WYSIWYG experience becomes straightforward with Lexical's declarative APIs.
Integrating Lexical with Strapi can enhance your enterprise content management capabilities. Ready to explore? Check out the complete documentation on Lexical's official website.
Why Use Strapi?
Strapi is the leading open-source headless CMS offering features, like customizable APIs, role-based permissions, multilingual support, etc. It simplifies content management and integrates effortlessly with modern frontend frameworks.
Explore the Strapi documentation for more details.
Strapi 5 Highlights
The out-of-the-box Strapi features allow you to get up and running in no time:
- Single types: Create one-off pages that have a unique content structure.
- Draft and Publish: Reduce the risk of publishing errors and streamline collaboration.
- 100% TypeScript Support: Enjoy type safety & easy maintainability
- Customizable API: With Strapi, you can just hop in your code editor and edit the code to fit your API to your needs.
- Integrations: Strapi supports integrations with Cloudinary, SendGrid, Algolia, and others.
- Editor interface: The editor allows you to pull in dynamic blocks of content.
- Authentication: Secure and authorize access to your API with JWT or providers.
- RBAC: Help maximize operational efficiency, reduce dev team support work, and safeguard against unauthorized access or configuration modifications.
- i18n: Manage content in multiple languages. Easily query the different locales through the API.
- Plugins: Customize and extend Strapi using plugins.
Learn more about Strapi 5 feature.
Setup Strapi 5 Headless CMS
We are going to start by setting up our Strapi 5 project with the following command:
🖐️ Note: make sure that you have created a new directory for your project.
You can find the full documentation for Strapi 5 here.
Install Strapi
npx create-strapi-app@latest serverYou will be asked to choose if you would like to use Strapi Cloud we will choose to skip for now.
 Strapi   v5.6.0 🚀 Let's create your new project

To deploy your project, create a new project on the Strapi Cloud dashboard.

? Please log in or sign up.
  Login/Sign up
❯ Skip
After that, you will be asked how you would like to set up your project. We will choose the following options:
? Do you want to use the default database (sqlite) ? Yes
? Start with an example structure & data? Yes <-- make sure you say yes
? Start with Typescript? Yes
? Install dependencies with npm? Yes
? Initialize a git repository? Yes
Once everything is set up and all the dependencies are installed, you can start your Strapi server with the following command:
cd server
npm run develop
You will be greeted with the Admin Create Account screen.
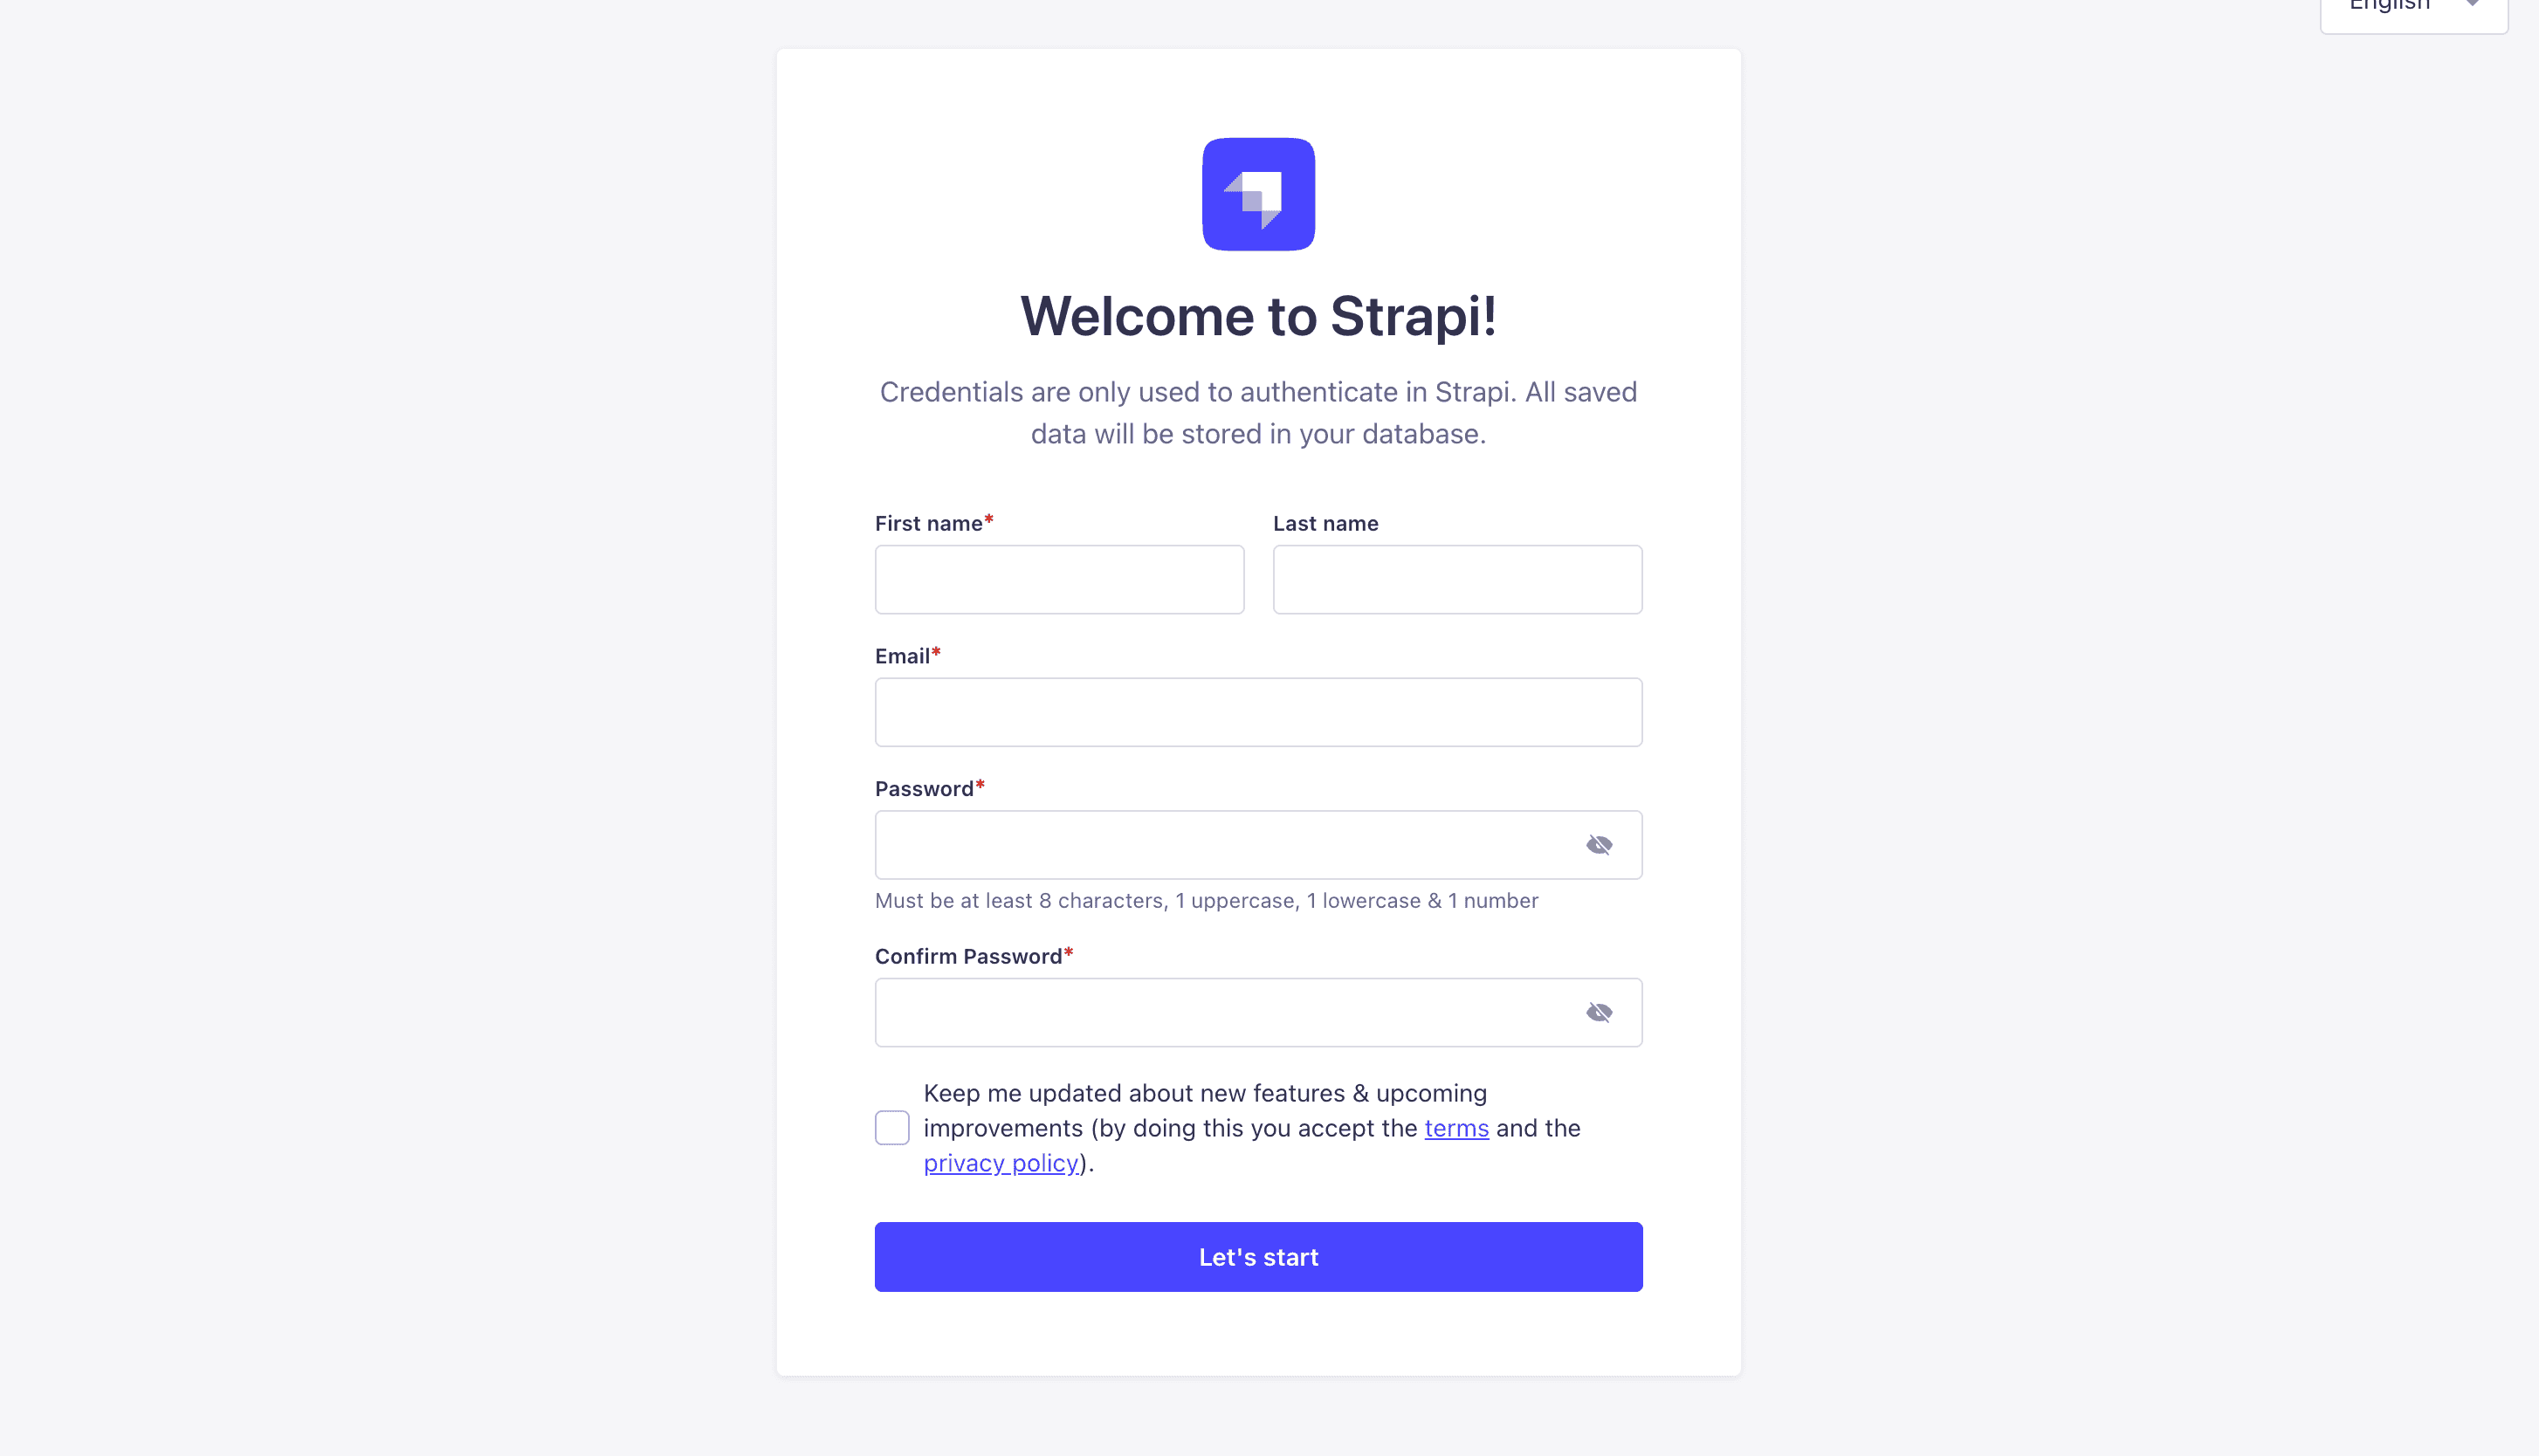
Go ahead and create your first Strapi user. All of this is local so you can use whatever you want.
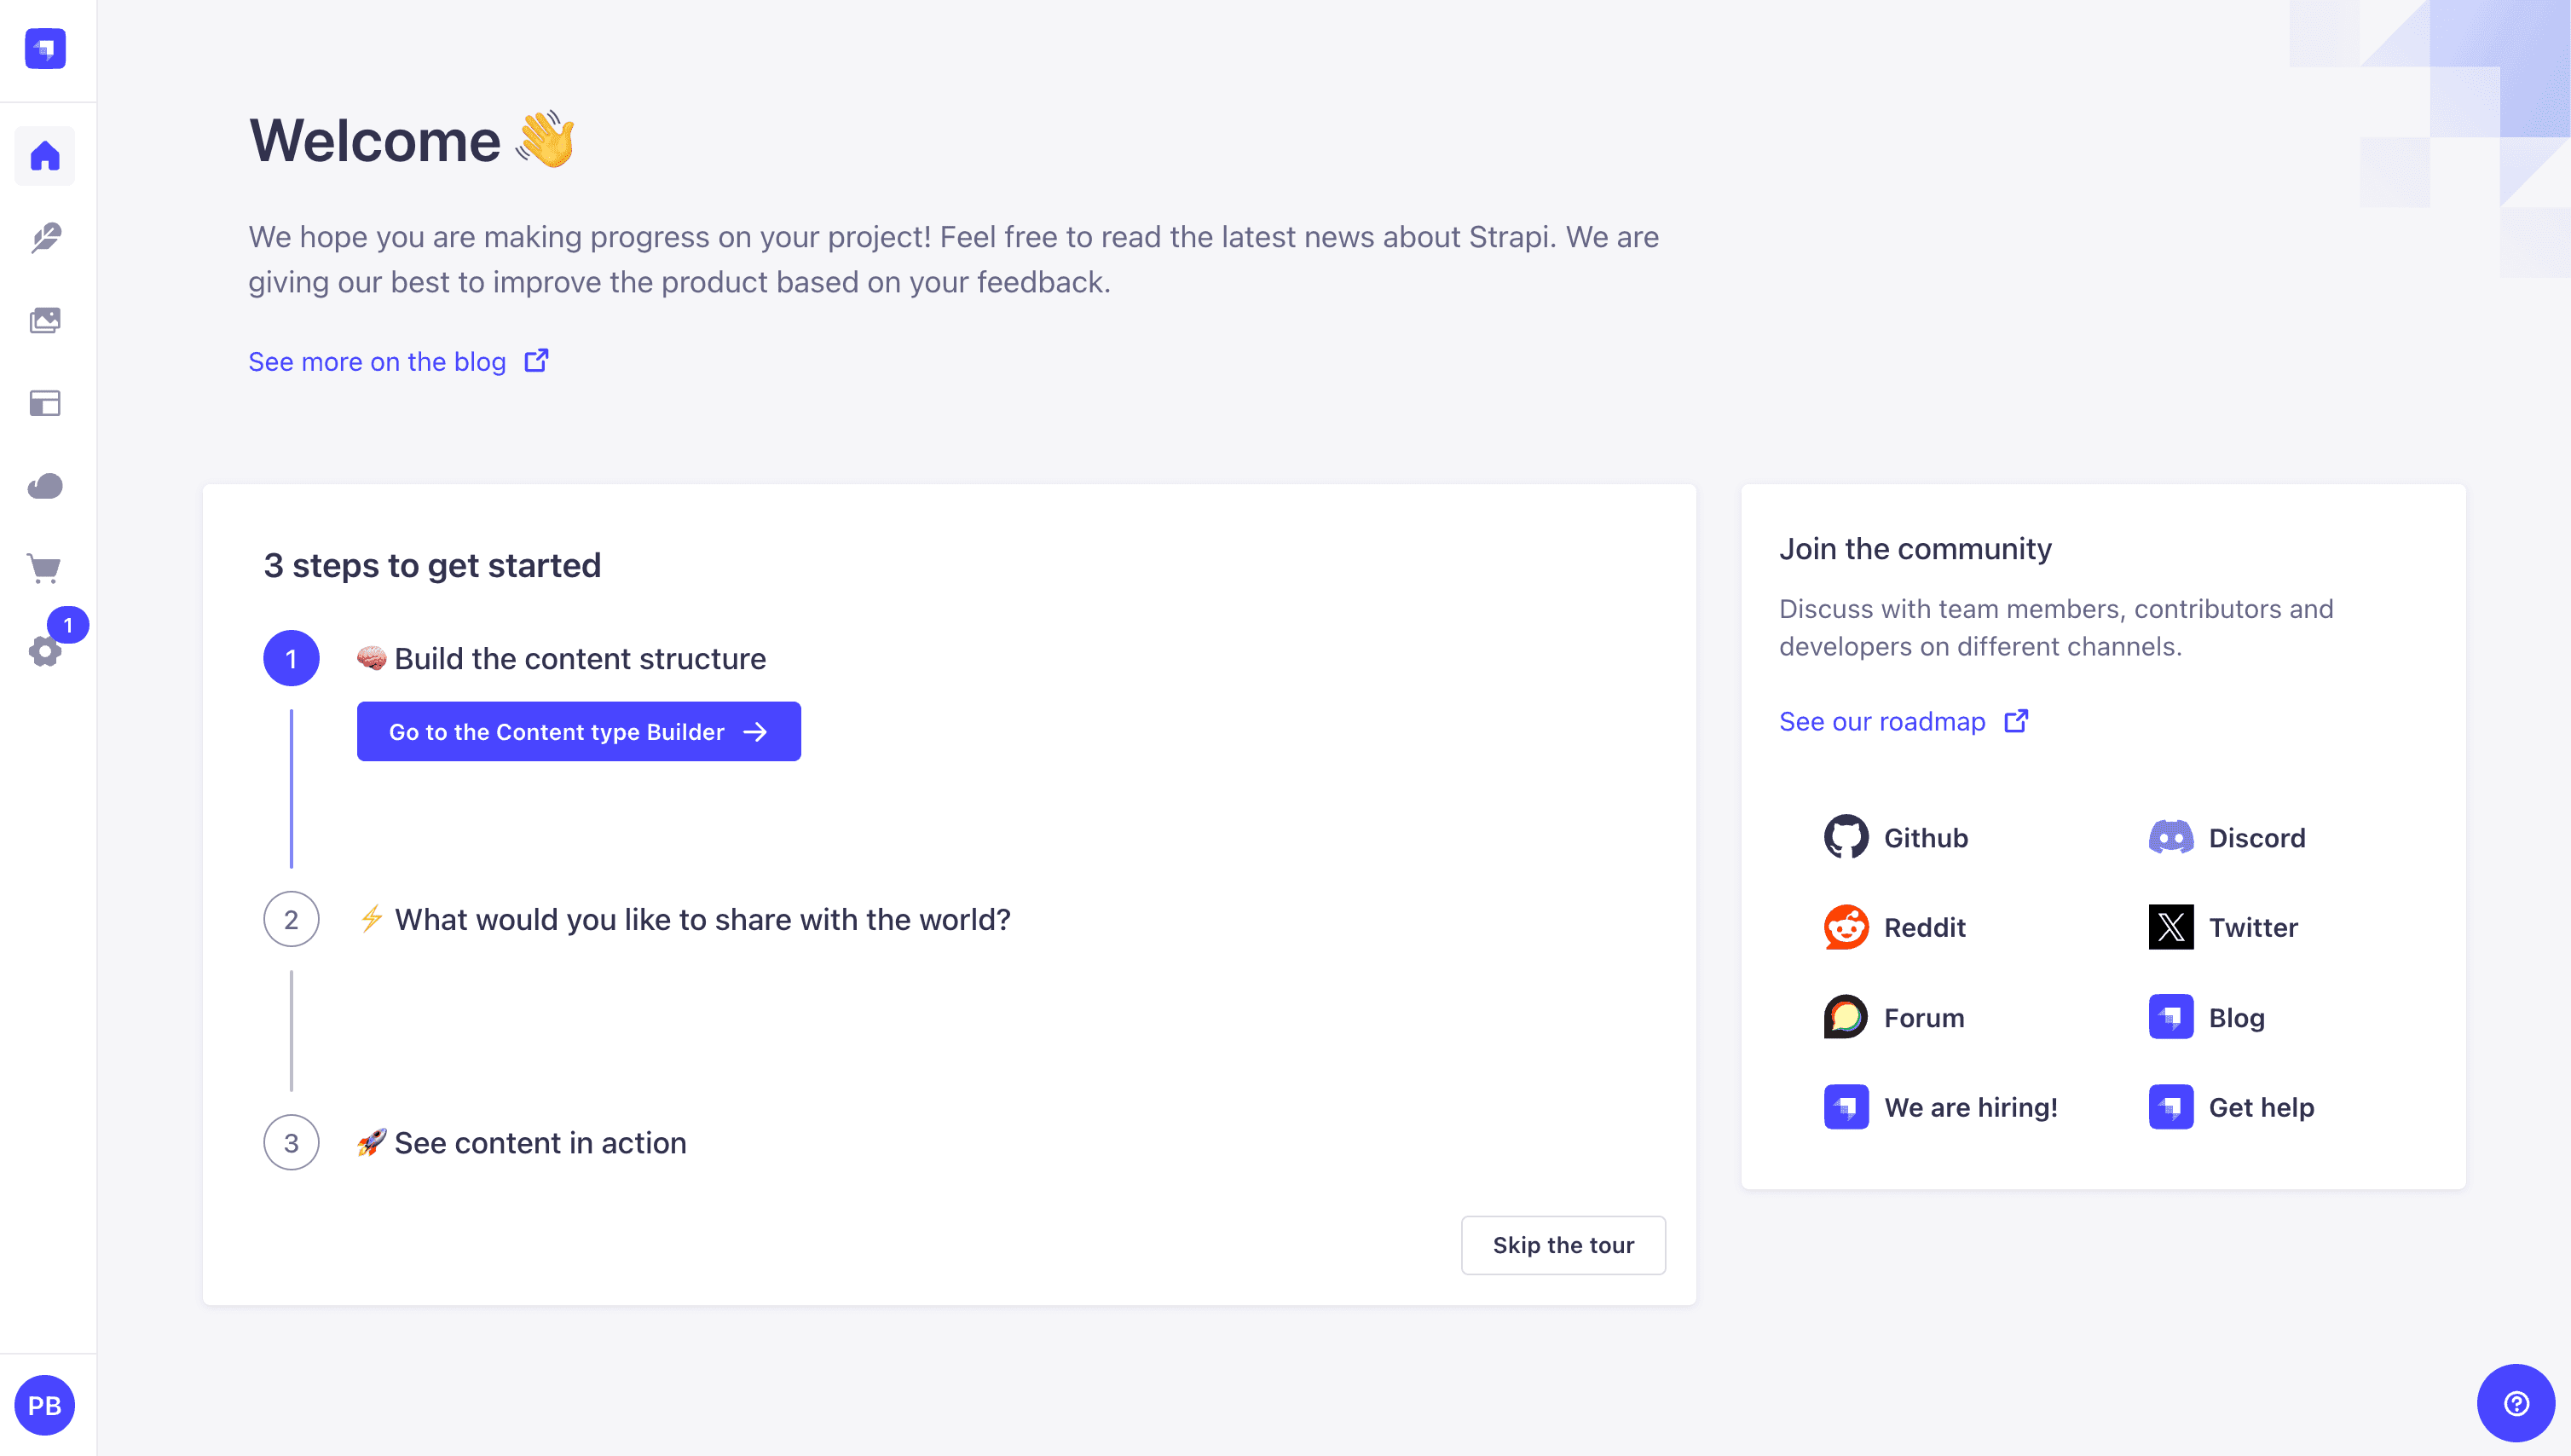
Once you have created your user, you will be redirected to the Strapi Dashboard screen.
Publish Article Entries
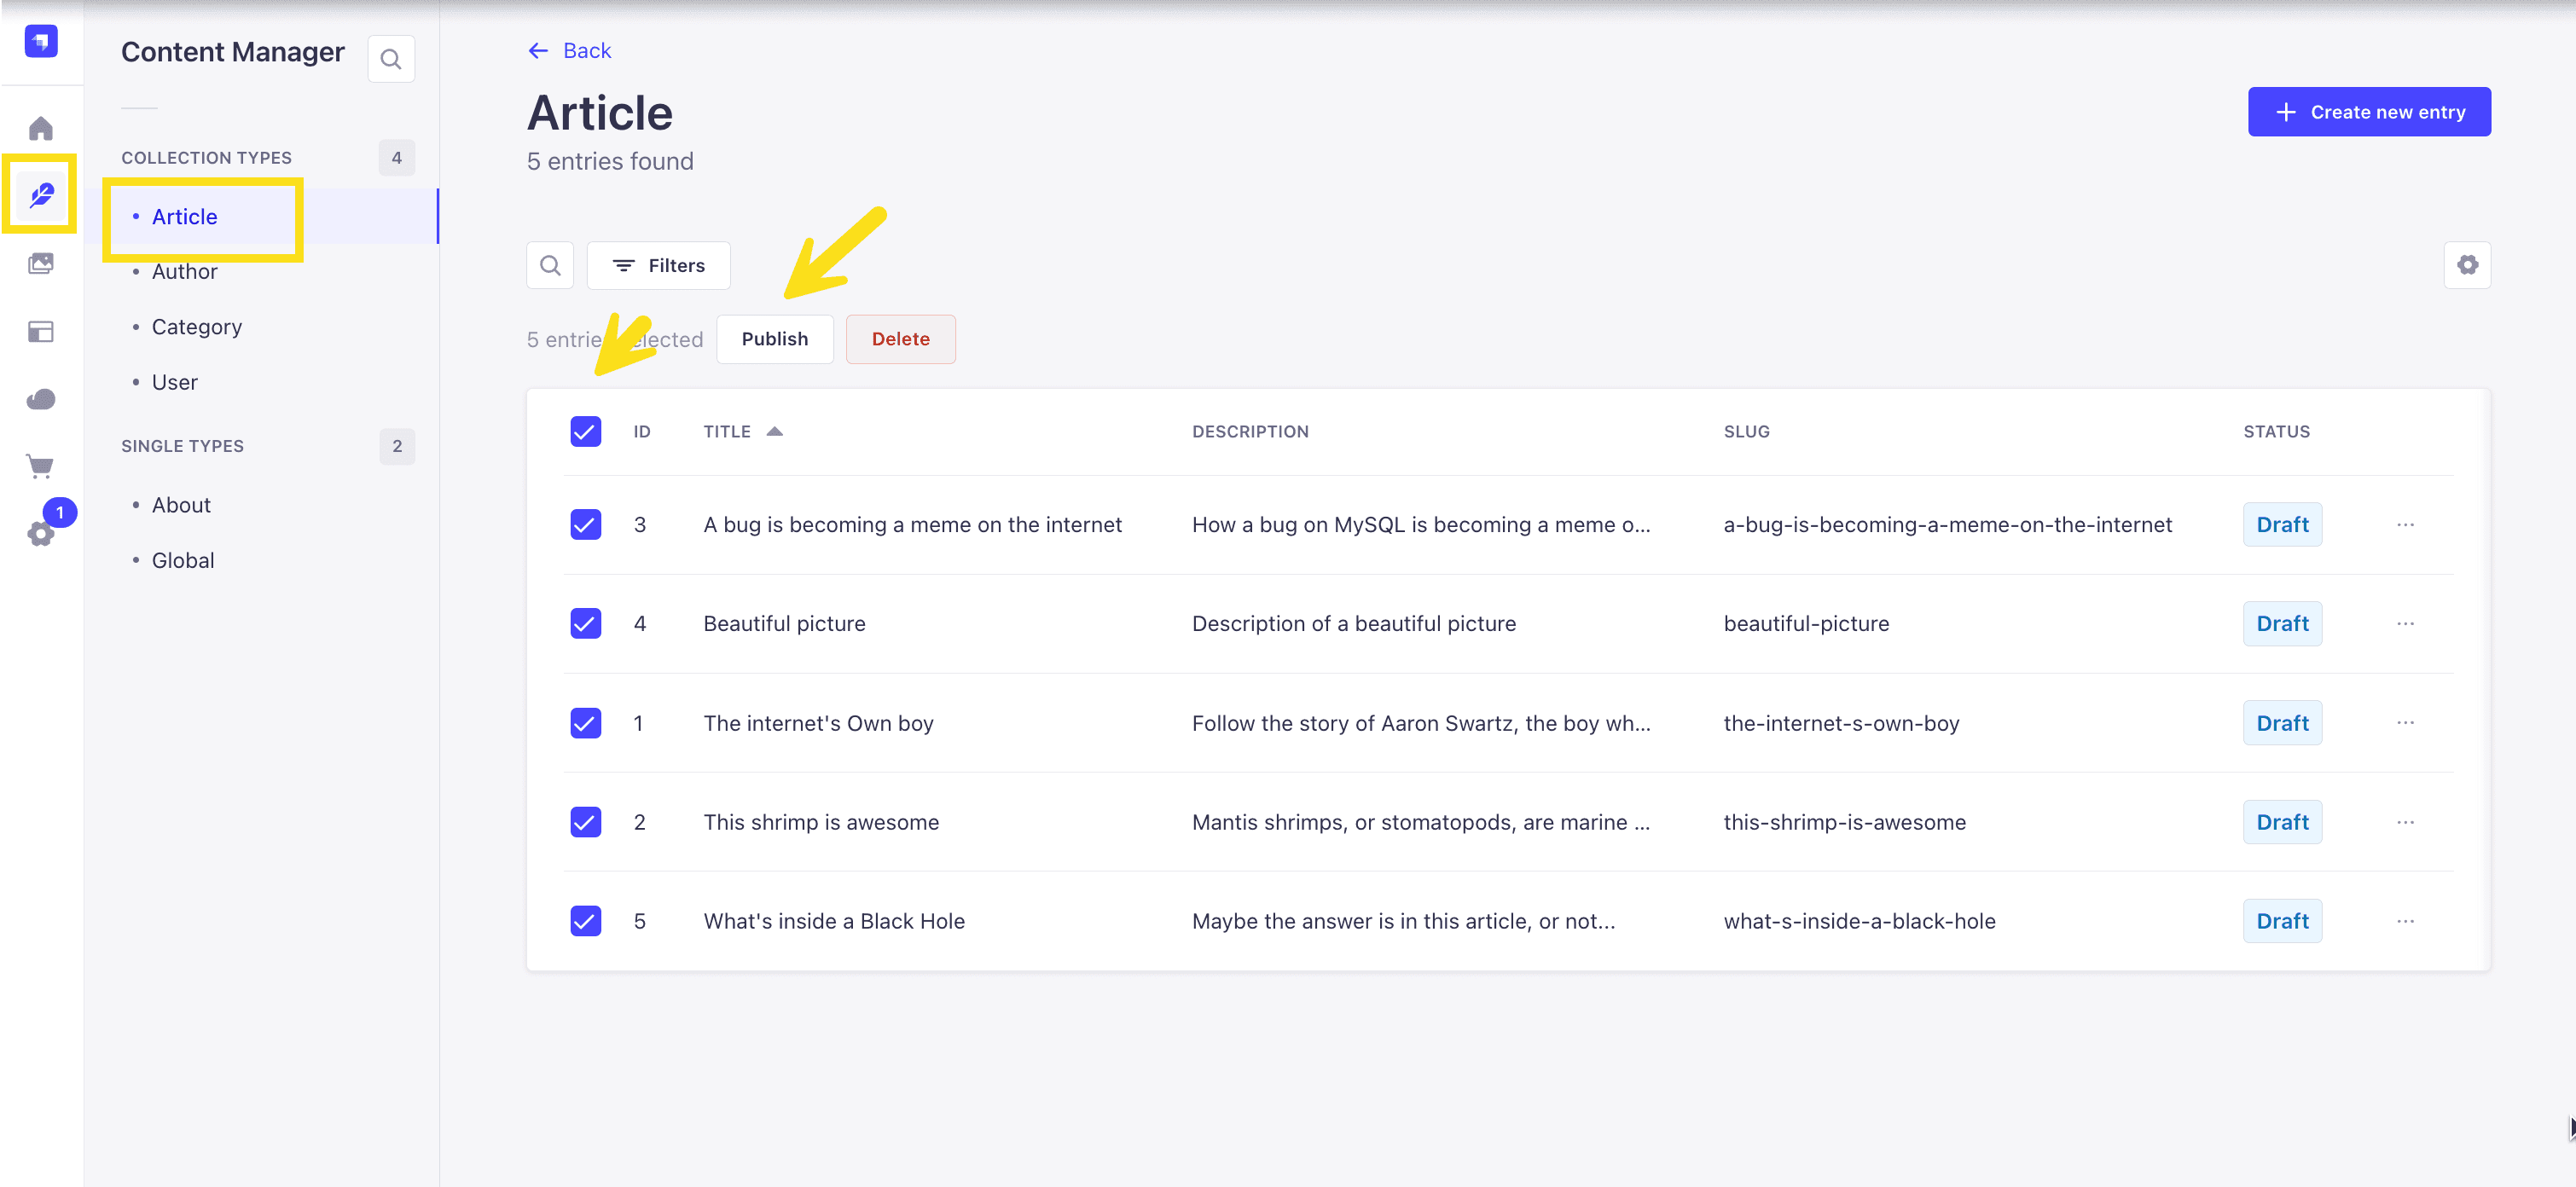
Since we created our app with the example data, you should be able to navigate to your Article collection and see the data that was created for us.
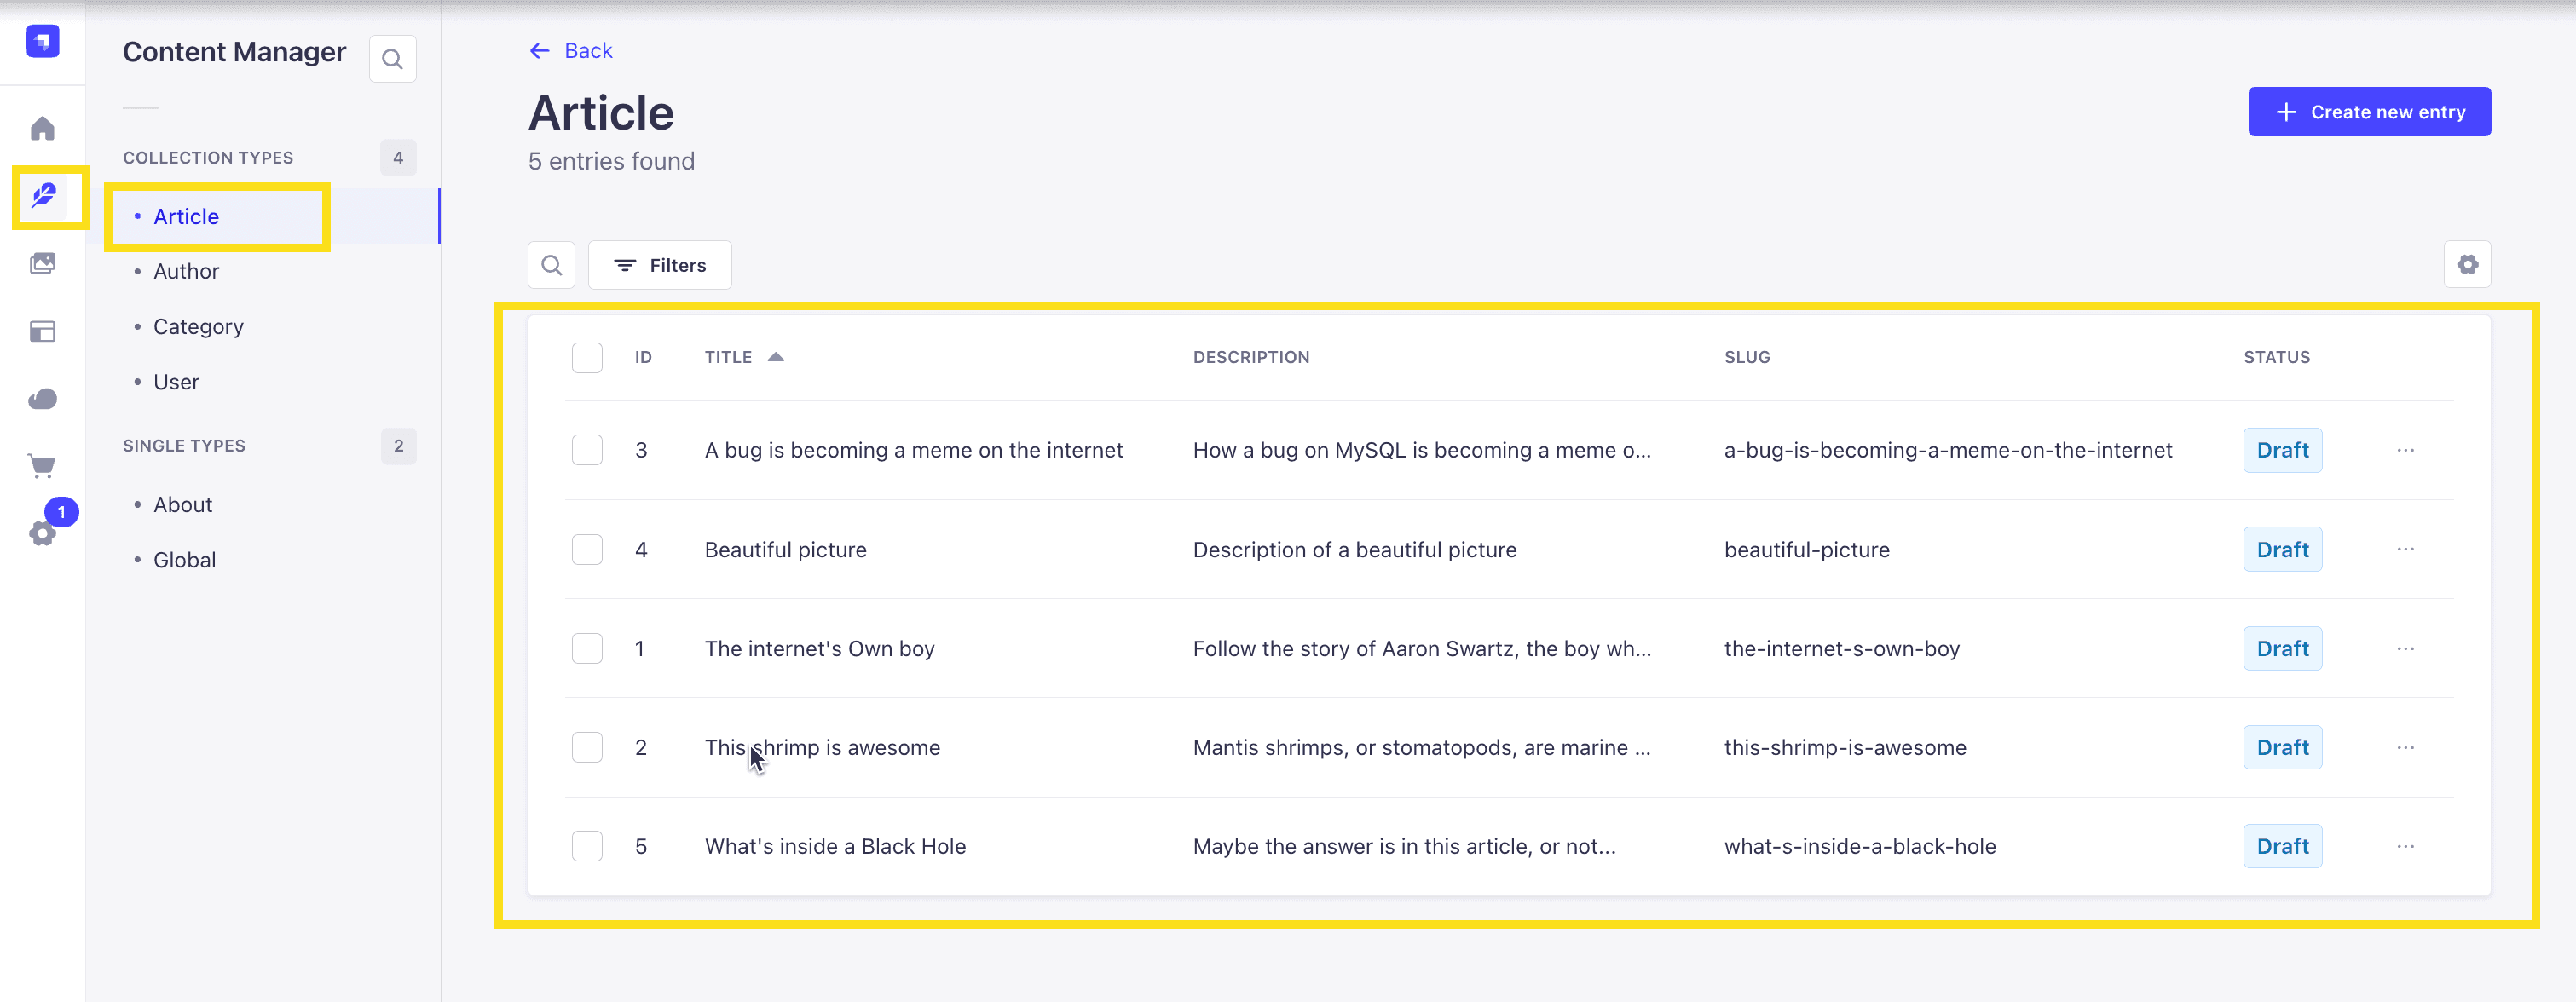
Now, let's make sure that all of the data is published. If not, you can select all items via the checkbox and then click the Publish button.
Enable API Access
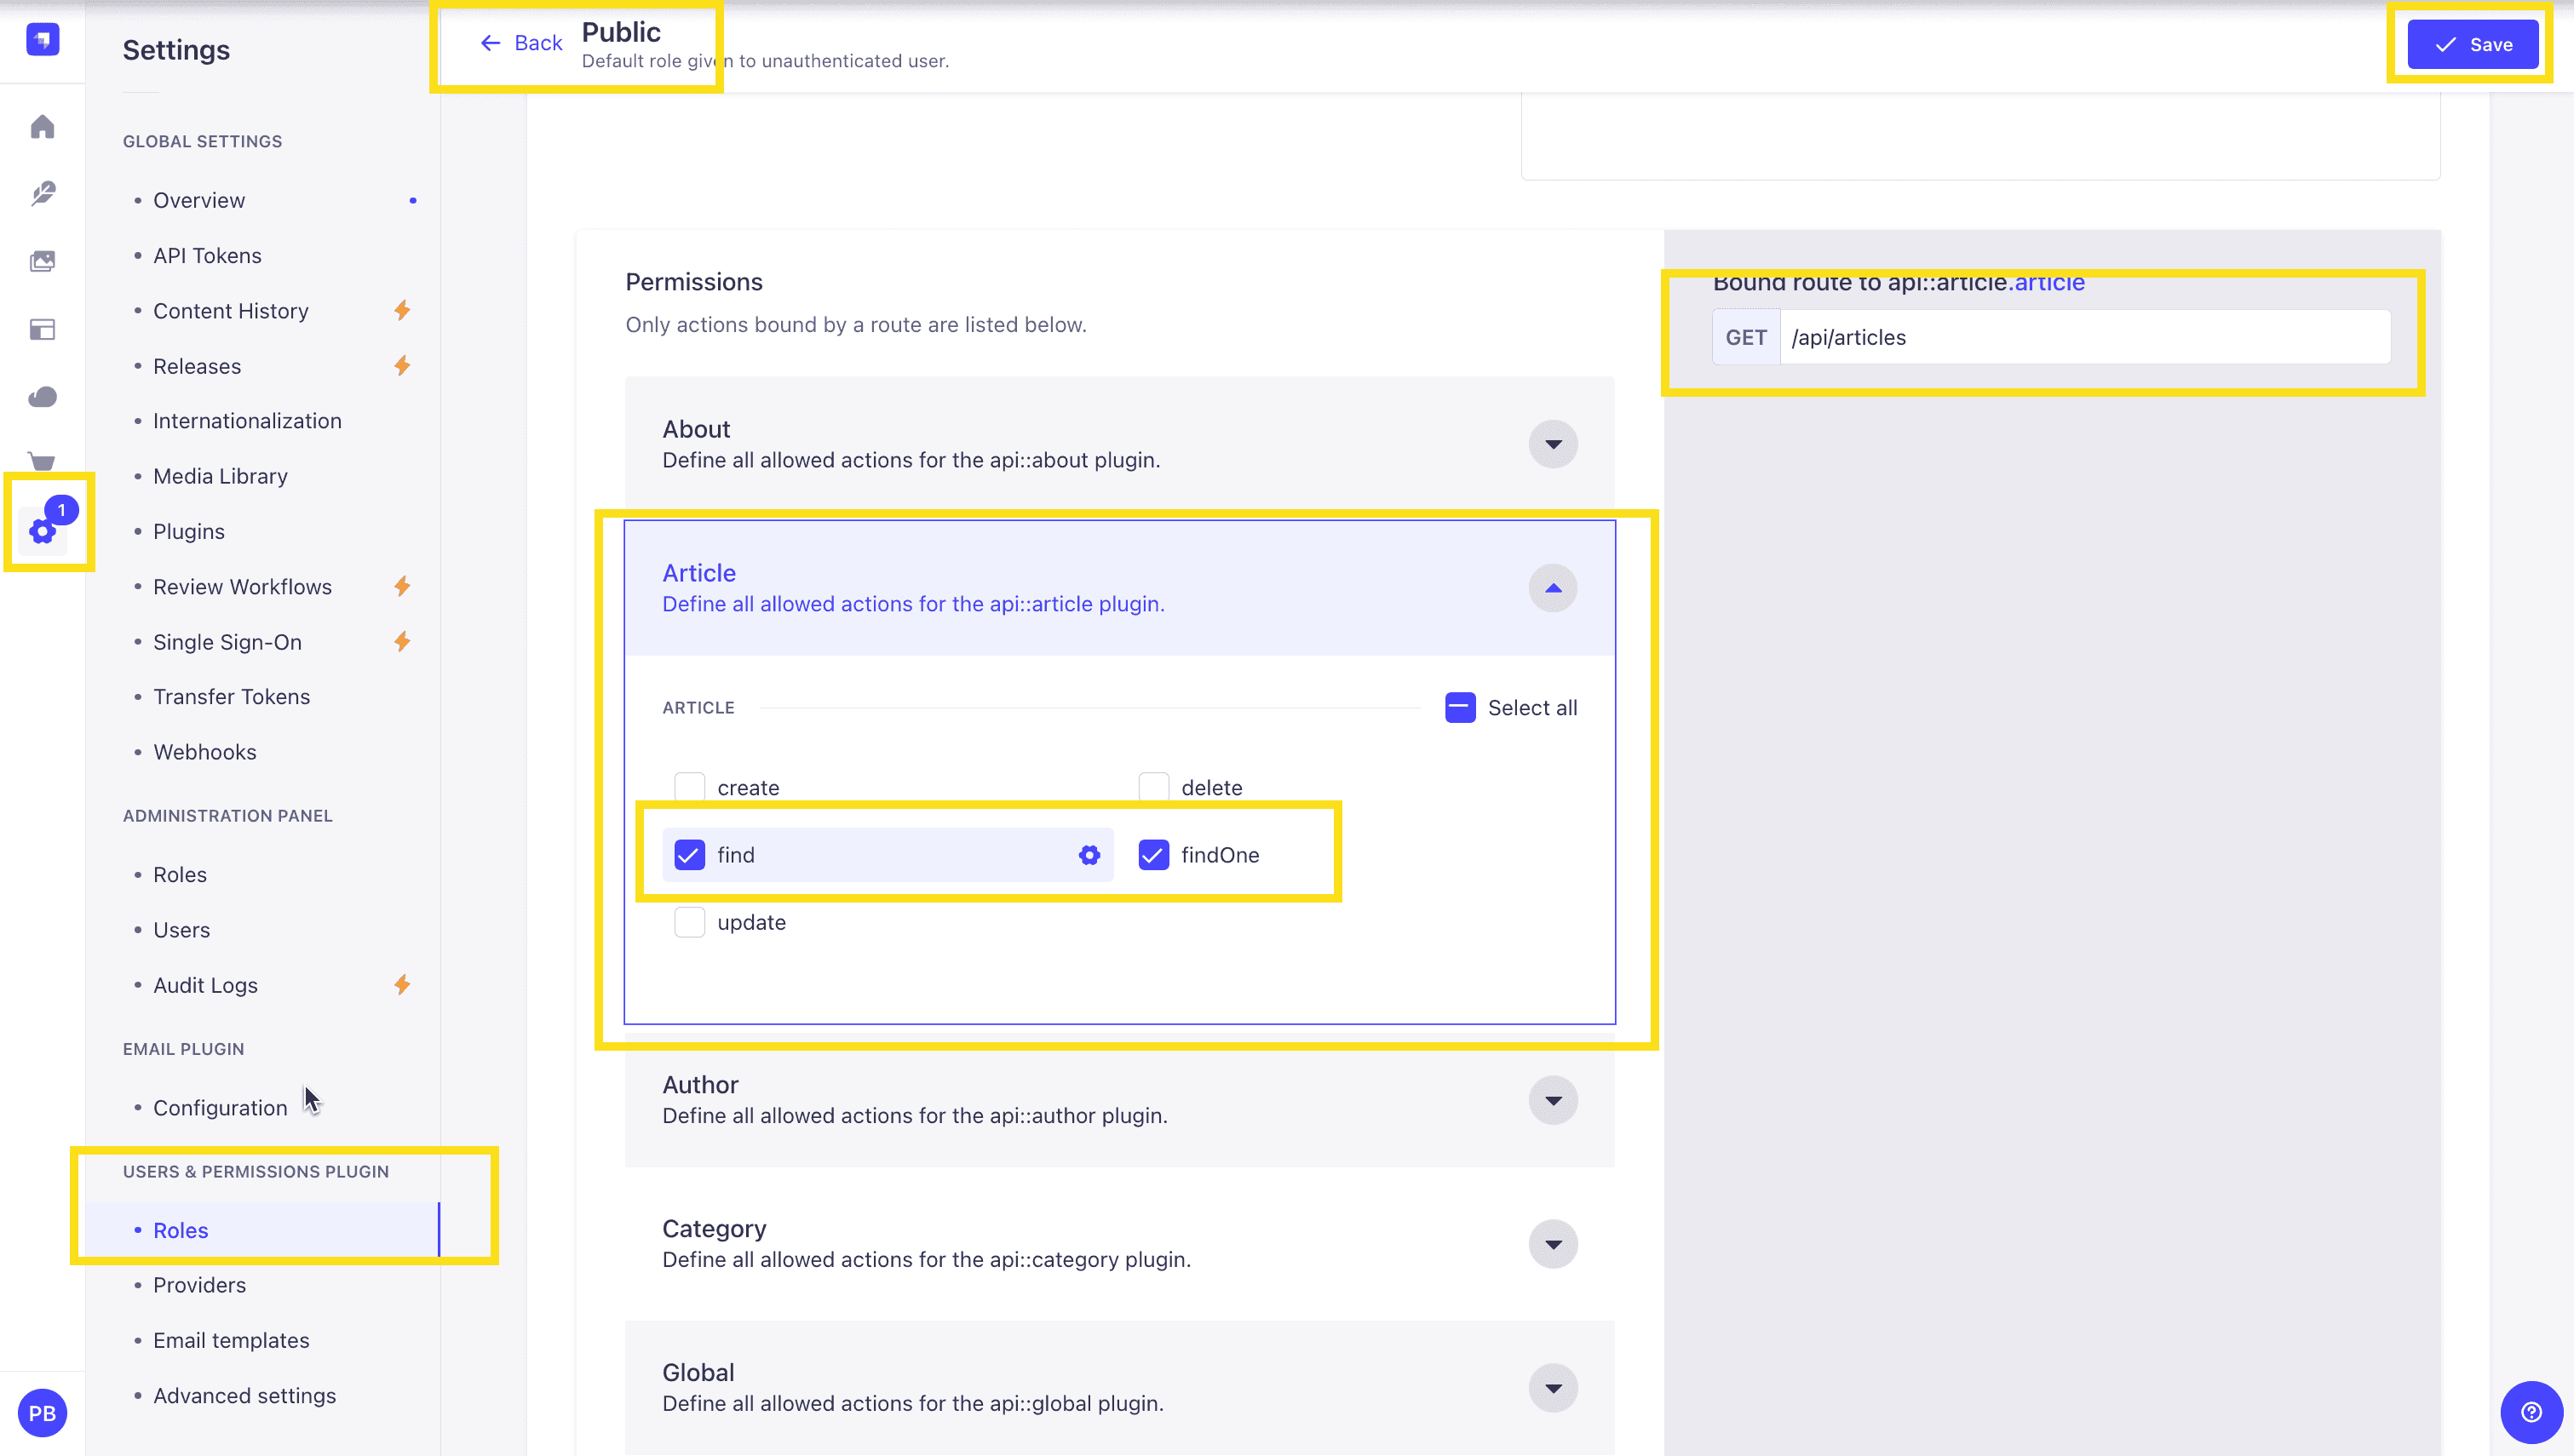
Once all your articles are published, we will expose our Strapi API for the Articles Collection. This can be done in Settings -> Users & Permissions plugin -> Roles -> Public -> Article.
You should have find and findOne selected. If not, go ahead and select them.
Test API
Now, if we make a GET request to http://localhost:1337/api/articles, we should see the following data for our articles.
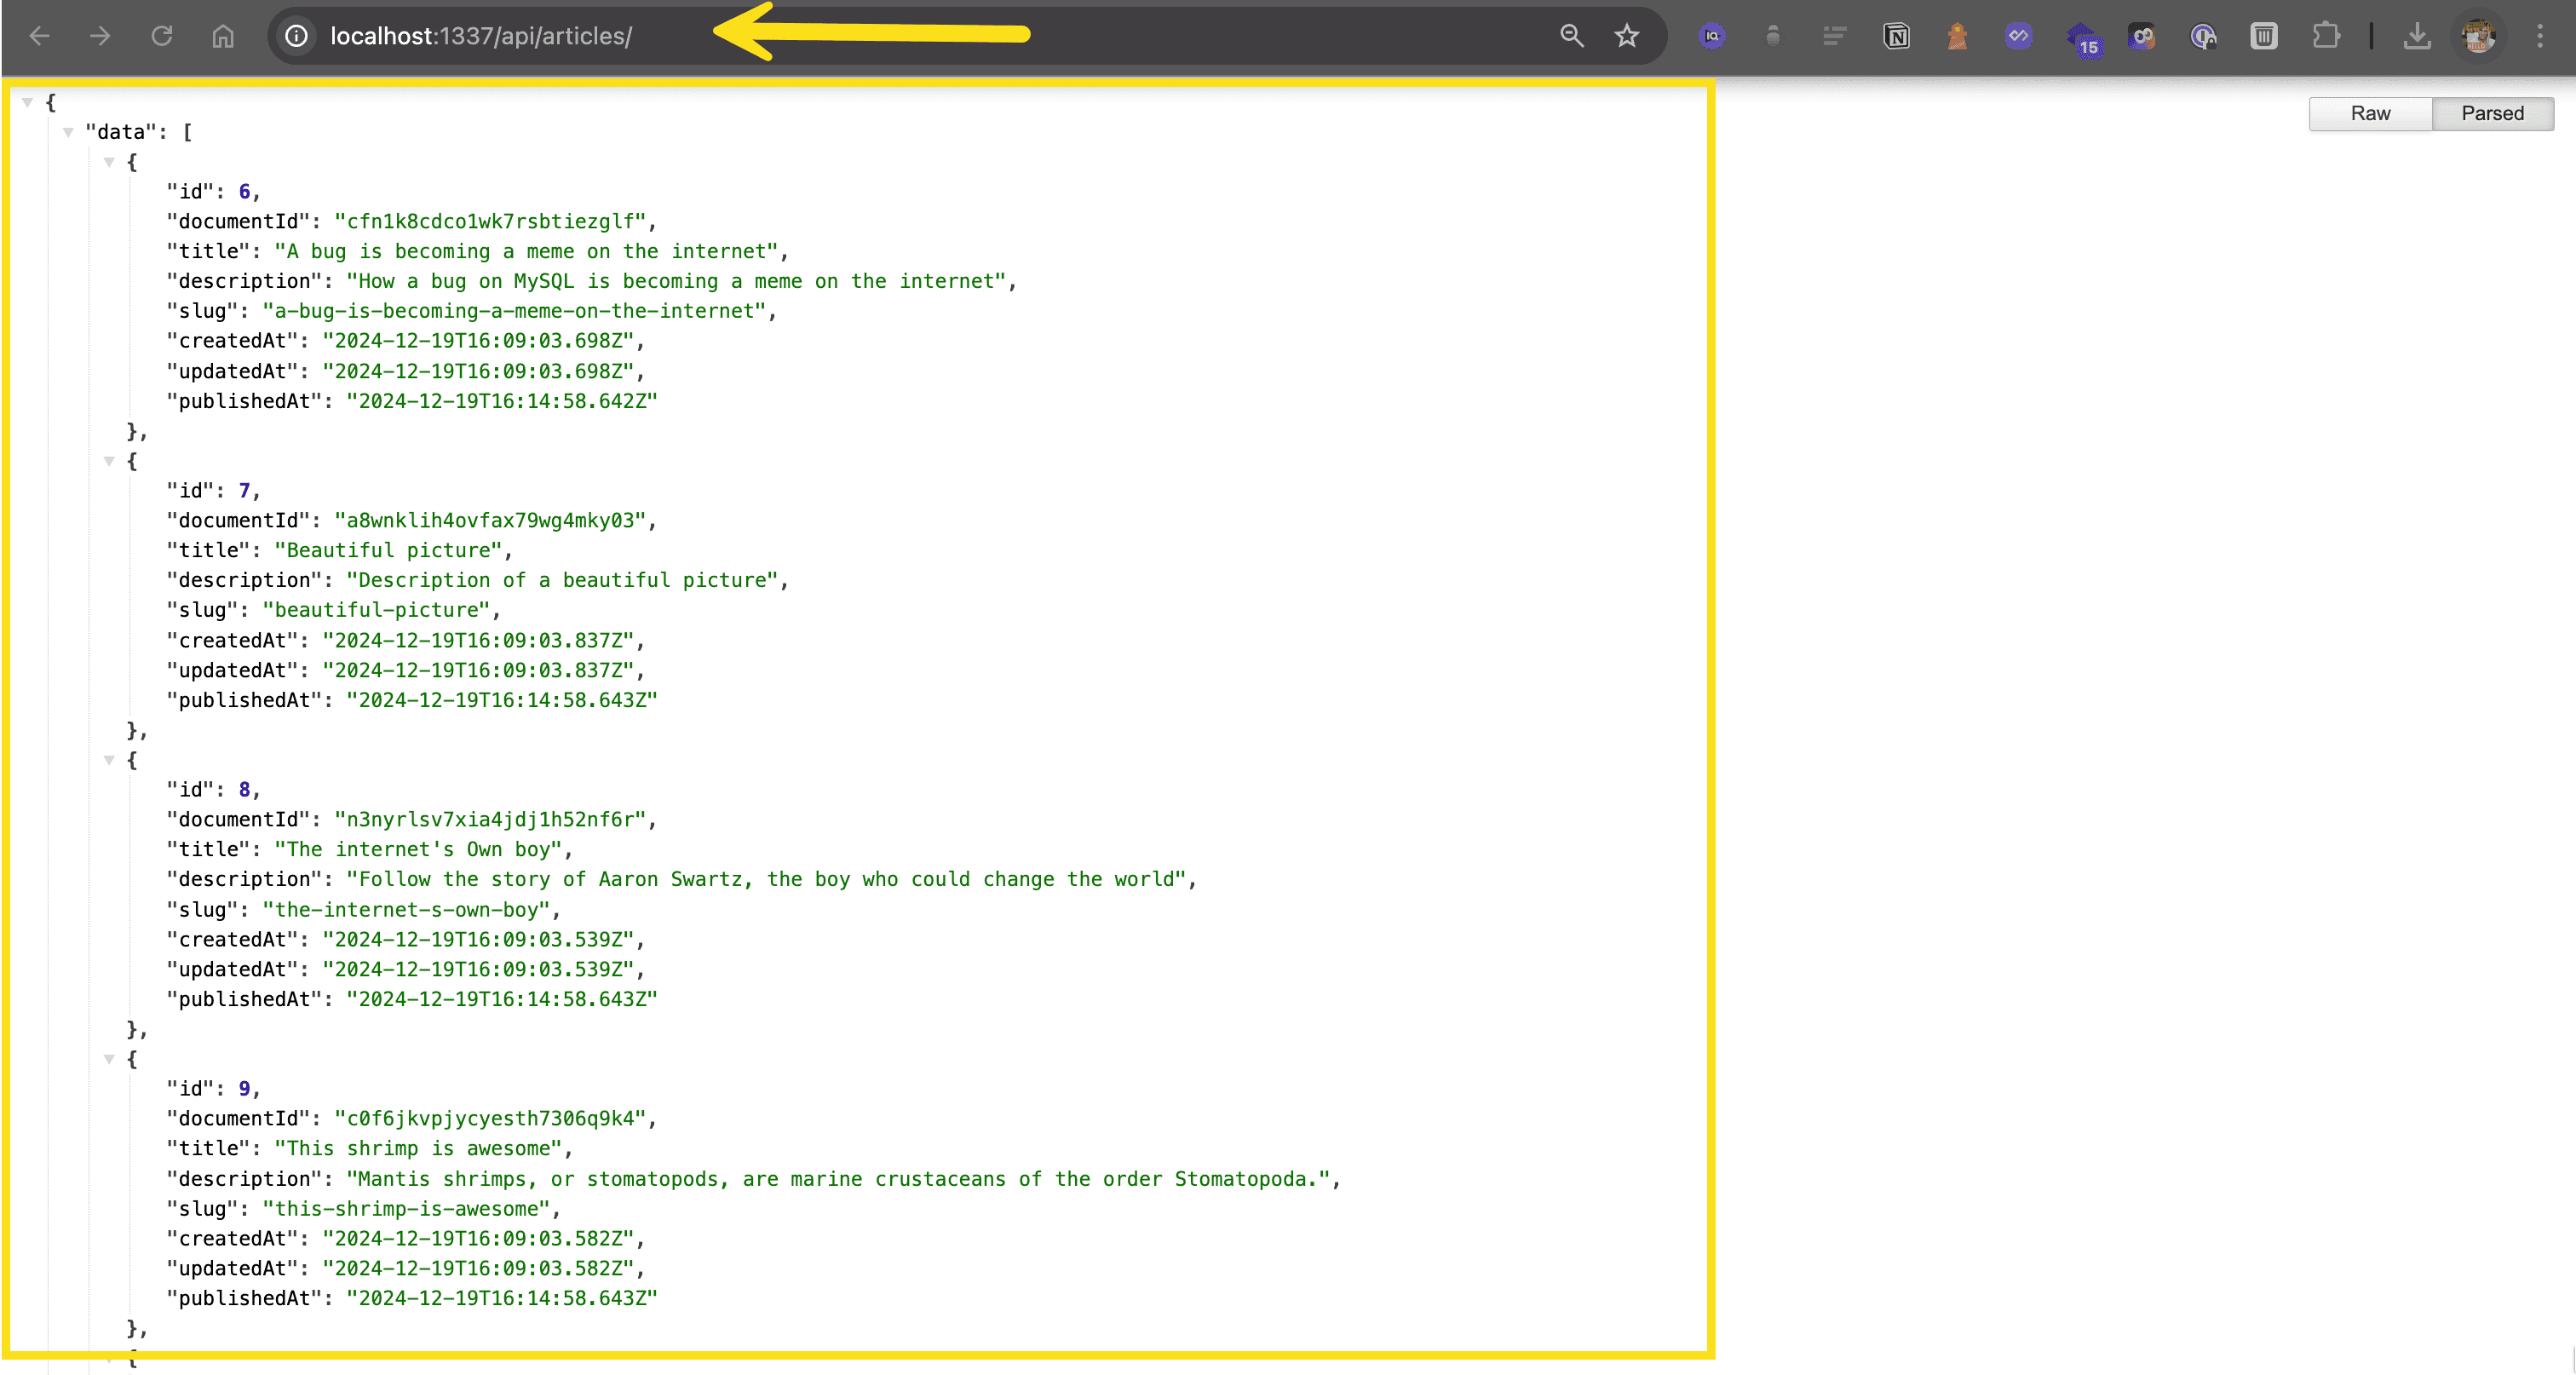
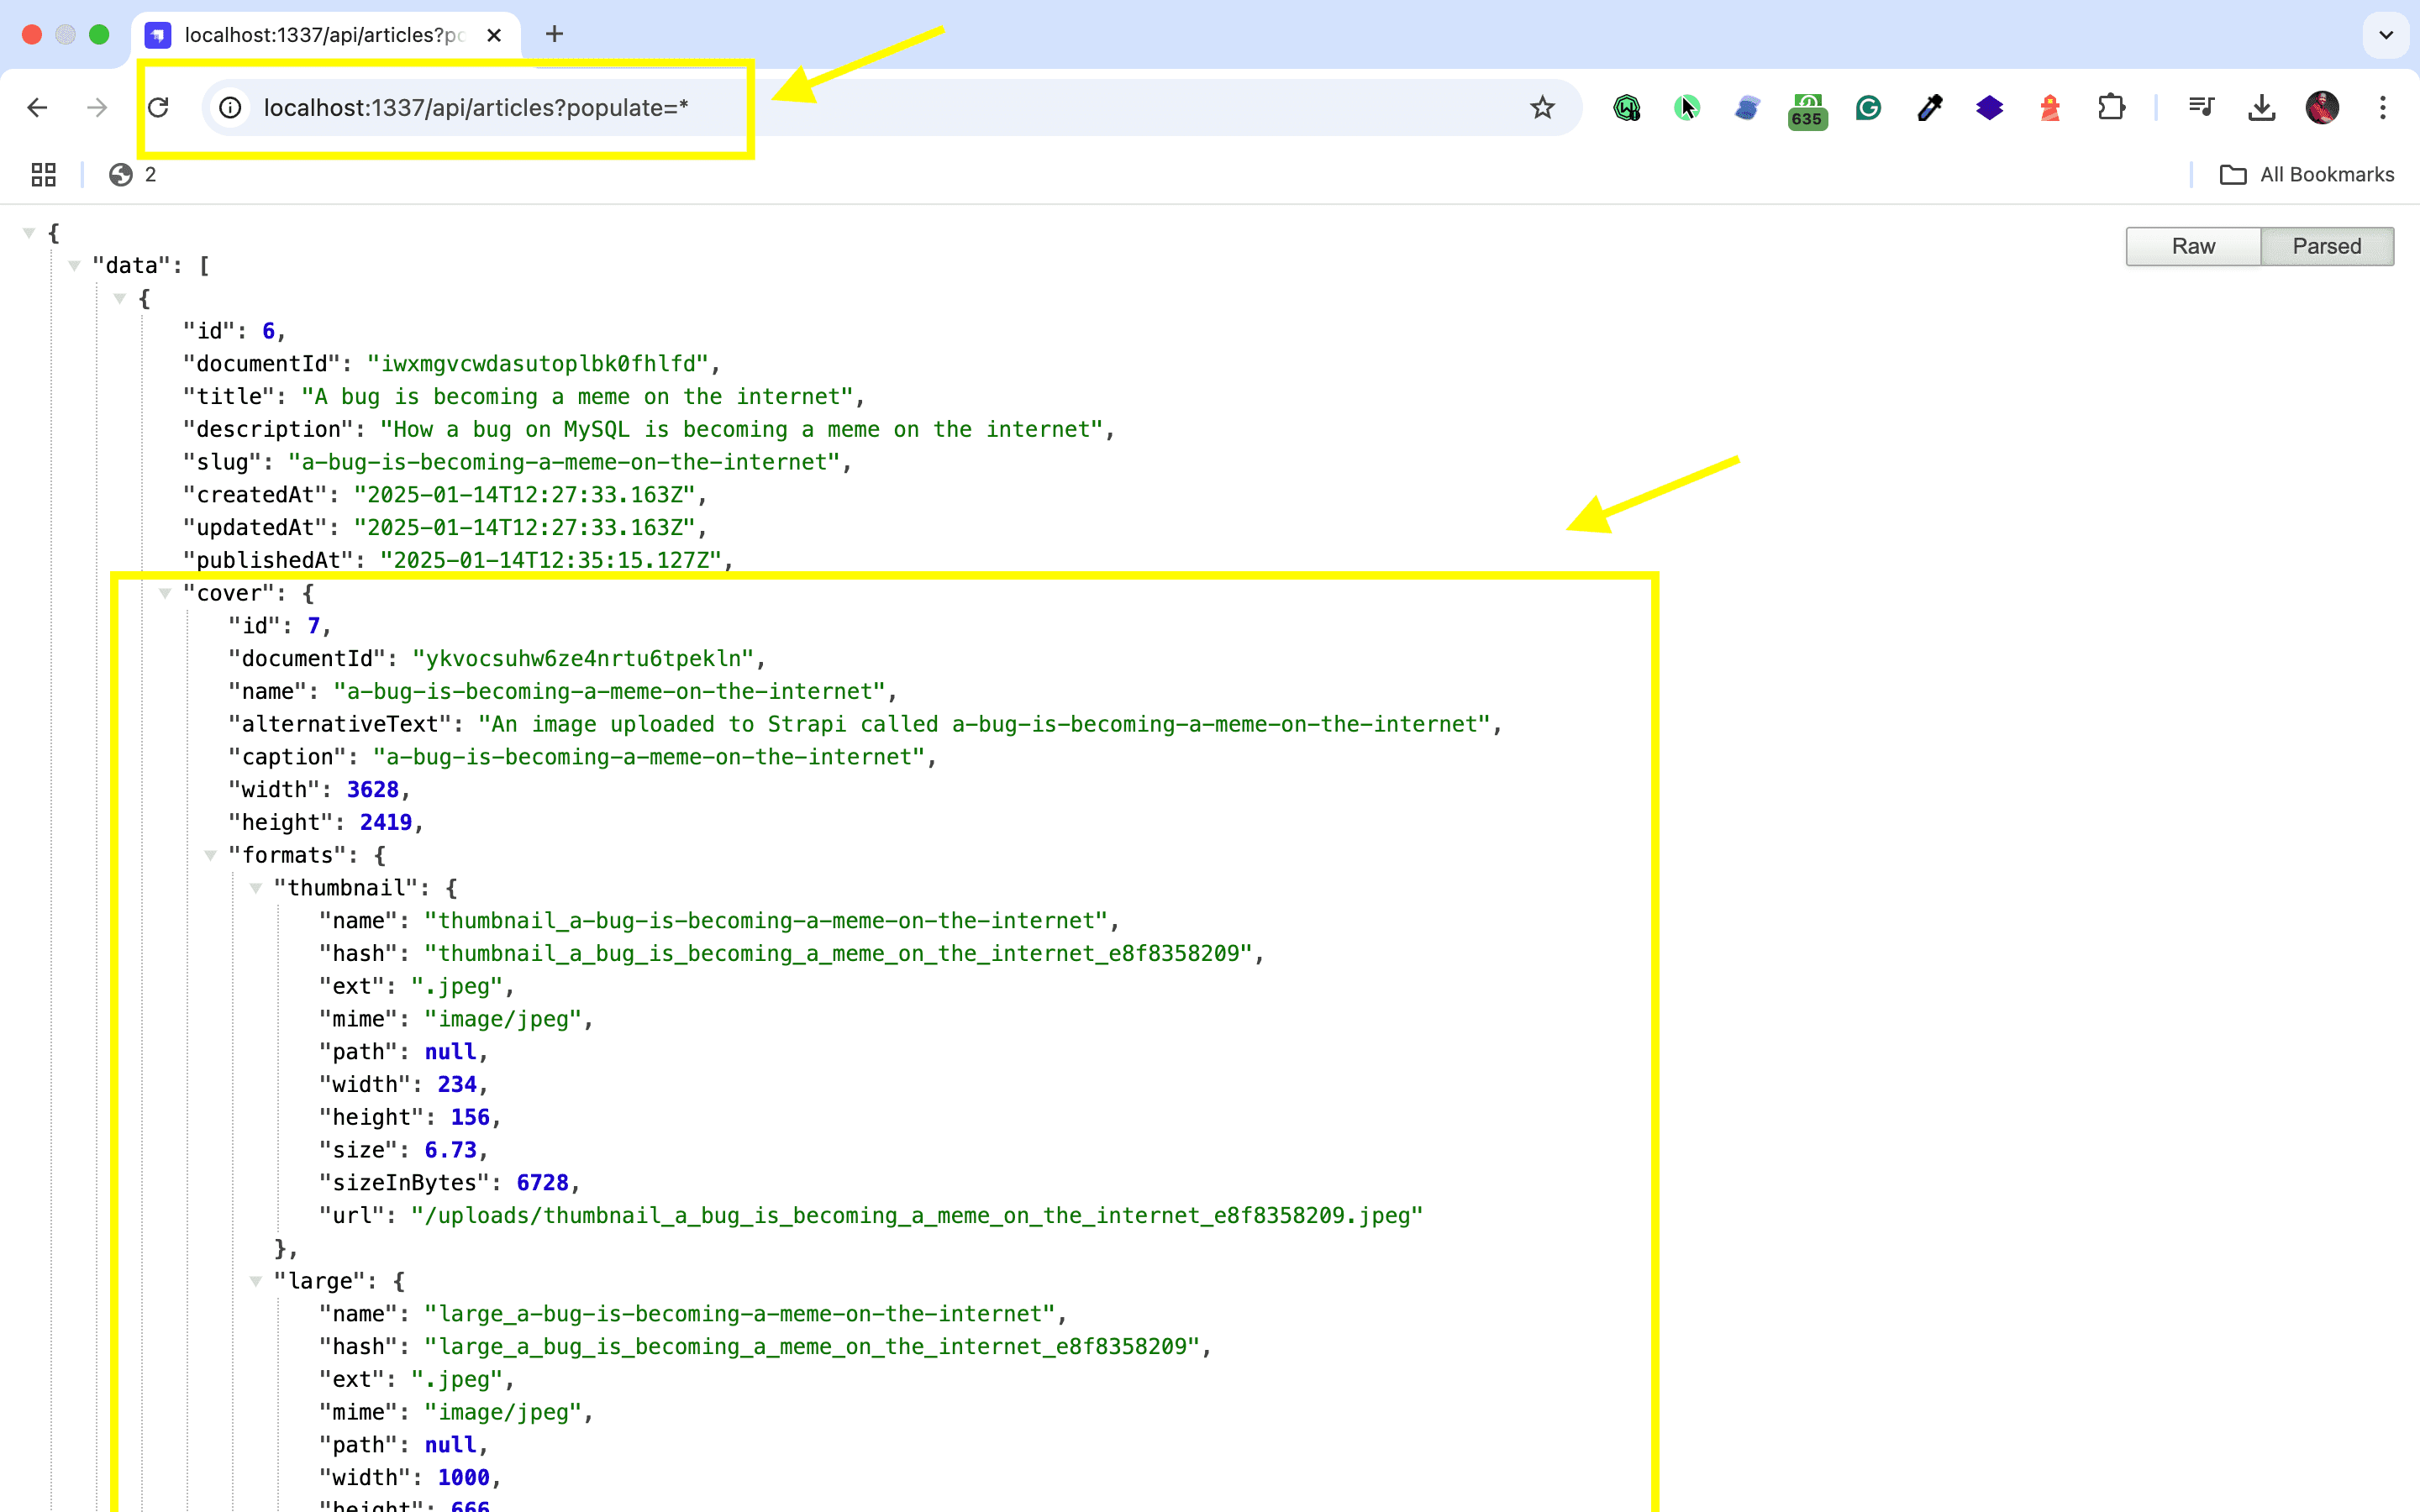
🖐️ Note: The article covers (images) are not returned. This is because the REST API by default does not populate any relations, media fields, components, or dynamic zones.. Learn more about REST API: Population & Field Selection.
So, let's get the article covers by using the populate=* parameter: http://localhost:1337/api/articles?populate=*
Getting Started with Lexical
Combining Lexical with Strapi creates a powerful rich text editing experience for your content management system. Here's how to set everything up quickly.
Installing Lexical and Adjusting Settings in Strapi
Let's get Lexical installed in your Strapi project:
- Open your terminal and navigate to your Strapi project root.
- Install the required packages:
npm install lexical @lexical/react
- To configure various aspects of Strapi's admin panel, you may update
./config/admin.jswith the following code:
module.exports = ({ env }) => ({
 webpack: (config) => {
   config.resolve.alias['lexical'] = require.resolve('lexical');
   return config;
 },
});
For specific integrations or customizations like Lexical, additional steps or specific resources might be necessary. 4. Generate a plugin for your Lexical integration:
yarn strapi generate plugin
or
npm run strapi generate plugin
Then, name the plugin when prompted.
5. Enable your new plugin in ./config/plugins.js:
module.exports = {
 'lexical-editor': {
   enabled: true,
   resolve: './src/plugins/lexical-editor'
 }
};
- To create or add custom field types for Lexical, consult the software's documentation or contact their support team for guidance.
To enhance your productivity, consider exploring Strapi plugins for productivity and installing essential Strapi plugins that can streamline your development process.
Code Implementation for Integrating Lexical with Strapi
Here's how to bring everything together with actual code to integrate Lexical with Strapi:
First, create a basic Lexical editor component:
import React from 'react';
import { LexicalComposer } from '@lexical/react/LexicalComposer';
import { RichTextPlugin } from '@lexical/react/LexicalRichTextPlugin';
import { ContentEditable } from '@lexical/react/LexicalContentEditable';
import { HistoryPlugin } from '@lexical/react/LexicalHistoryPlugin';

const LexicalField = ({ attribute, onChange, name, value }) => {
  const initialConfig = {
    namespace: 'MyEditor',
    onError: (error) => console.error(error),
  };

  return (
    <LexicalComposer initialConfig={initialConfig}>
      <RichTextPlugin
        contentEditable={<ContentEditable />}
        placeholder={<div>Enter some text...</div>}
      />
      <HistoryPlugin />
    </LexicalComposer>
  );
};

export default LexicalField;
Next, register your custom field in the plugin's index file:
import pluginPkg from '../../package.json';
import LexicalField from './components/LexicalField';
import pluginId from './pluginId';

export default {
  register(app) {
    app.addFields({ type: 'lexical', Component: LexicalField });
  },
  bootstrap(app) {},
};
To save content changes, use the OnChangePlugin with an onChange handler in a LexicalComposer component:
// Import OnChangePlugin
import { OnChangePlugin } from '@lexical/react/LexicalOnChangePlugin';

// Add change handler function
const handleChange = (editorState) => {
  onChange({ target: { name, value: JSON.stringify(editorState) } });
};

// Add this inside your LexicalComposer component
<OnChangePlugin onChange={handleChange} />
Finally, adjust your API controller to manage data effectively:
module.exports = {
  async find(ctx) {
    const entities = await strapi.services['api::article.article'].find(ctx.query);
    return entities.map(entity => ({
      ...entity,
      content: entity.content // Ensure appropriate handling of content
    }));
  },
};
Remember to restart your Strapi server after these changes. Additionally, you might consider building a custom loader for Strapi to enhance data fetching capabilities.
According to JavaScript Plain English, this setup gives you a solid foundation to integrate Lexical with Strapi as your rich text editor.
You're done, congrats!
Strapi Open Office Hours
If you have any questions about Strapi 5 or just would like to stop by and say hi, you can join us at Strapi's Discord Open Office Hours Monday through Friday at 12:30 pm - 1:30 pm CST: Strapi Discord Open Office Hours
For more details, visit the Strapi documentation and Lexical documentation.
Frequently Asked Questions
Lexical is Meta's extensible text editor framework designed for reliability and accessibility. It provides a solid foundation for building custom editing experiences with excellent performance and browser support.
Create a custom field plugin that integrates Lexical's React components. Configure the editor nodes and plugins you need, then store the serialized editor state in a Strapi JSON field.
Yes, Lexical powers production applications at Meta and is designed for reliability. It offers comprehensive accessibility support and handles edge cases that simpler editors might miss.
Lexical uses a plugin architecture where you compose functionality from nodes and plugins. Enable only what you need—rich text formatting, mentions, hashtags, or custom elements—for a focused editing experience.
Export Lexical's editor state as JSON or HTML. For JSON, use Lexical's serialization utilities; for HTML, configure the HTMLExport plugin. Render the output using your frontend framework's standard approaches.