Postmark
Learn how to integrate Postmark with Strapi

When building a CMS-powered app with Strapi, you’ll often need to send transactional emails, from password resets to user notifications.
In this guide, you’ll learn how to integrate Postmark to handle email delivery reliably and efficiently.
Why Use Postmark?
Integrate Postmark with Strapi to deliver emails quickly and keep them out of spam folders by focusing on deliverability. To ensure you're following email deliverability best practices, it's crucial to use a reliable email service.
Key features that stand out:
-
Real-time Monitoring and Reporting: See bounces, opens, and link clicks as they happen, so you can track performance and address issues promptly. This level of visibility helps in understanding sender reputation, which is vital for maintaining high deliverability rates.
-
Developer-Friendly API: Postmark's straightforward API supports both SMTP and HTTP, fitting seamlessly into various programming environments. If you're exploring options, you might be interested in the best APIs for sending emails and the best email APIs for developers.
For more details on Postmark’s capabilities, check their official documentation.
Why Use Strapi?
Strapi is the leading open-source headless CMS offering features, like customizable APIs, role-based permissions, multilingual support, etc. It simplifies content management and integrates effortlessly with modern frontend frameworks.
Explore the Strapi documentation for more details.
Strapi 5 Highlights
The out-of-the-box Strapi features allow you to get up and running in no time:
- Single types: Create one-off pages that have a unique content structure.
- Draft and Publish: Reduce the risk of publishing errors and streamline collaboration.
- 100% TypeScript Support: Enjoy type safety & easy maintainability
- Customizable API: With Strapi, you can just hop into your code editor and edit the code to fit your API to your needs.
- Integrations: Strapi supports integrations with Cloudinary, SendGrid, Algolia, and others.
- Editor interface: The editor allows you to pull in dynamic blocks of content.
- Authentication: Secure and authorize access to your API with JWT or providers.
- RBAC: Help maximize operational efficiency, reduce dev team support work, and safeguard against unauthorized access or configuration modifications.
- i18n: Manage content in multiple languages. Easily query the different locales through the API.
- Plugins: Customize and extend Strapi using plugins.
Learn more about Strapi 5 feature.
How to Integrate Postmark with Strapi 5 for Email Delivery
Step 1: Create an account on Postmark
Head over to Postmark and create an account.
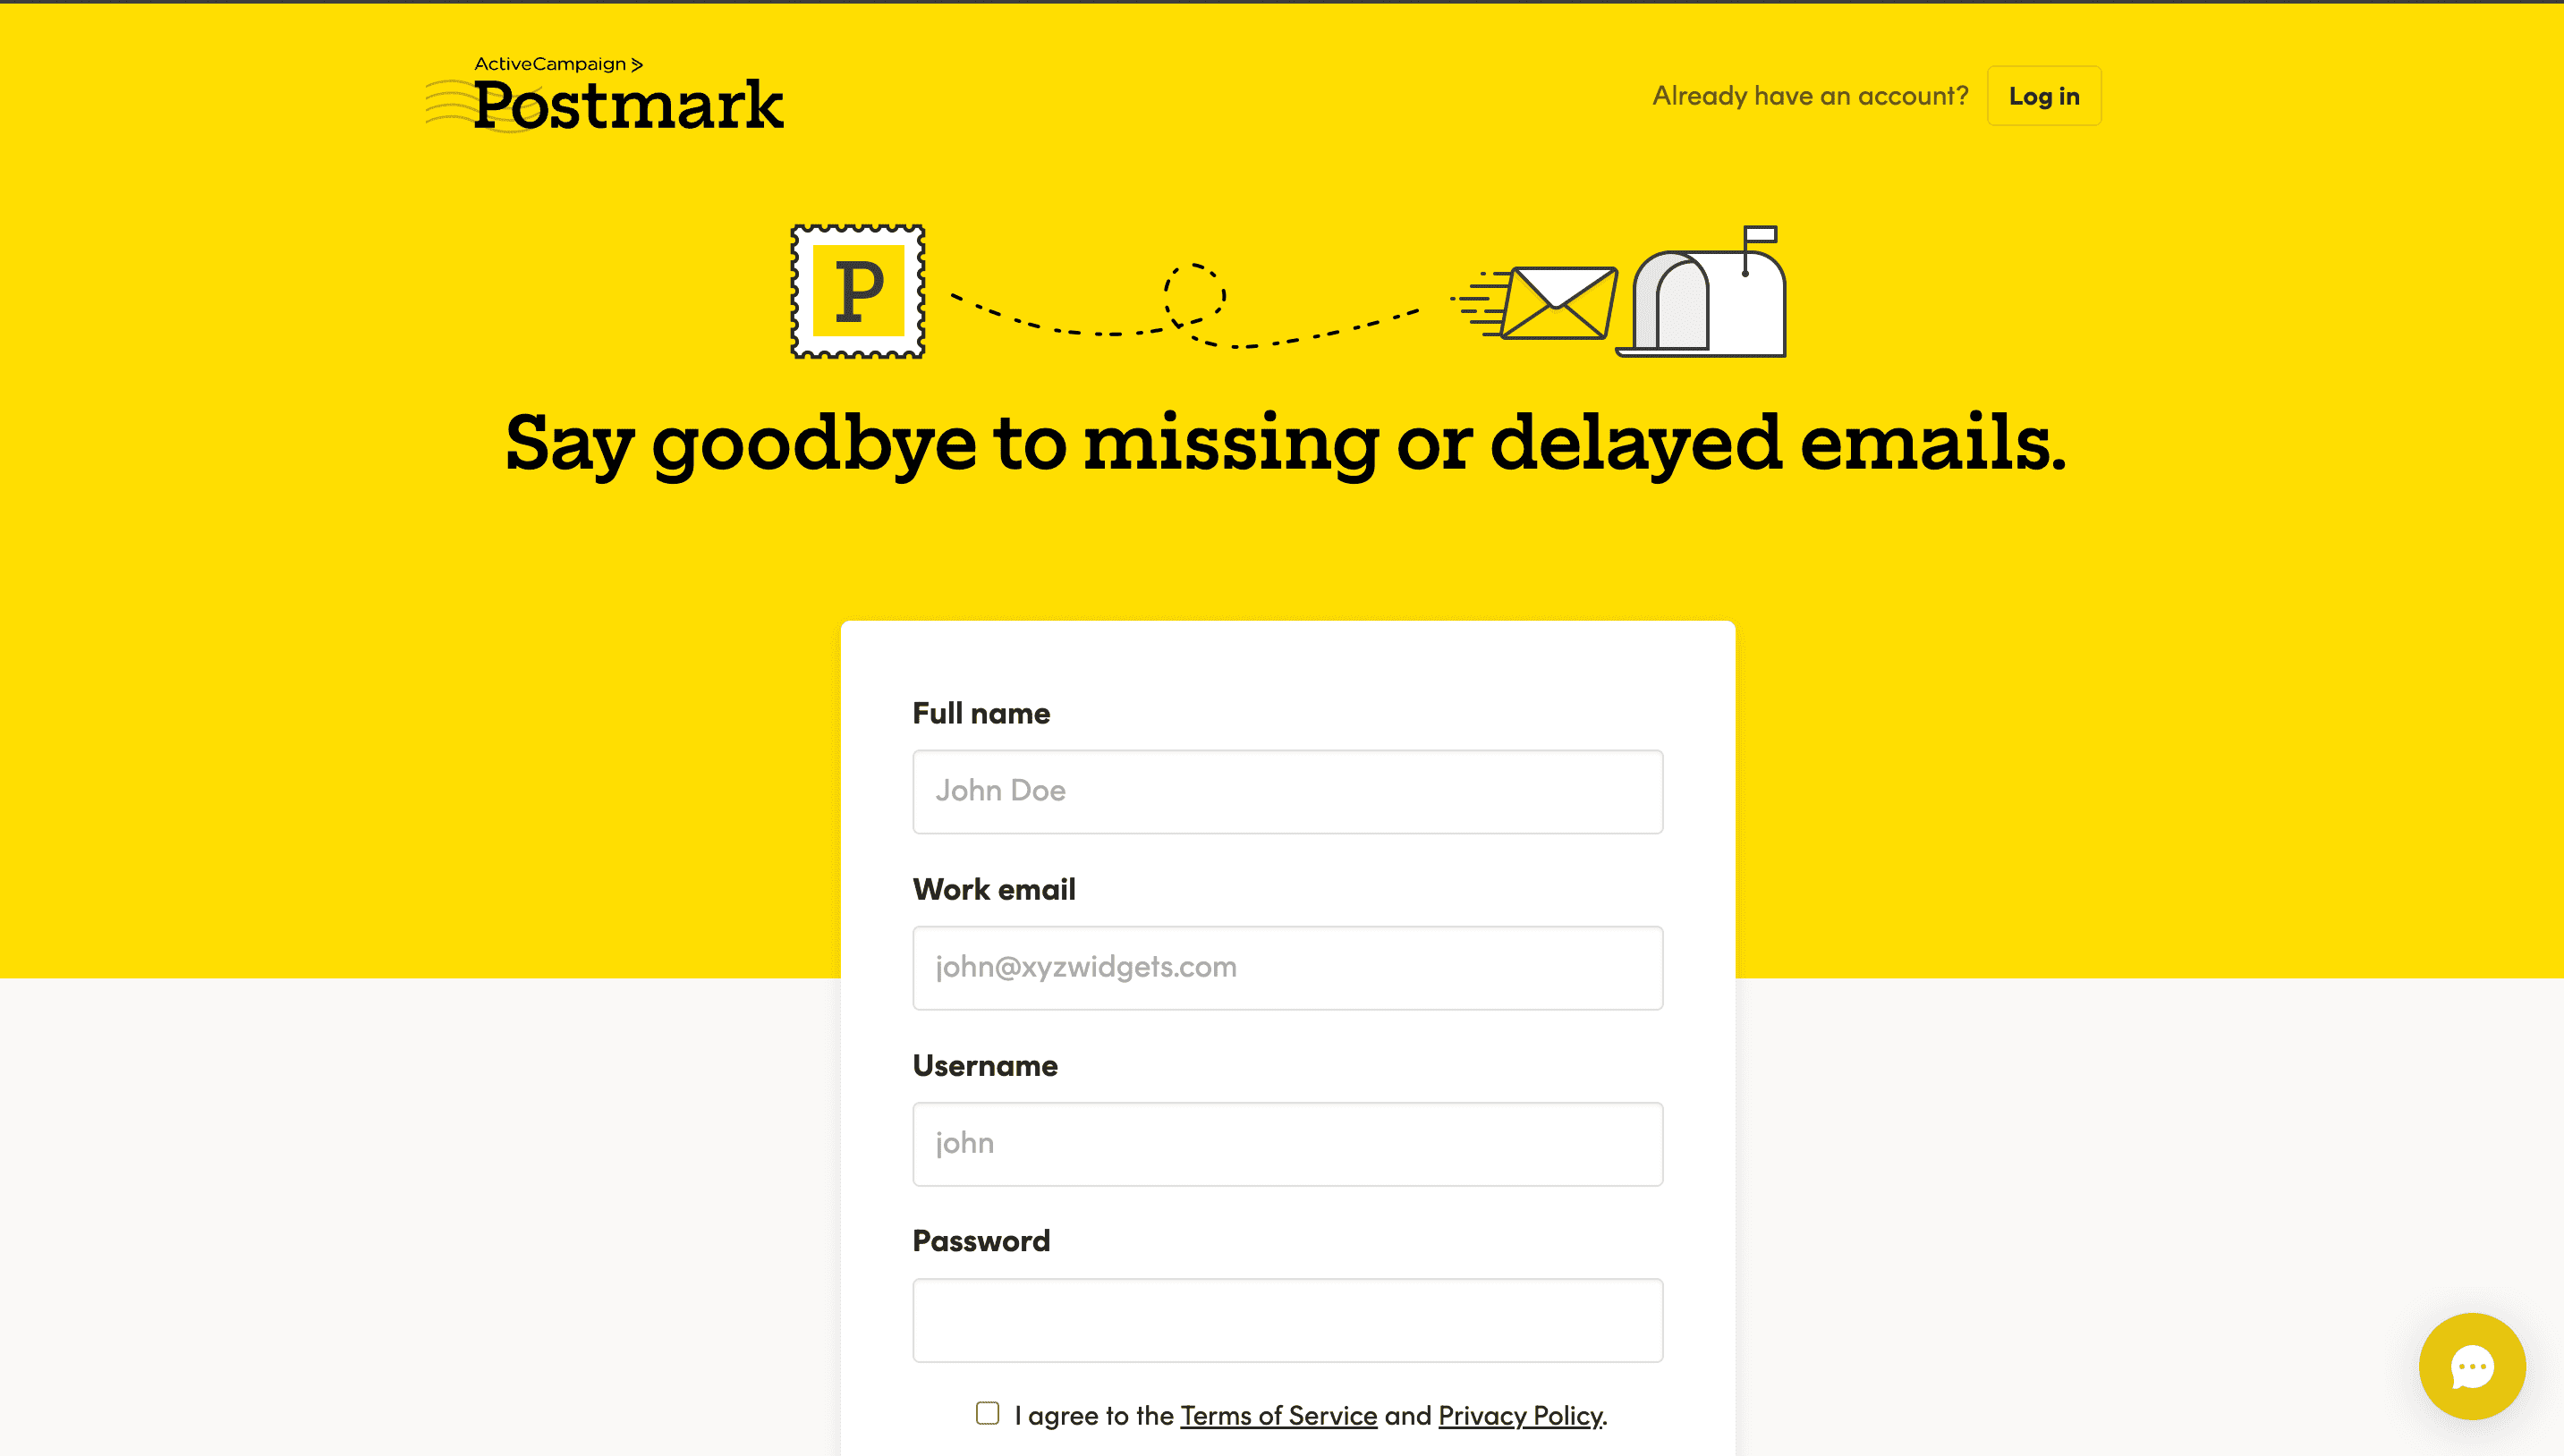
You will get a confirmation email to confirm your sender signature. Ensure you click the "Confirm Sender Signature".
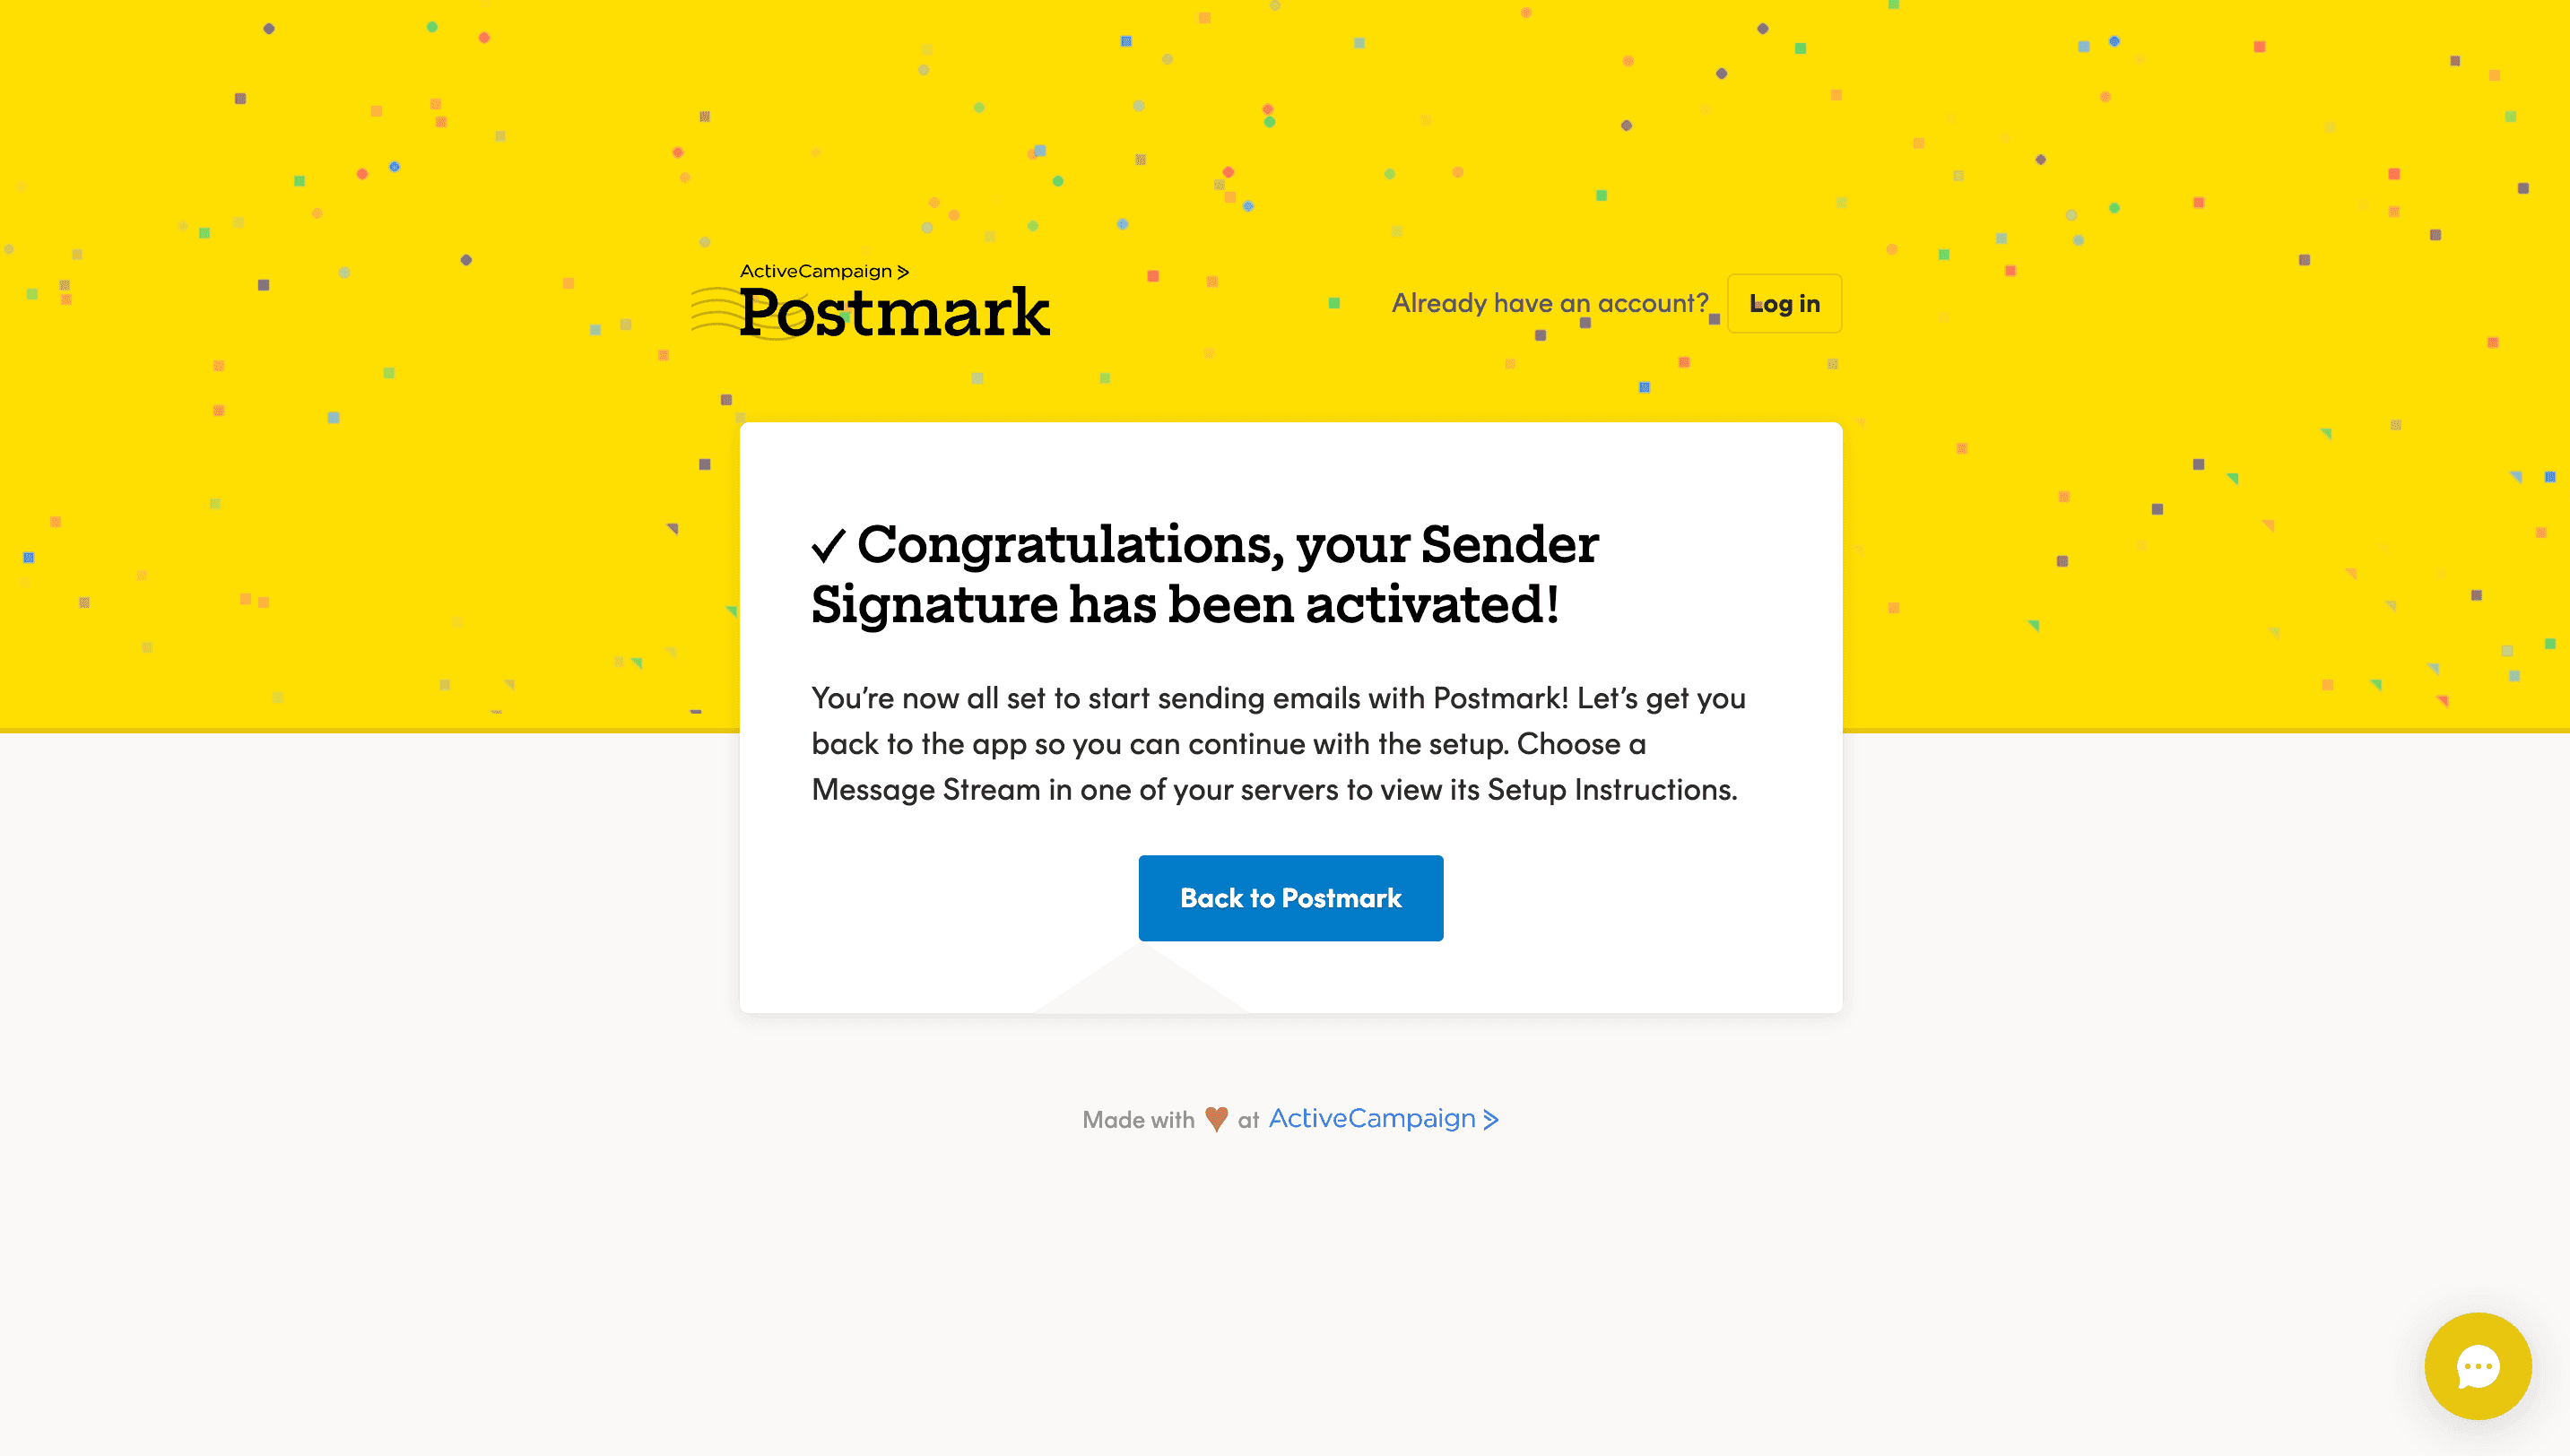
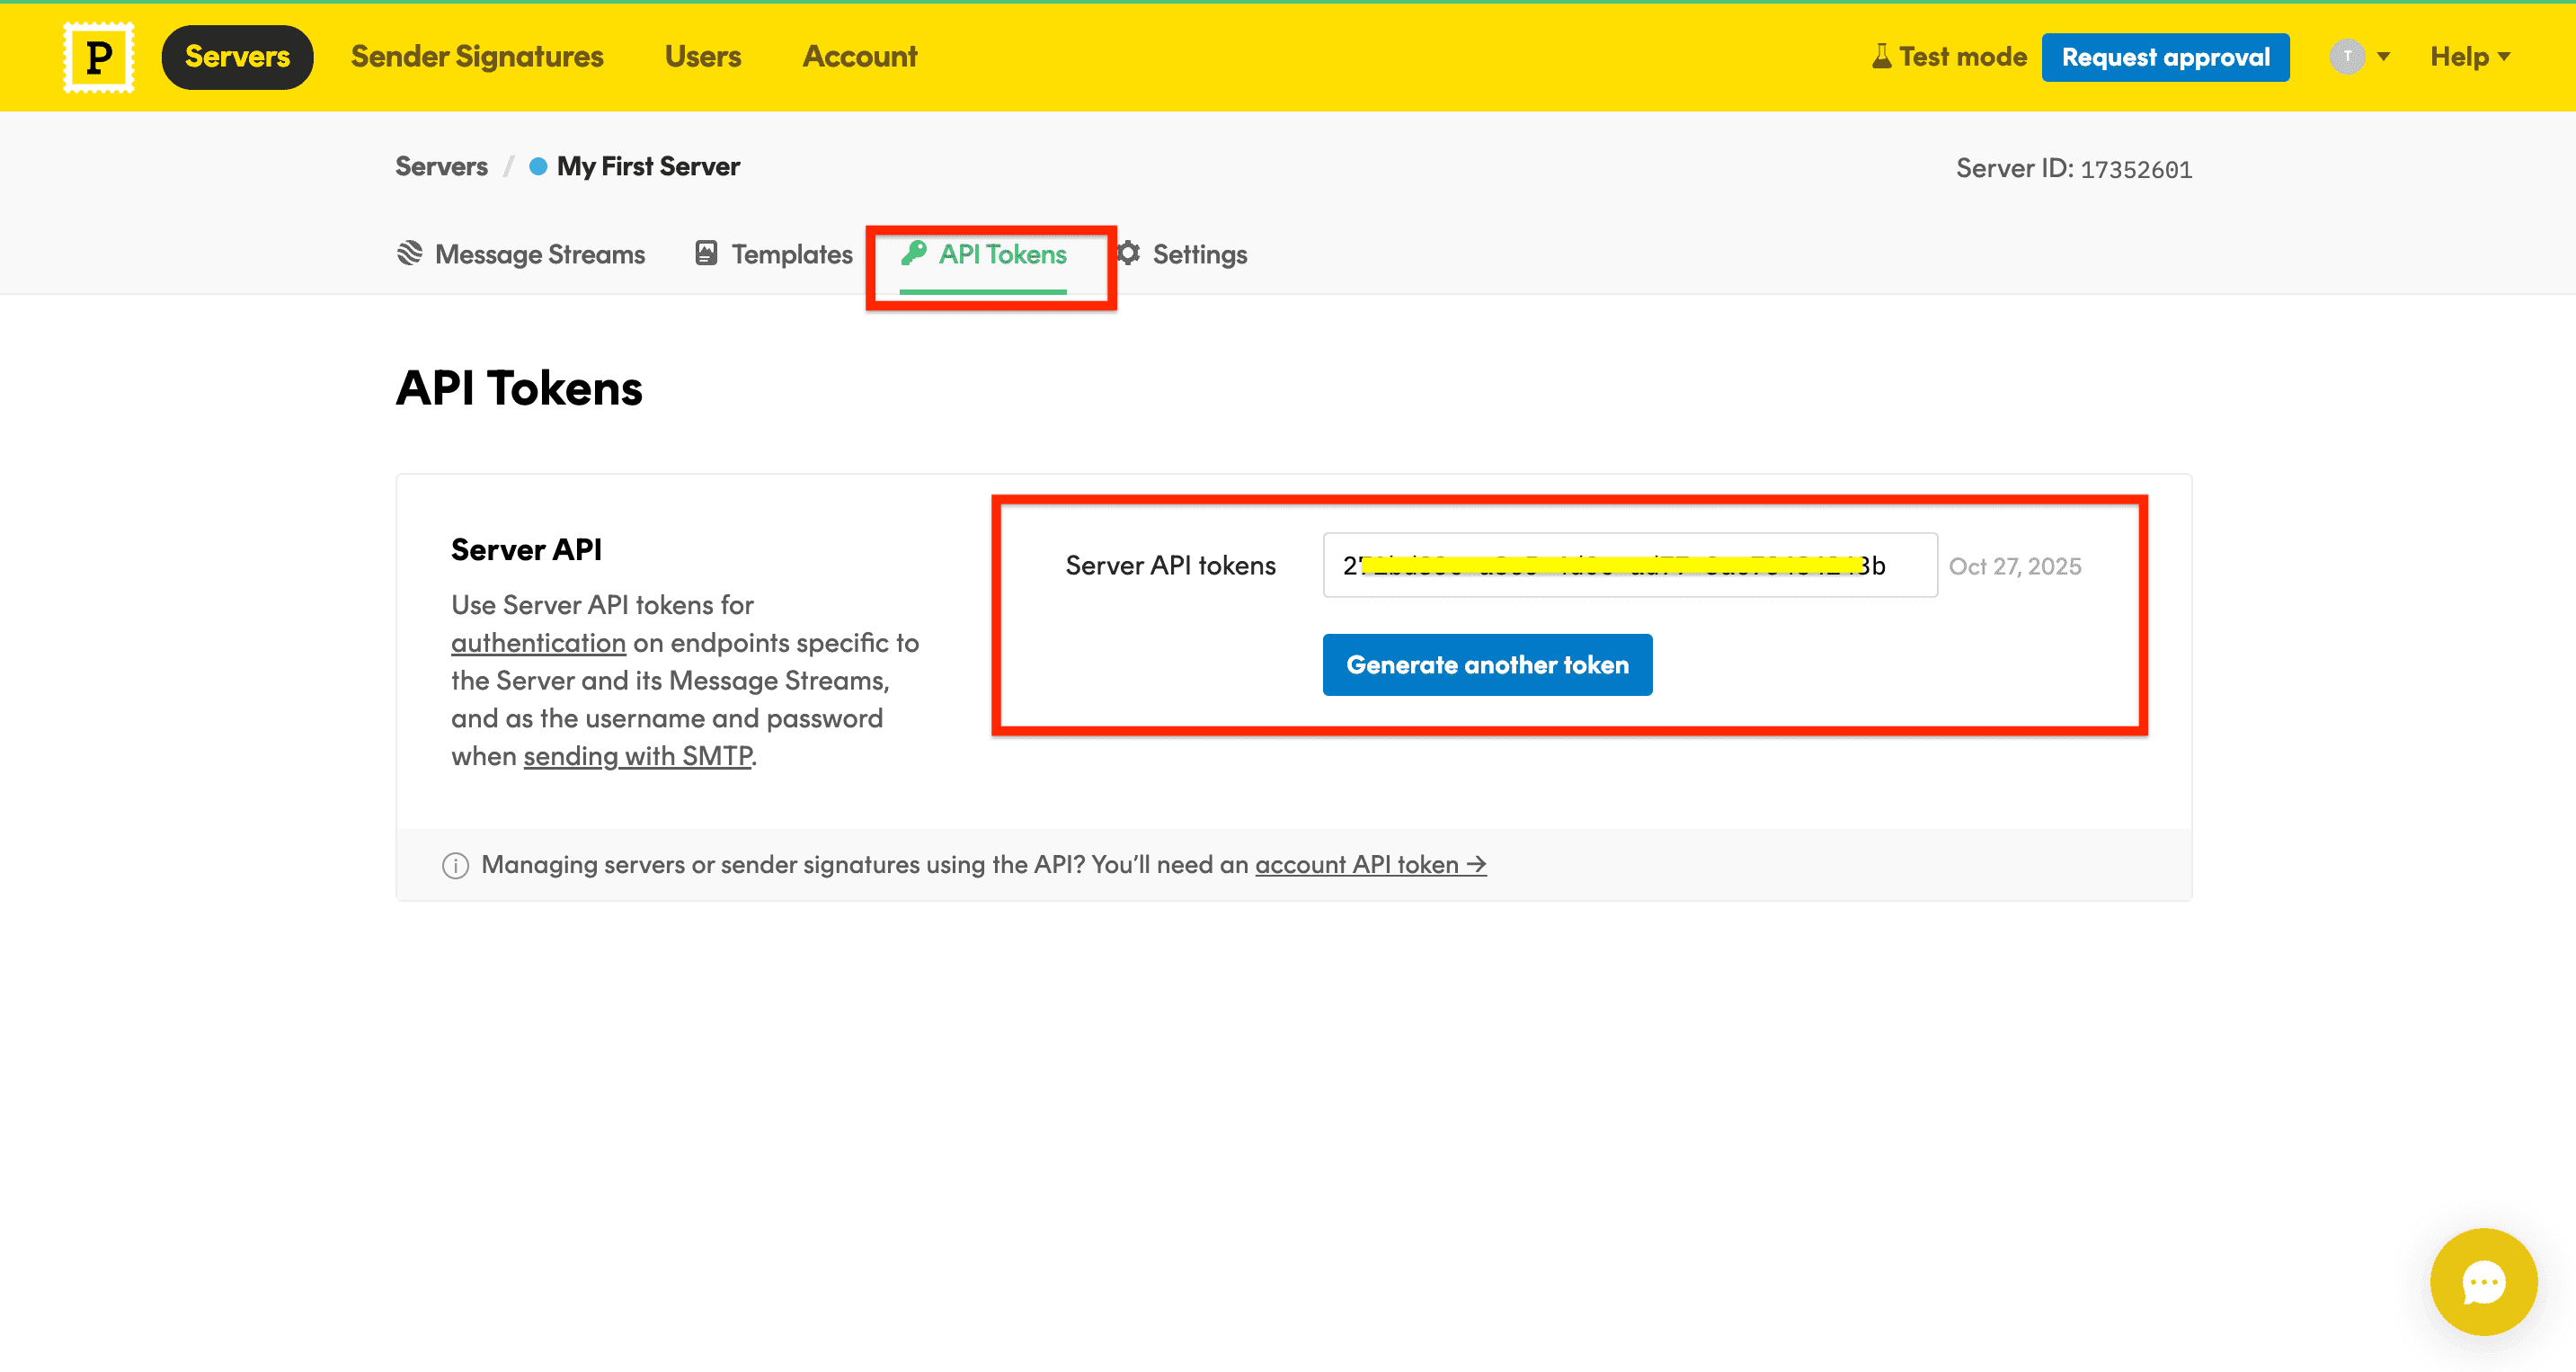
Step 2: Get Postmark API token
After successful signup and email confirmation, navigate to the "API Tokens"
Step 3: Create Environment Variables
Inside your Strapi environment variable file .env, create the following environment variables:
POSTMARK_API_TOKEN=your-postmark-api-token
POSTMARK_EMAIL_ADDRESS=your-postmark-email-address
Step 4: Install Postmark Email Provider in Strapi
Run any of the command below to install the Postmark email provider plugin in your Strapi project.
# using yarn
yarn add @strapi-community/provider-email-postmark

# using npm
npm i @strapi-community/provider-email-postmark
Step 5: Update Plugin Config file
After successfully installing the Postmark email provider plugin, update your plugin configuration file with the following:
// Path: ./config/plugin.ts

module.exports = ({ env }) => ({
  // ...
  email: {
    config: {
      provider: "@strapi-community/provider-email-postmark",
      providerOptions: {
        apiKey: env("POSTMARK_API_TOKEN"),
      },
      settings: {
        defaultFrom: env("POSTMARK_EMAIL_ADDRESS"),
        defaultTo: env("POSTMARK_EMAIL_ADDRESS"),
        defaultReplyTo: "code@ijs.to",
        defaultVariables: {
          sentBy: "strapi",
        },
      },
    },
  },
  // ...
});
👋 NOTE If you created a message stream, add
defaultMessageStream: "my-stream"to thesettingsproperty above.
Next, restart your Strapi development server.
Step 6. Test Postmark in your Strapi Application
Testing in the Admin Panel
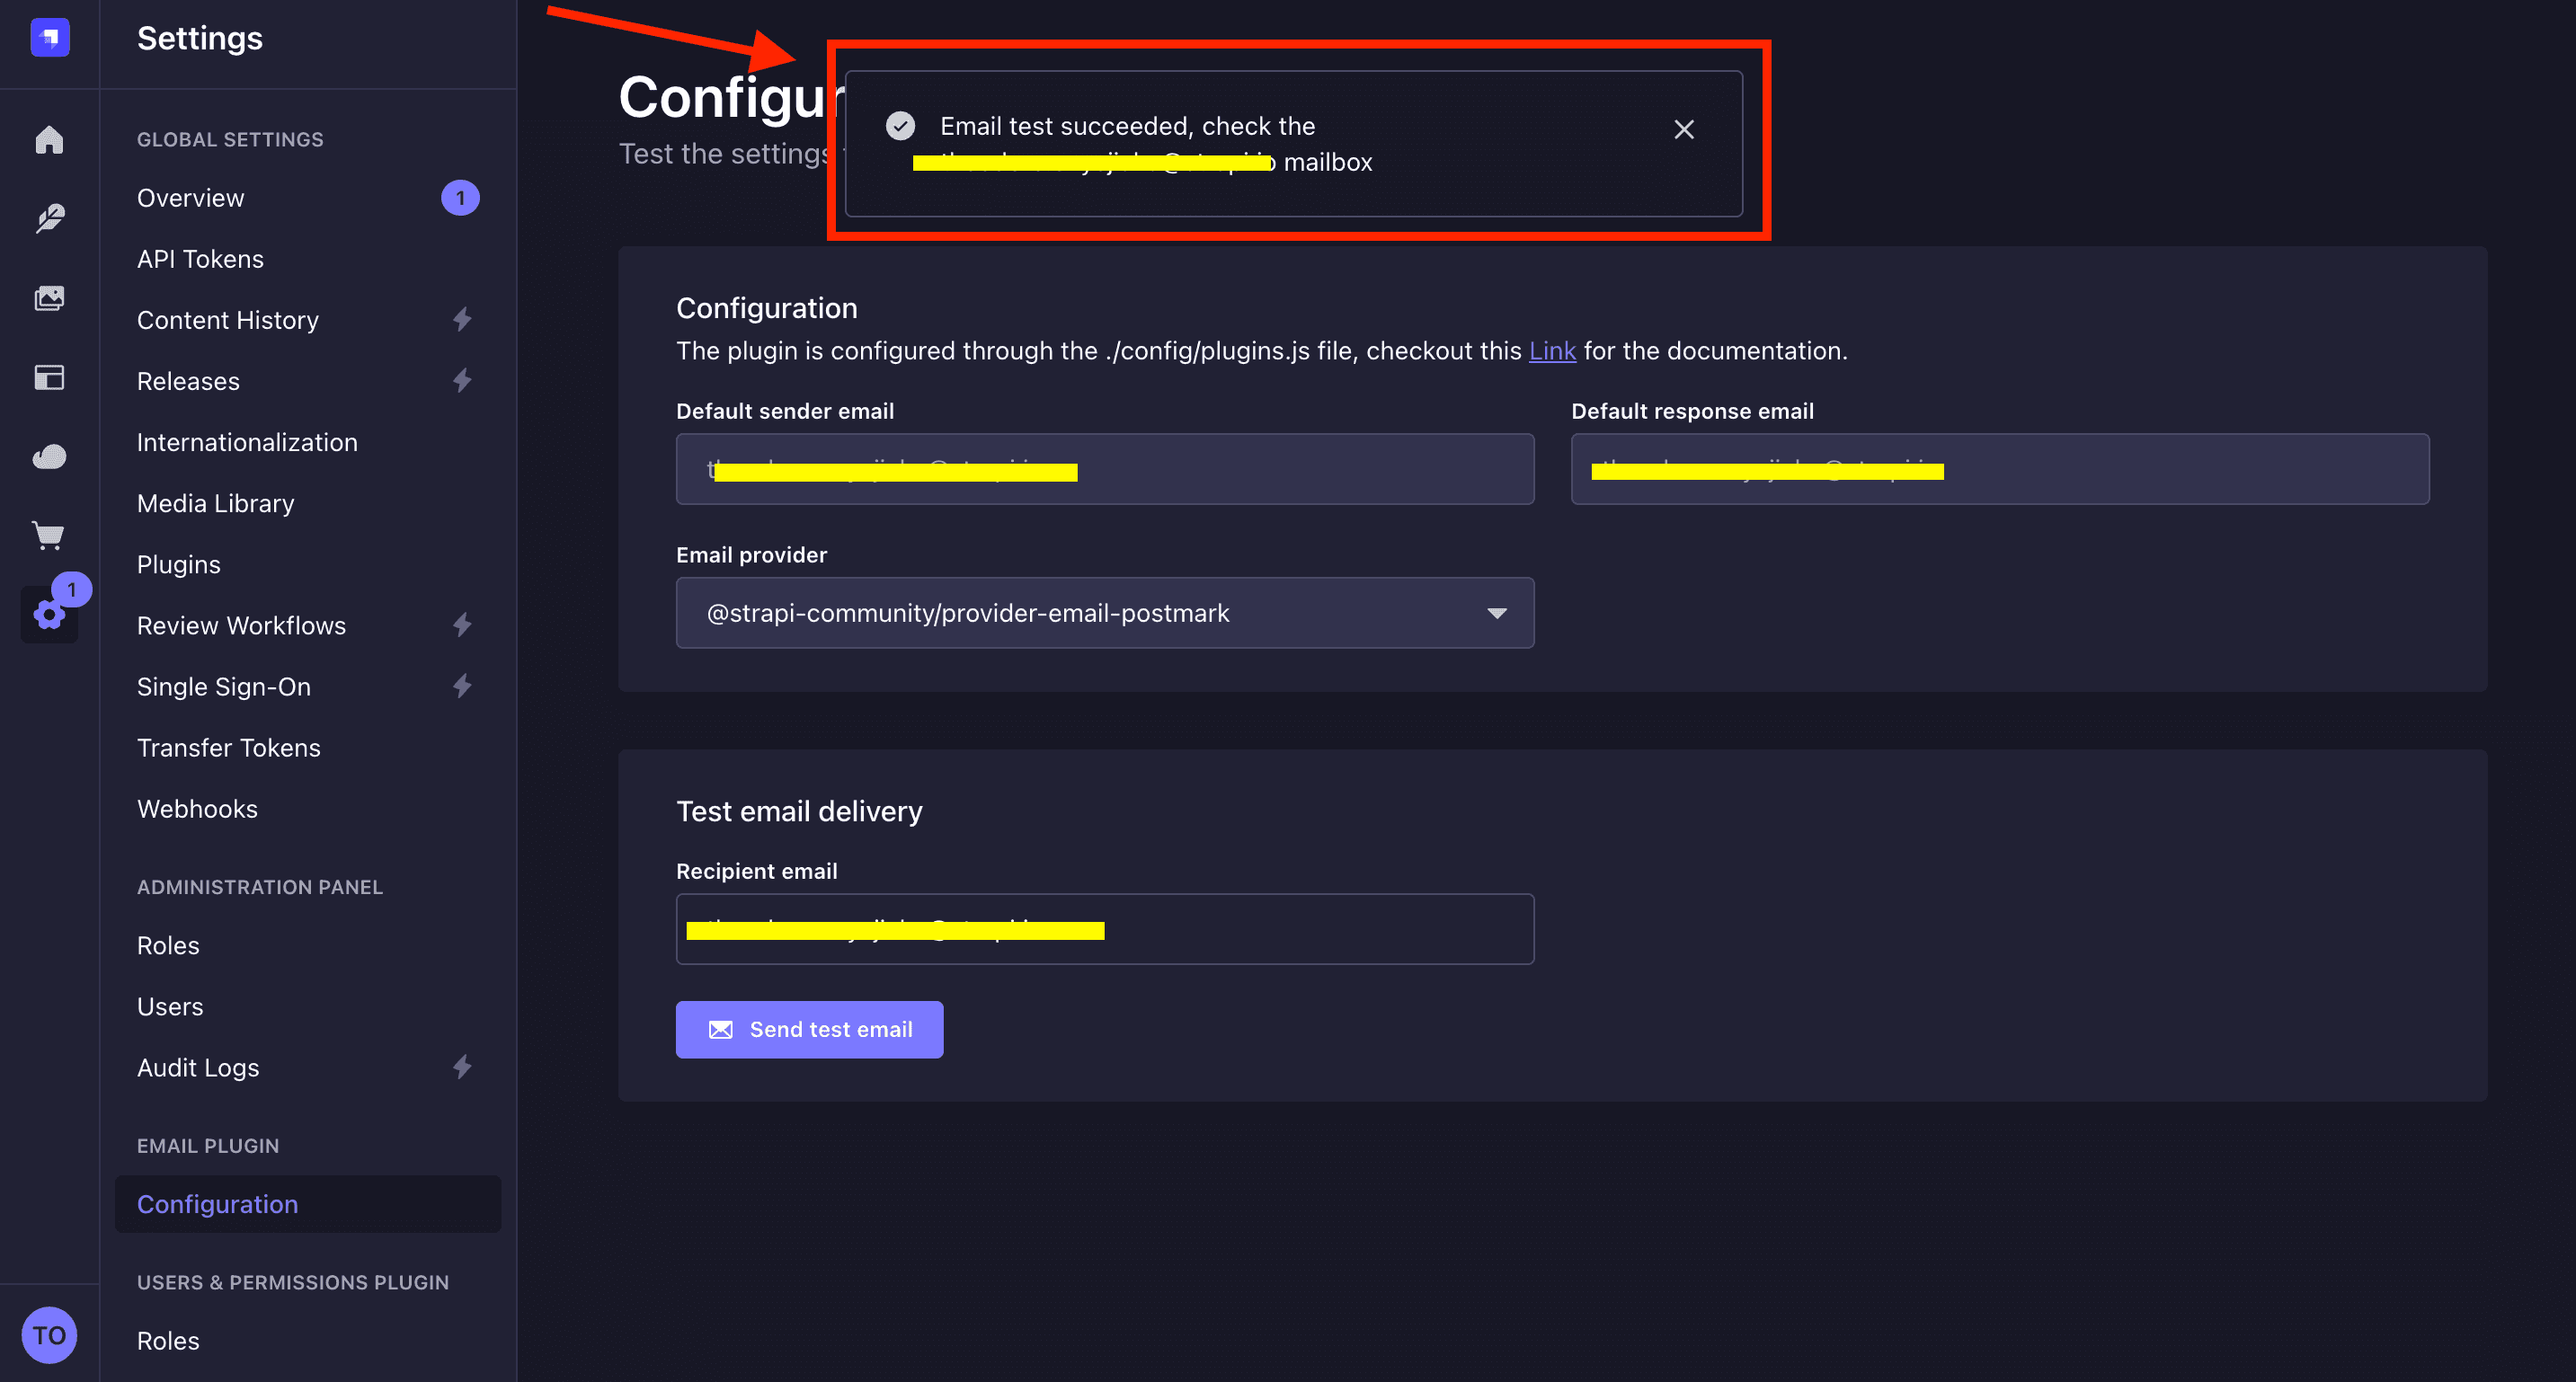
Navigate to the email plugin configuration page in your Strapi admin to test your Postmark email provider: Settings > EMAIL PLUGIN > Configuration.
You should see the @strapi-community/provider-email-postmark as your email provider, and your Postmark default sender email address as configured in your config file above.
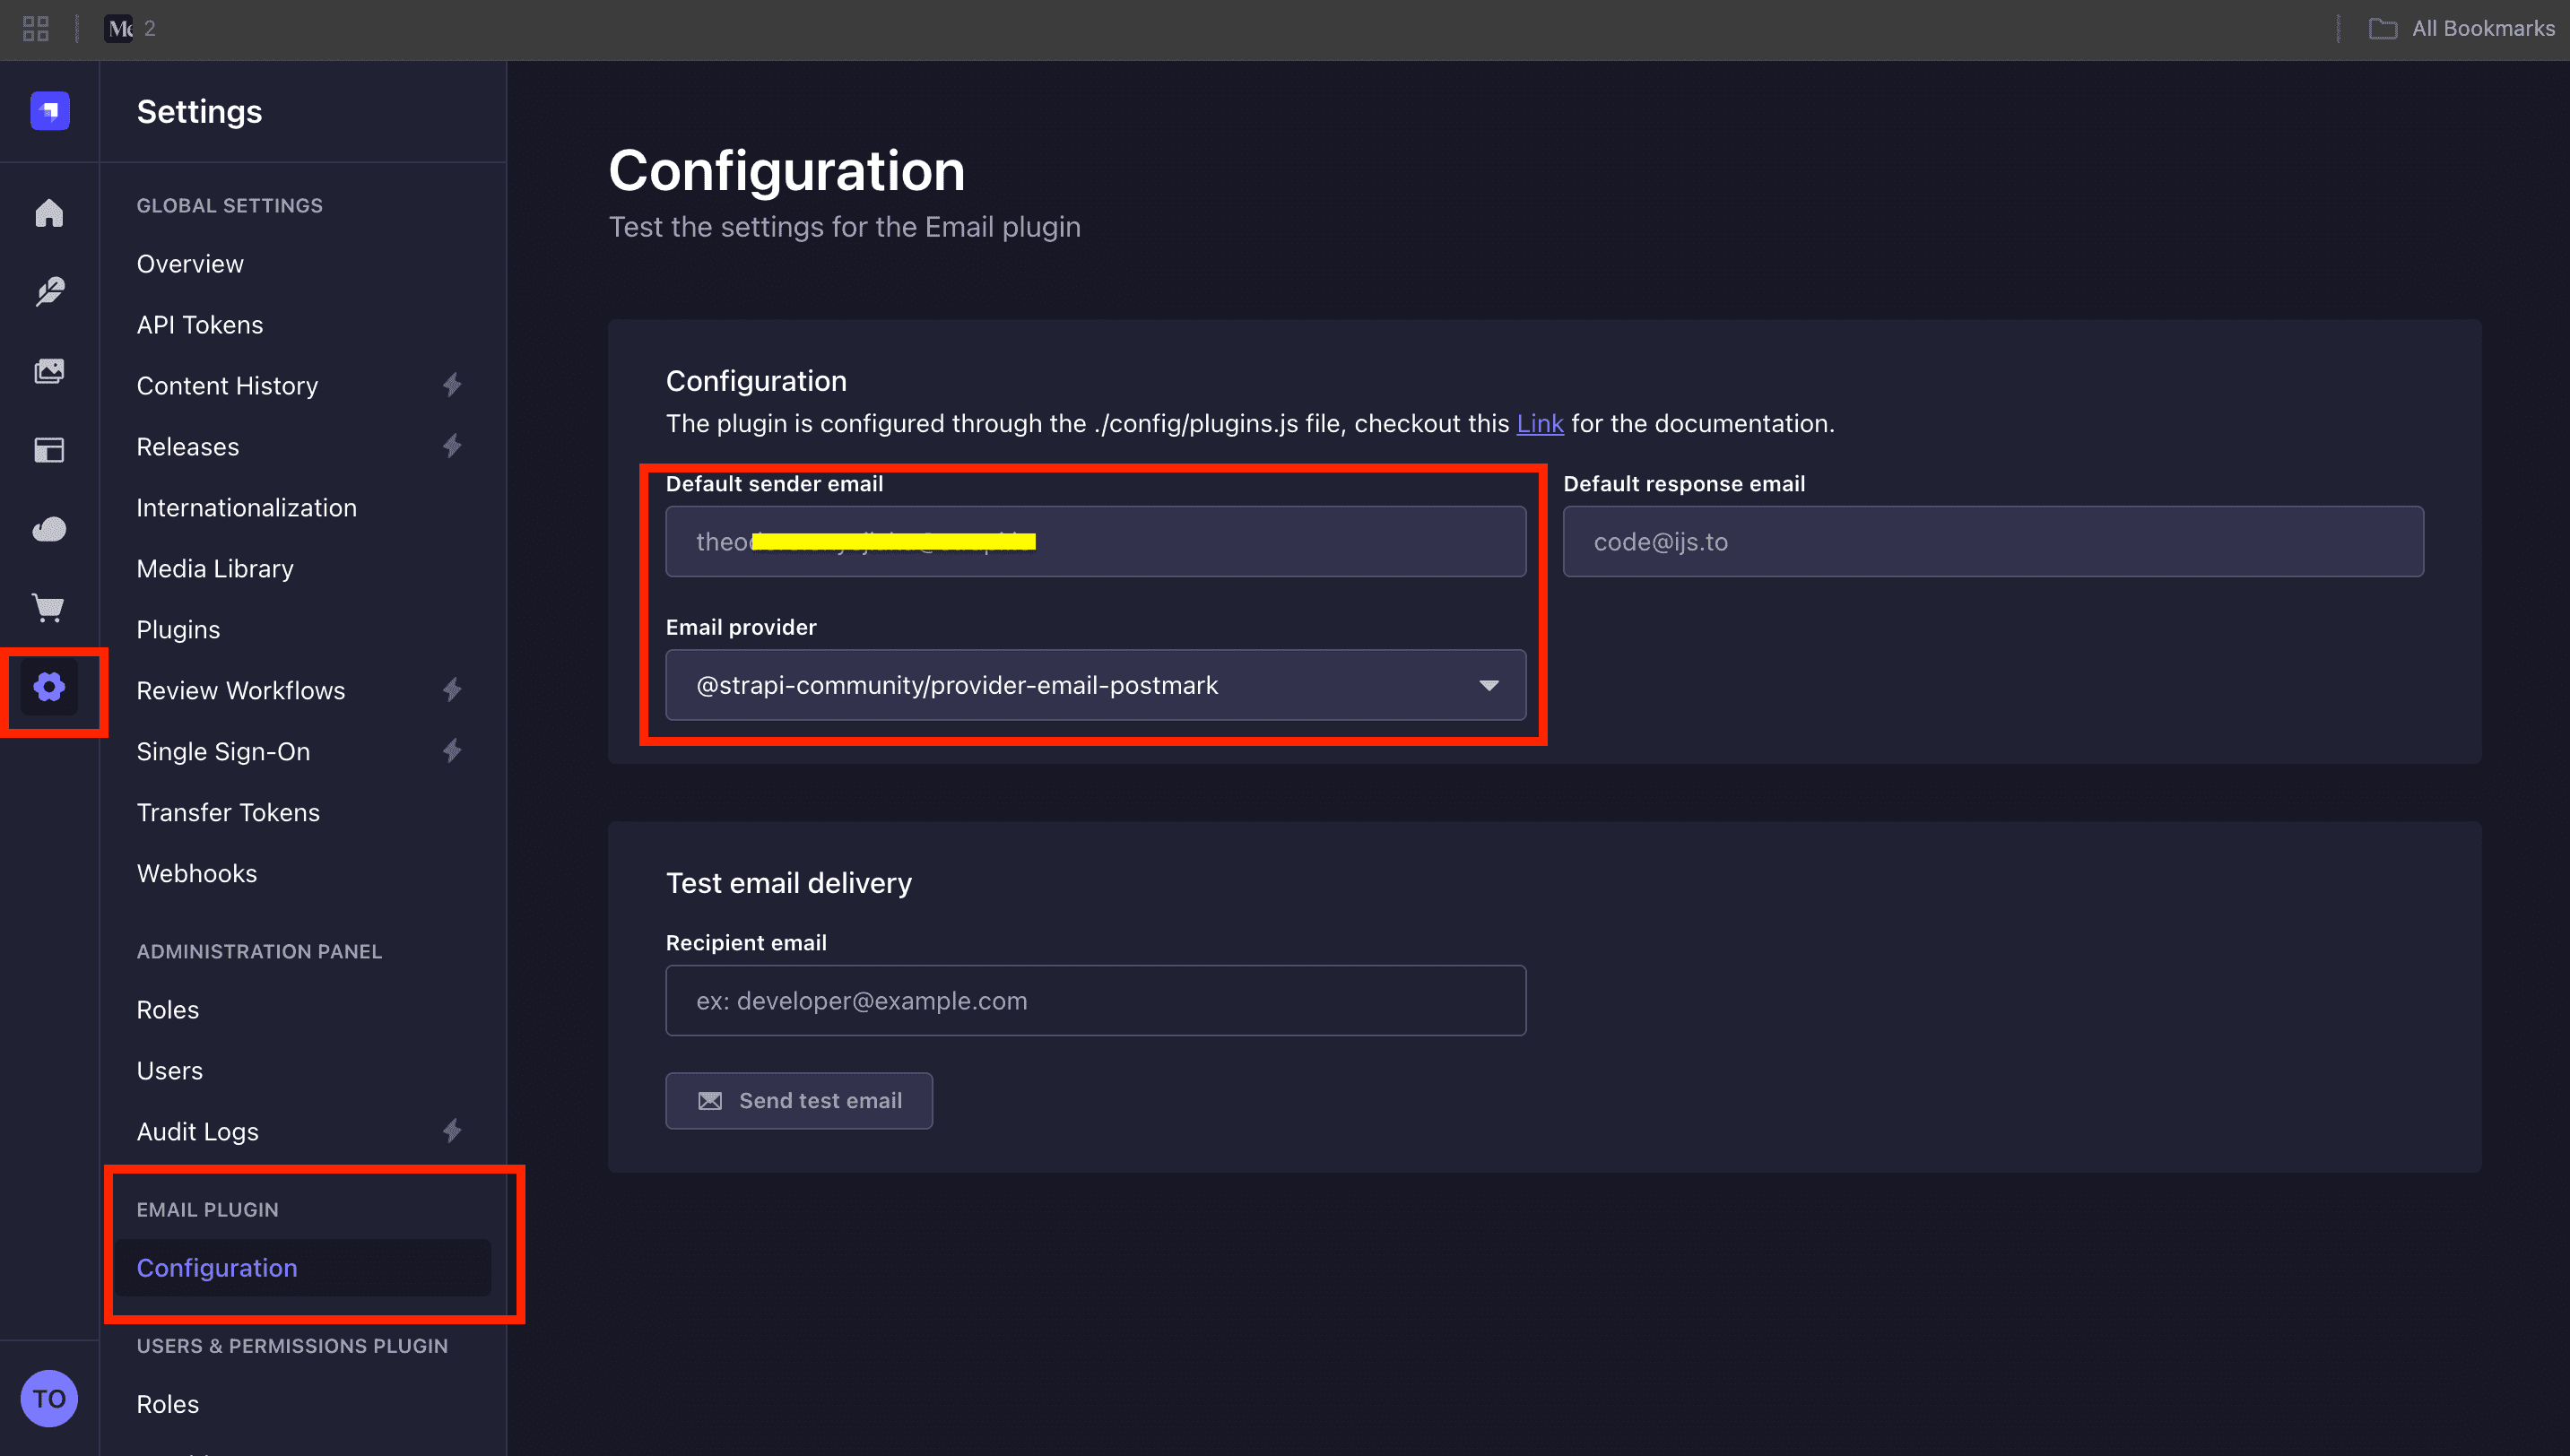
Enter an email address and click the "Send test email". If you get the success toast notification, then you have successfully integrated Postmark in your Strapi application.
Testing in your Strapi Code
For this example, let's use the bootstrap() lifecycle function to send an email.
Locate the ./src/index.ts file and add the following code:
// Path: ./src/index.ts

import type { Core } from "@strapi/strapi";

export default {
  /**
   * An asynchronous register function that runs before
   * your application is initialized.
   *
   * This gives you an opportunity to extend code.
   */
  register(/* { strapi }: { strapi: Core.Strapi } */) {},

  /**
   * An asynchronous bootstrap function that runs before
   * your application gets started.
   *
   * This gives you an opportunity to set up your data model,
   * run jobs, or perform some special logic.
   */
  bootstrap({ strapi }: { strapi: Core.Strapi }) {
    const sendTestEmail = async () => {
      await strapi.plugins.email.services.email.send({
        to: process.env.POSTMARK_EMAIL_ADDRESS,
        text: "Hello Theodore! Testing Postmark and Strapi integration ",
        subject: "Testing Postmark",
      });
    };

    sendTestEmail();
  },
};
👋 NOTE The code above runs every time you start Strapi. So, ensure you remove the
sendTestEmailfunction as we only used it for testing.
Restart your Strapi dev server, and check your email inbox.
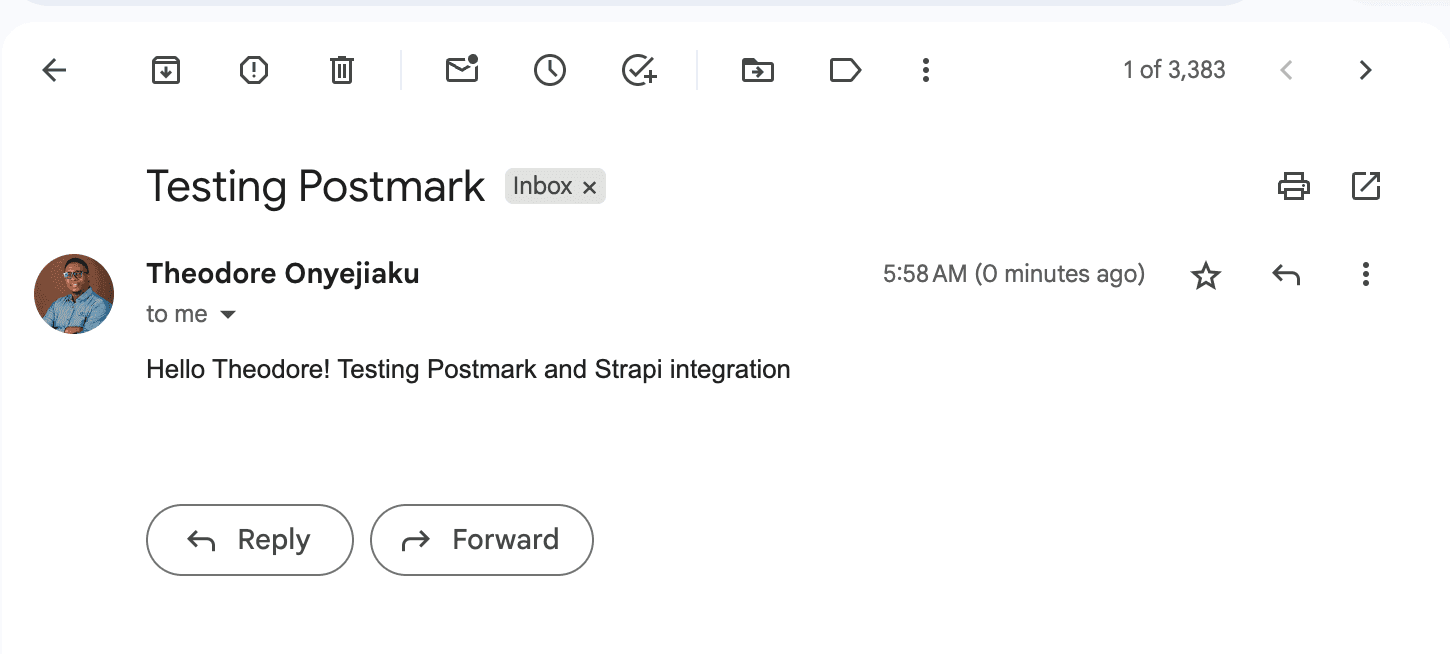
Congratulations! You have successfully integrated Postmark and Strapi!
GitHub Code
For the full code, visit this repository.
Strapi Open Office Hours
If you have any questions about Strapi 5 or just would like to stop by and say hi, you can join us at Strapi's Discord Open Office Hours, Monday through Friday at 12:30 pm - 1:30 pm CST: Strapi Discord Open Office Hours
For more details, visit the Strapi documentation and Postmark documentation.
Frequently Asked Questions
Install the Postmark provider plugin, configure your server token in Strapi's plugins configuration, and set sender details. Postmark focuses on transactional email deliverability.
Postmark specializes in transactional email with industry-leading deliverability. It provides detailed delivery analytics and maintains strict sending reputation for reliable inbox placement.
Yes, Postmark offers a sandbox mode for testing without affecting your sending reputation. Configure your development environment to use the test server token.
Postmark provides real-time delivery events and analytics. Use webhooks to track bounces, opens, and clicks, optionally storing this data in Strapi for analysis.
Yes, Postmark offers both SMTP relay and HTTP API options. The HTTP API is recommended for Strapi integration as it provides better error handling and delivery tracking.