React-admin
Read all about how to integrate React-admin with Strapi.

Integrate React-admin with Strapi
Why Use React-admin?
React-admin is an open-source, low-code framework that accelerates the development of admins, dashboards, and B2B apps. Thanks to its rich library with over 200 components, react-admin allows to bootstrap a fully working admin on top of an existing API in minutes. From authorization to internationalization, including theming and logs, all the usual requirements of B2B applications are covered by react-admin.
This means developers can spend time on the value-adding features. As every component in react-admin can be replaced by a custom component, react-admin offers unlimited flexibility for tailored solutions.
Visit the React-admin documentation for more.
Why Use Strapi?
Strapi is the leading open-source headless CMS offering features, like customizable APIs, role-based permissions, multilingual support, etc. It simplifies content management and integrates effortlessly with modern frontend frameworks.
Explore the Strapi documentation for more details.
Strapi 5 Highlights
The out-of-the-box Strapi features allow you to get up and running in no time:
- Single types: Create one-off pages that have a unique content structure.
- Draft and Publish: Reduce the risk of publishing errors and streamline collaboration.
- 100% TypeScript Support: Enjoy type safety & easy maintainability
- Customizable API: With Strapi, you can just hop in your code editor and edit the code to fit your API to your needs.
- Integrations: Strapi supports integrations with Cloudinary, SendGrid, Algolia, and others.
- Editor interface: The editor allows you to pull in dynamic blocks of content.
- Authentication: Secure and authorize access to your API with JWT or providers.
- RBAC: Help maximize operational efficiency, reduce dev team support work, and safeguard against unauthorized access or configuration modifications.
- i18n: Manage content in multiple languages. Easily query the different locales through the API.
- Plugins: Customize and extend Strapi using plugins.
Learn more about Strapi 5 feature.
Setup Strapi 5 Headless CMS
We are going to start by setting up our Strapi 5 project with the following command:
🖐️ Note: make sure that you have created a new directory for your project.
You can find the full documentation for Strapi 5 here.
Install Strapi
npx create-strapi-app@latest serverYou will be asked to choose if you would like to use Strapi Cloud we will choose to skip for now.
🚀 Welcome to Strapi! Ready to bring your project to life?

...

? Please log in or sign up.
  Login/Sign up
❯ Skip
After that, you will be asked how you would like to set up your project. We will choose the following options:
? Do you want to use the default database (sqlite) ? Yes
? Start with an example structure & data? Yes <-- make sure you say yes
? Start with Typescript? Yes
? Install dependencies with npm? Yes
? Initialize a git repository? Yes
Once everything is set up and all the dependencies are installed, you can start your Strapi server with the following command:
cd server
npm run develop
You will be greeted with the Admin Create Account screen.
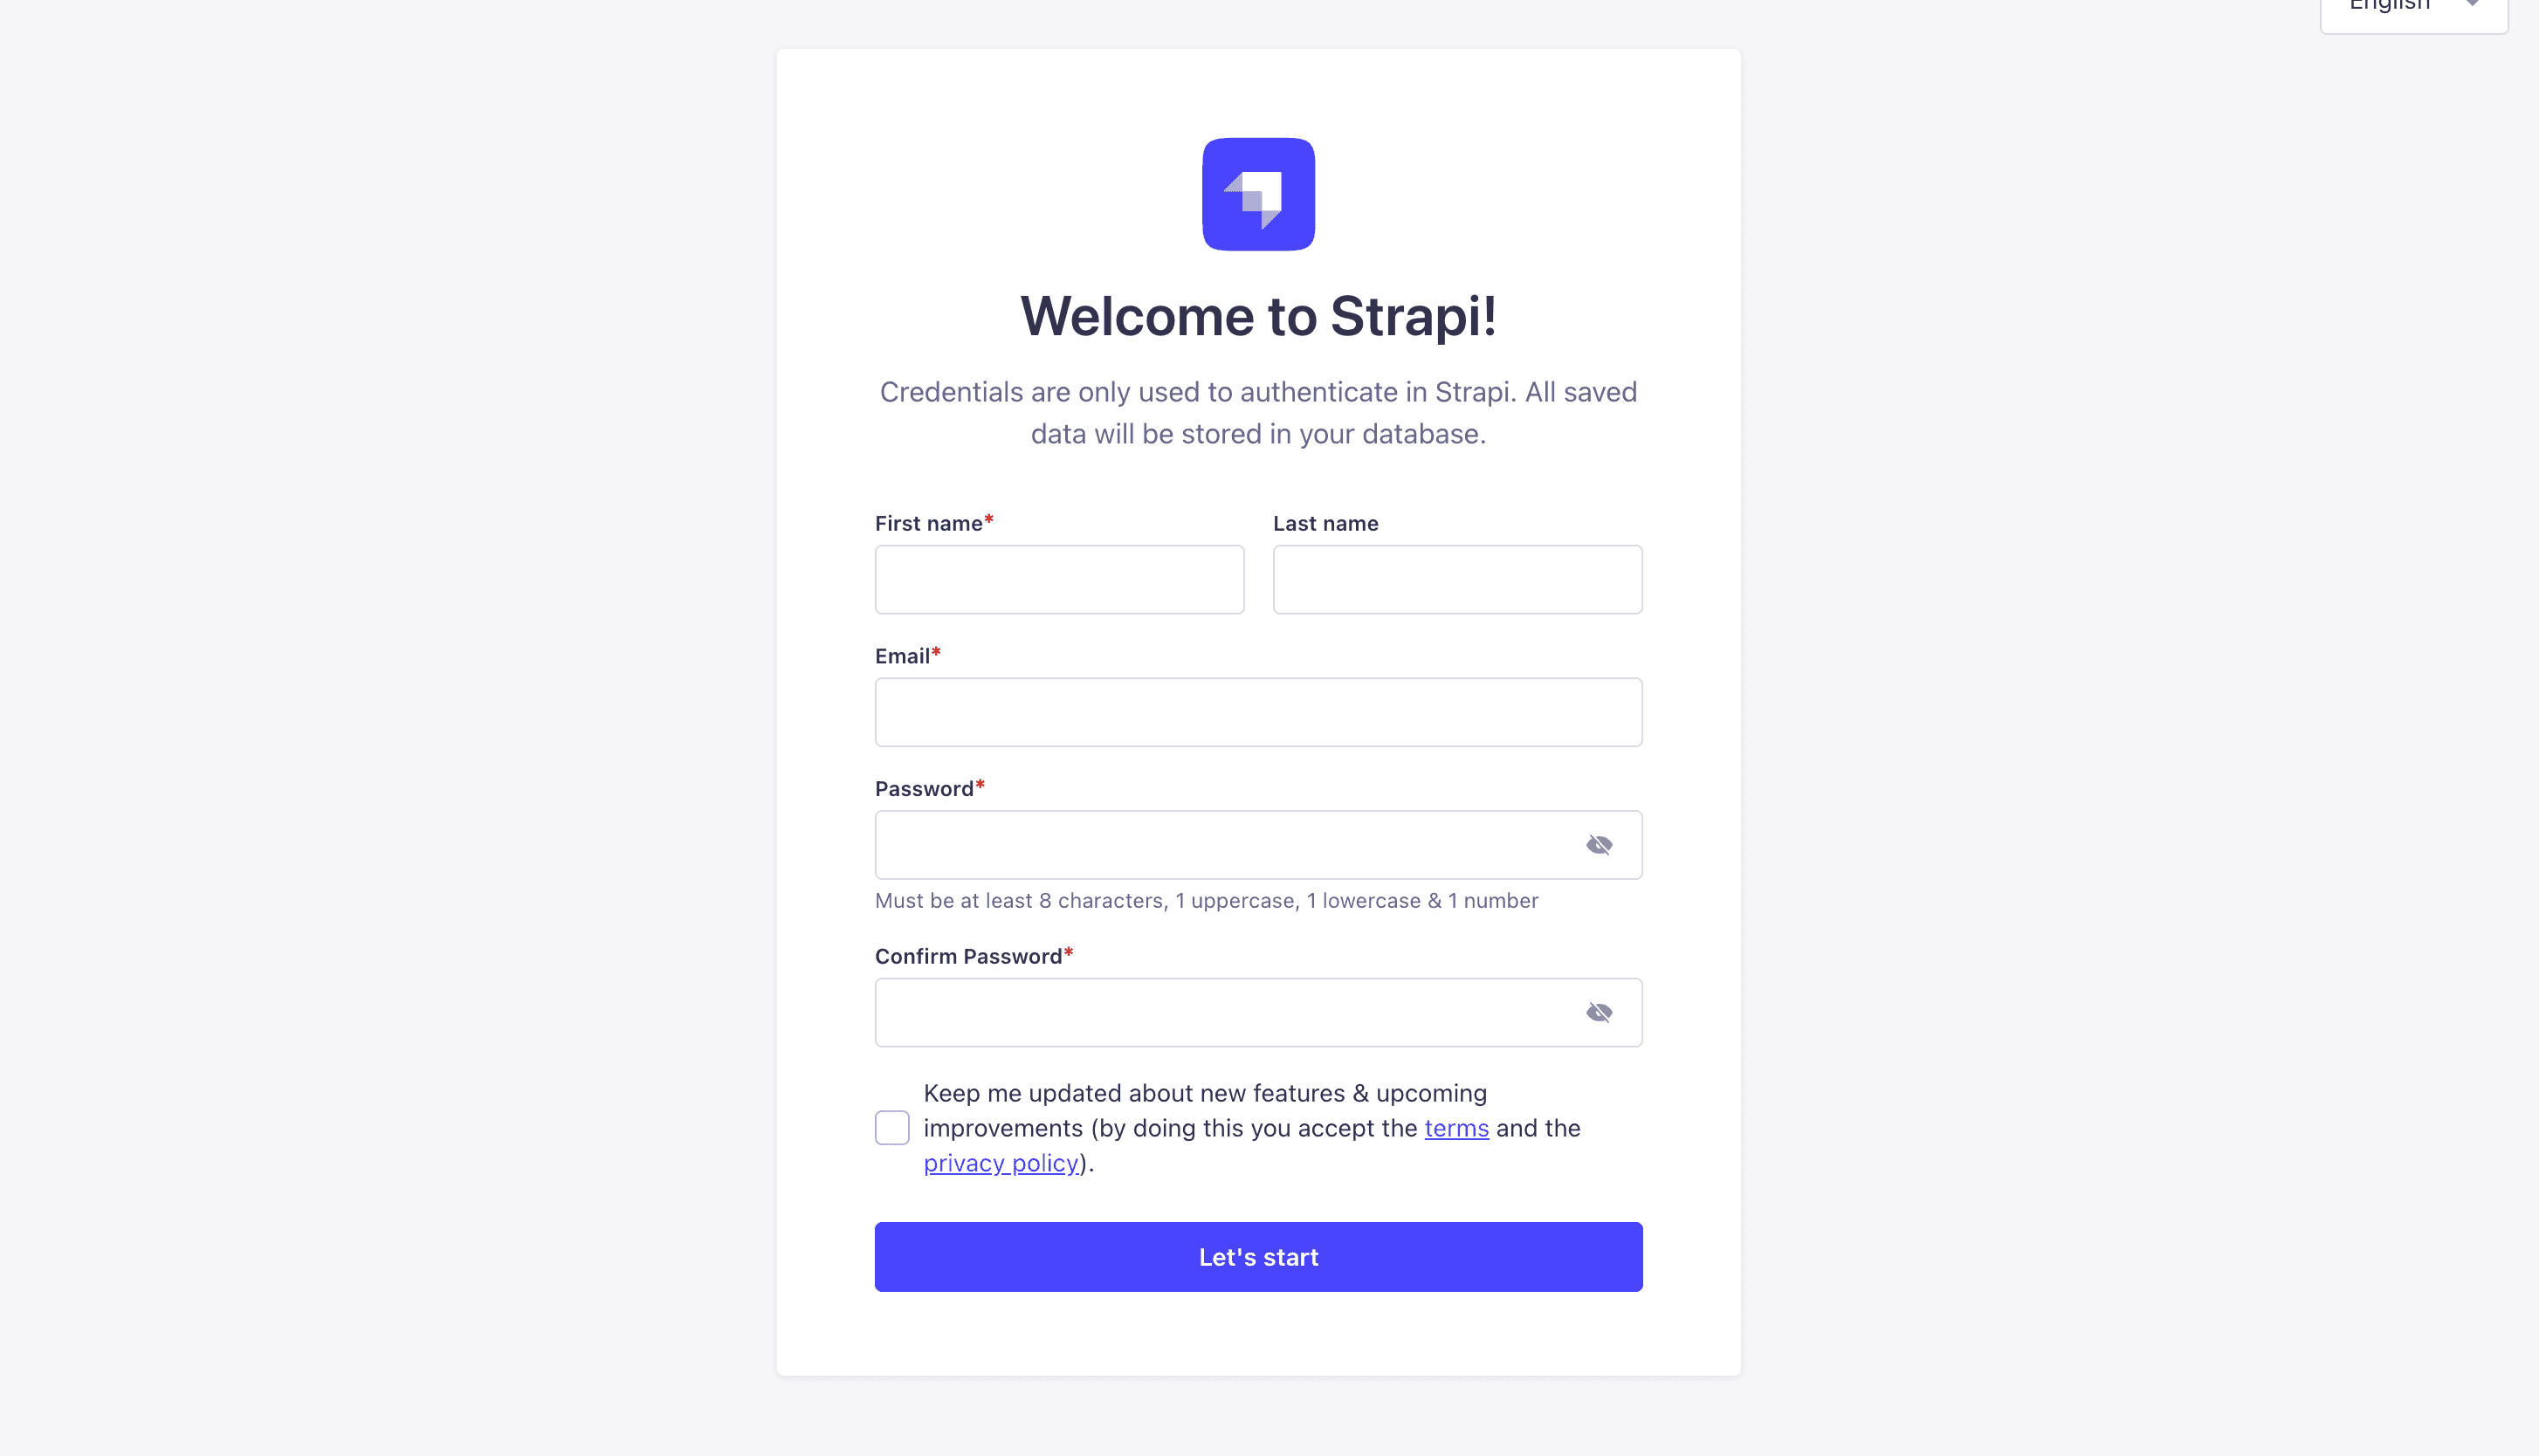
Go ahead and create your first Strapi admin user. All of this is local so you can use whatever you want.
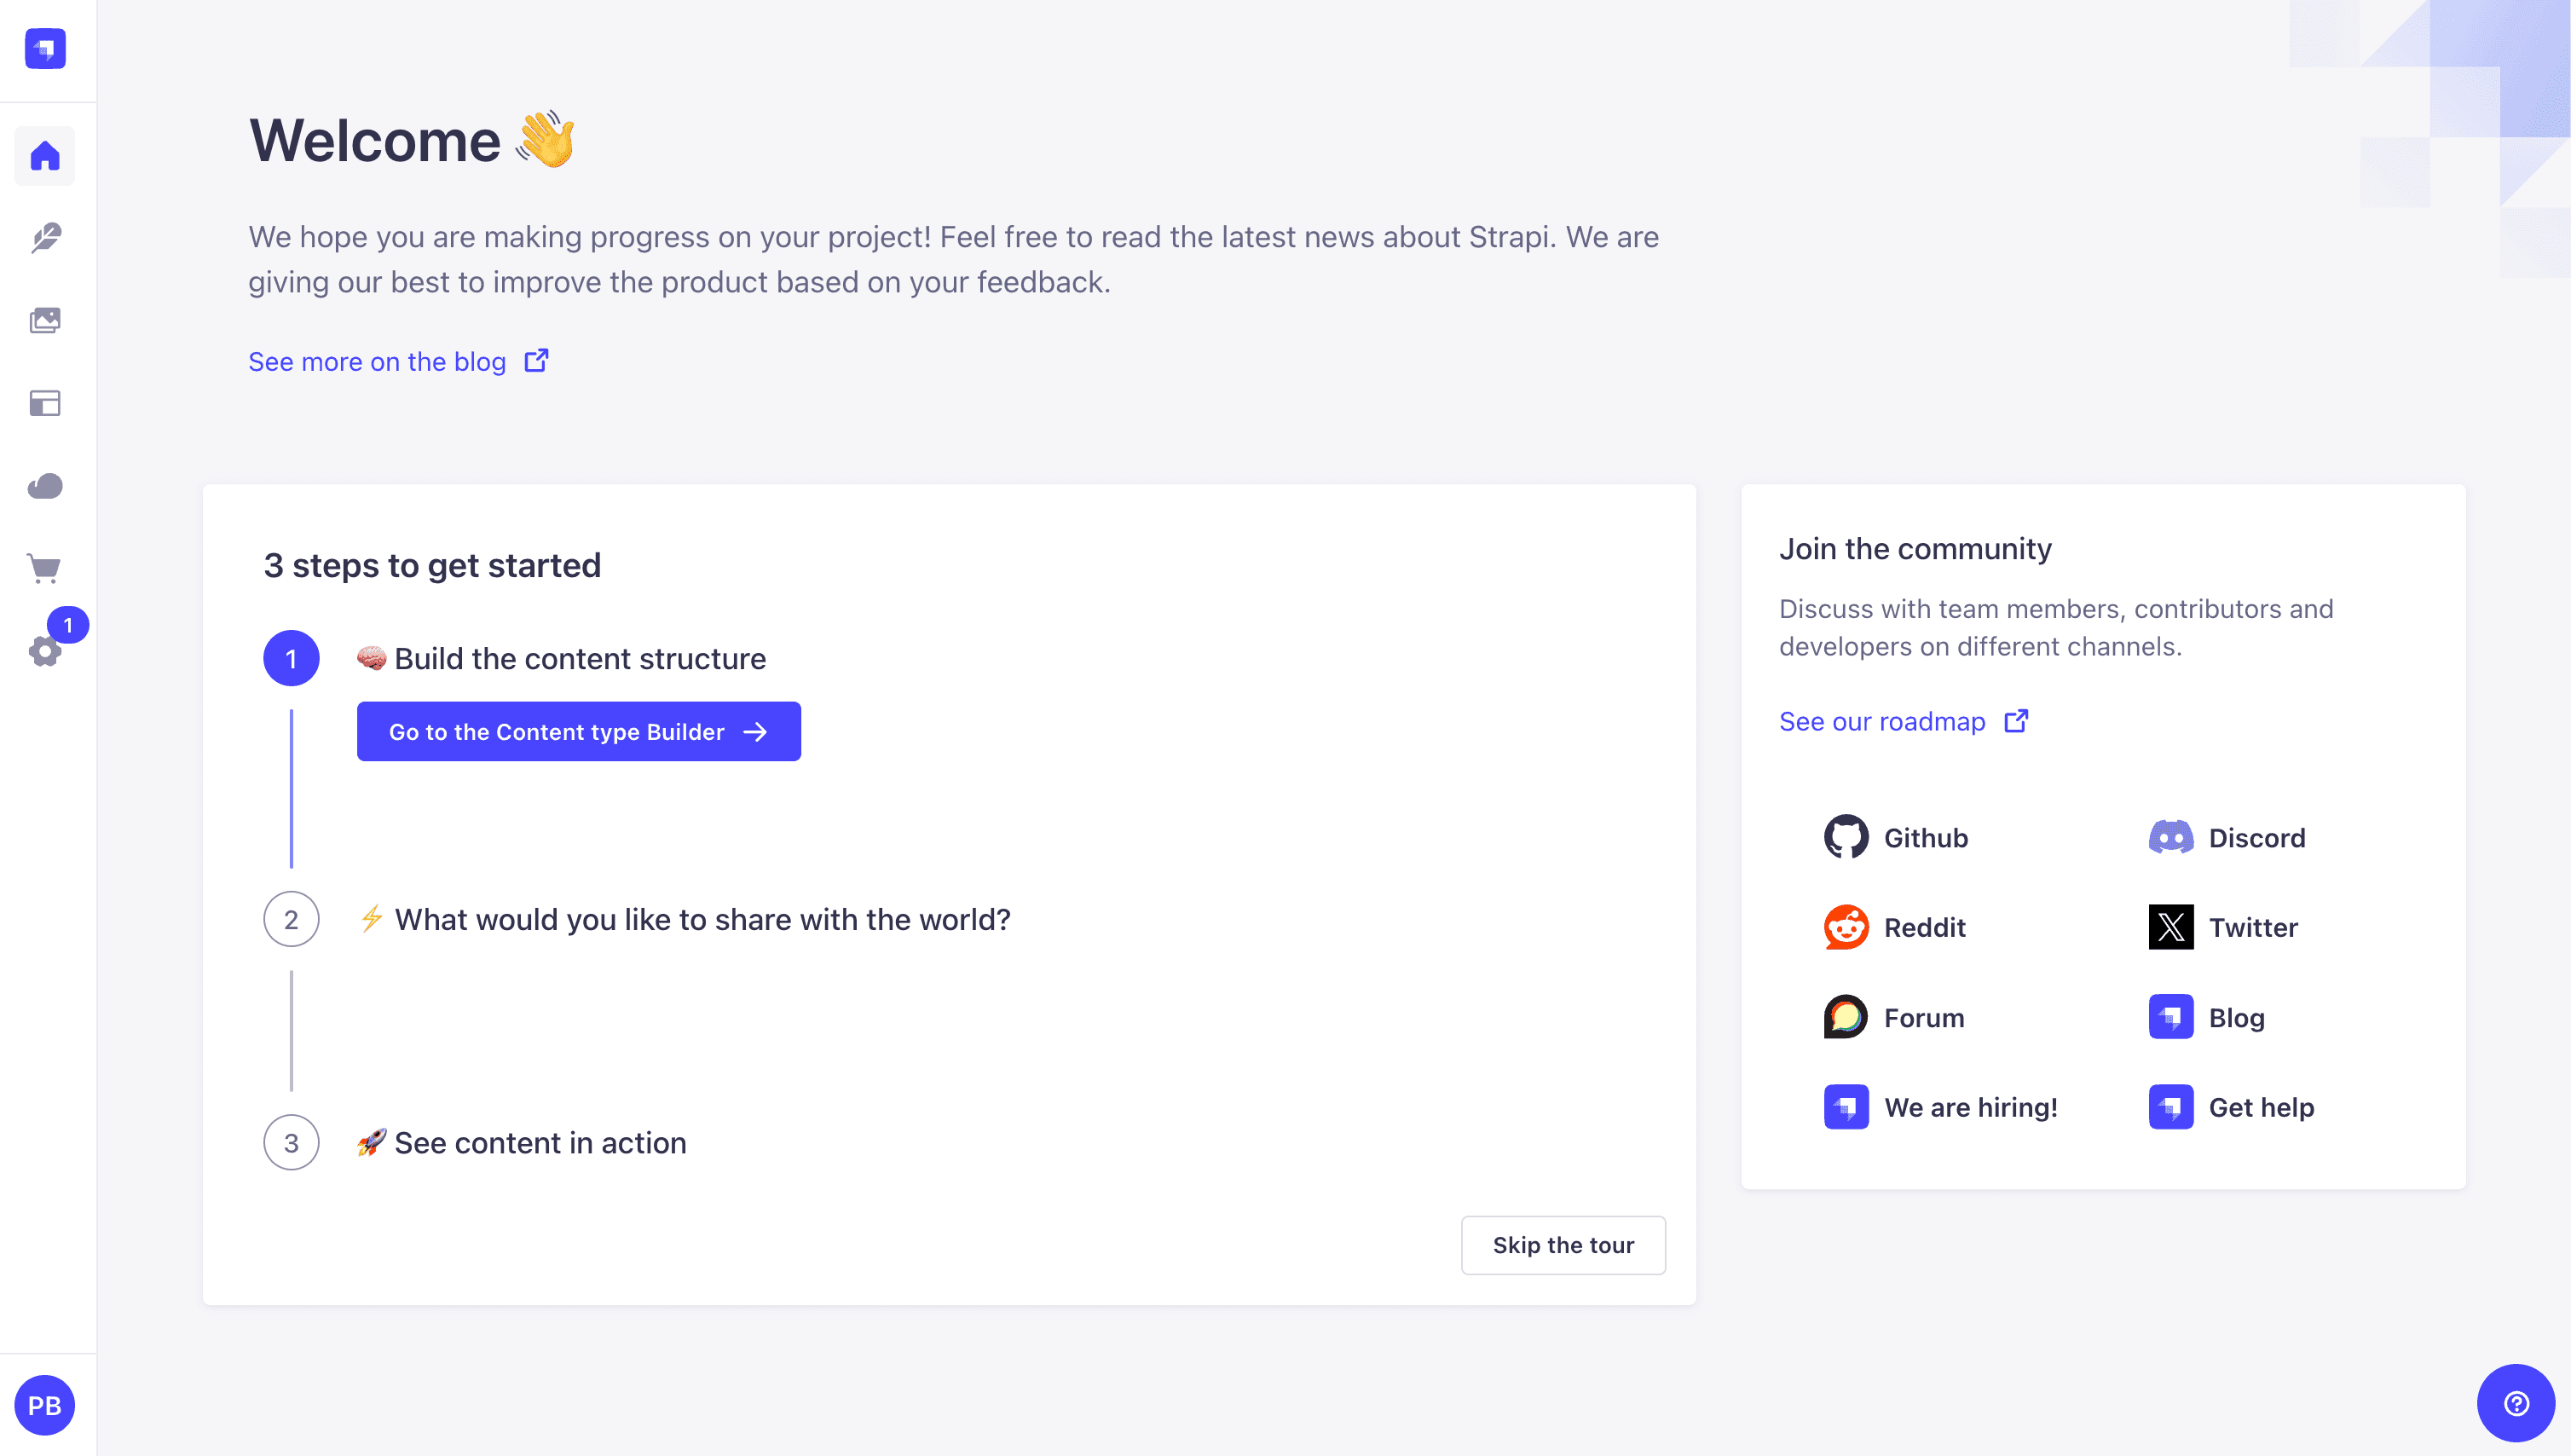
Once you have created your admin user, you will be redirected to the Strapi Dashboard screen.
Publish Article Entries
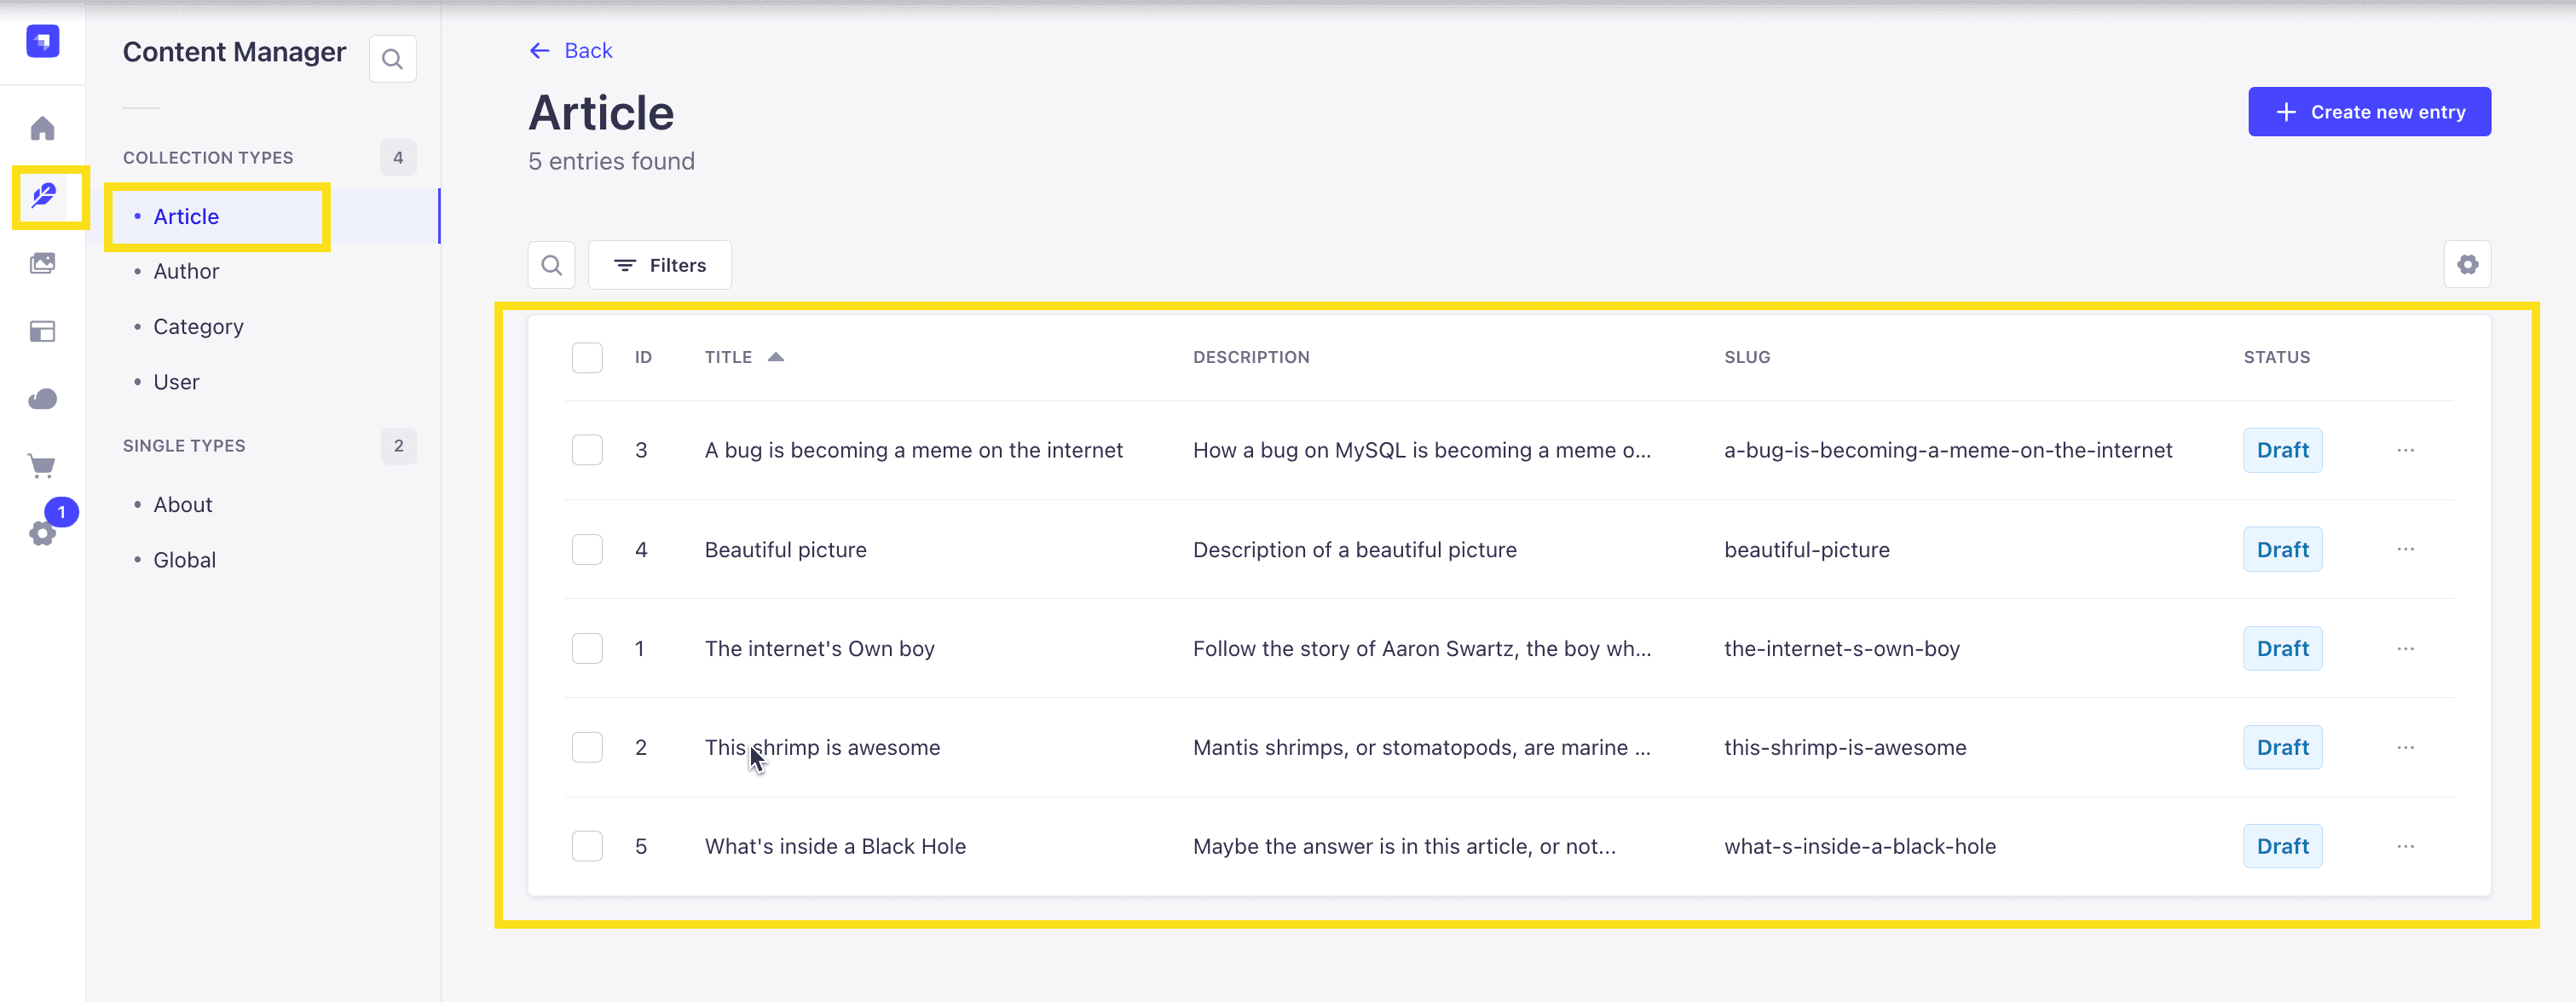
Since we created our app with the example data, you should be able to navigate to your Article collection and see the data that was created for us.
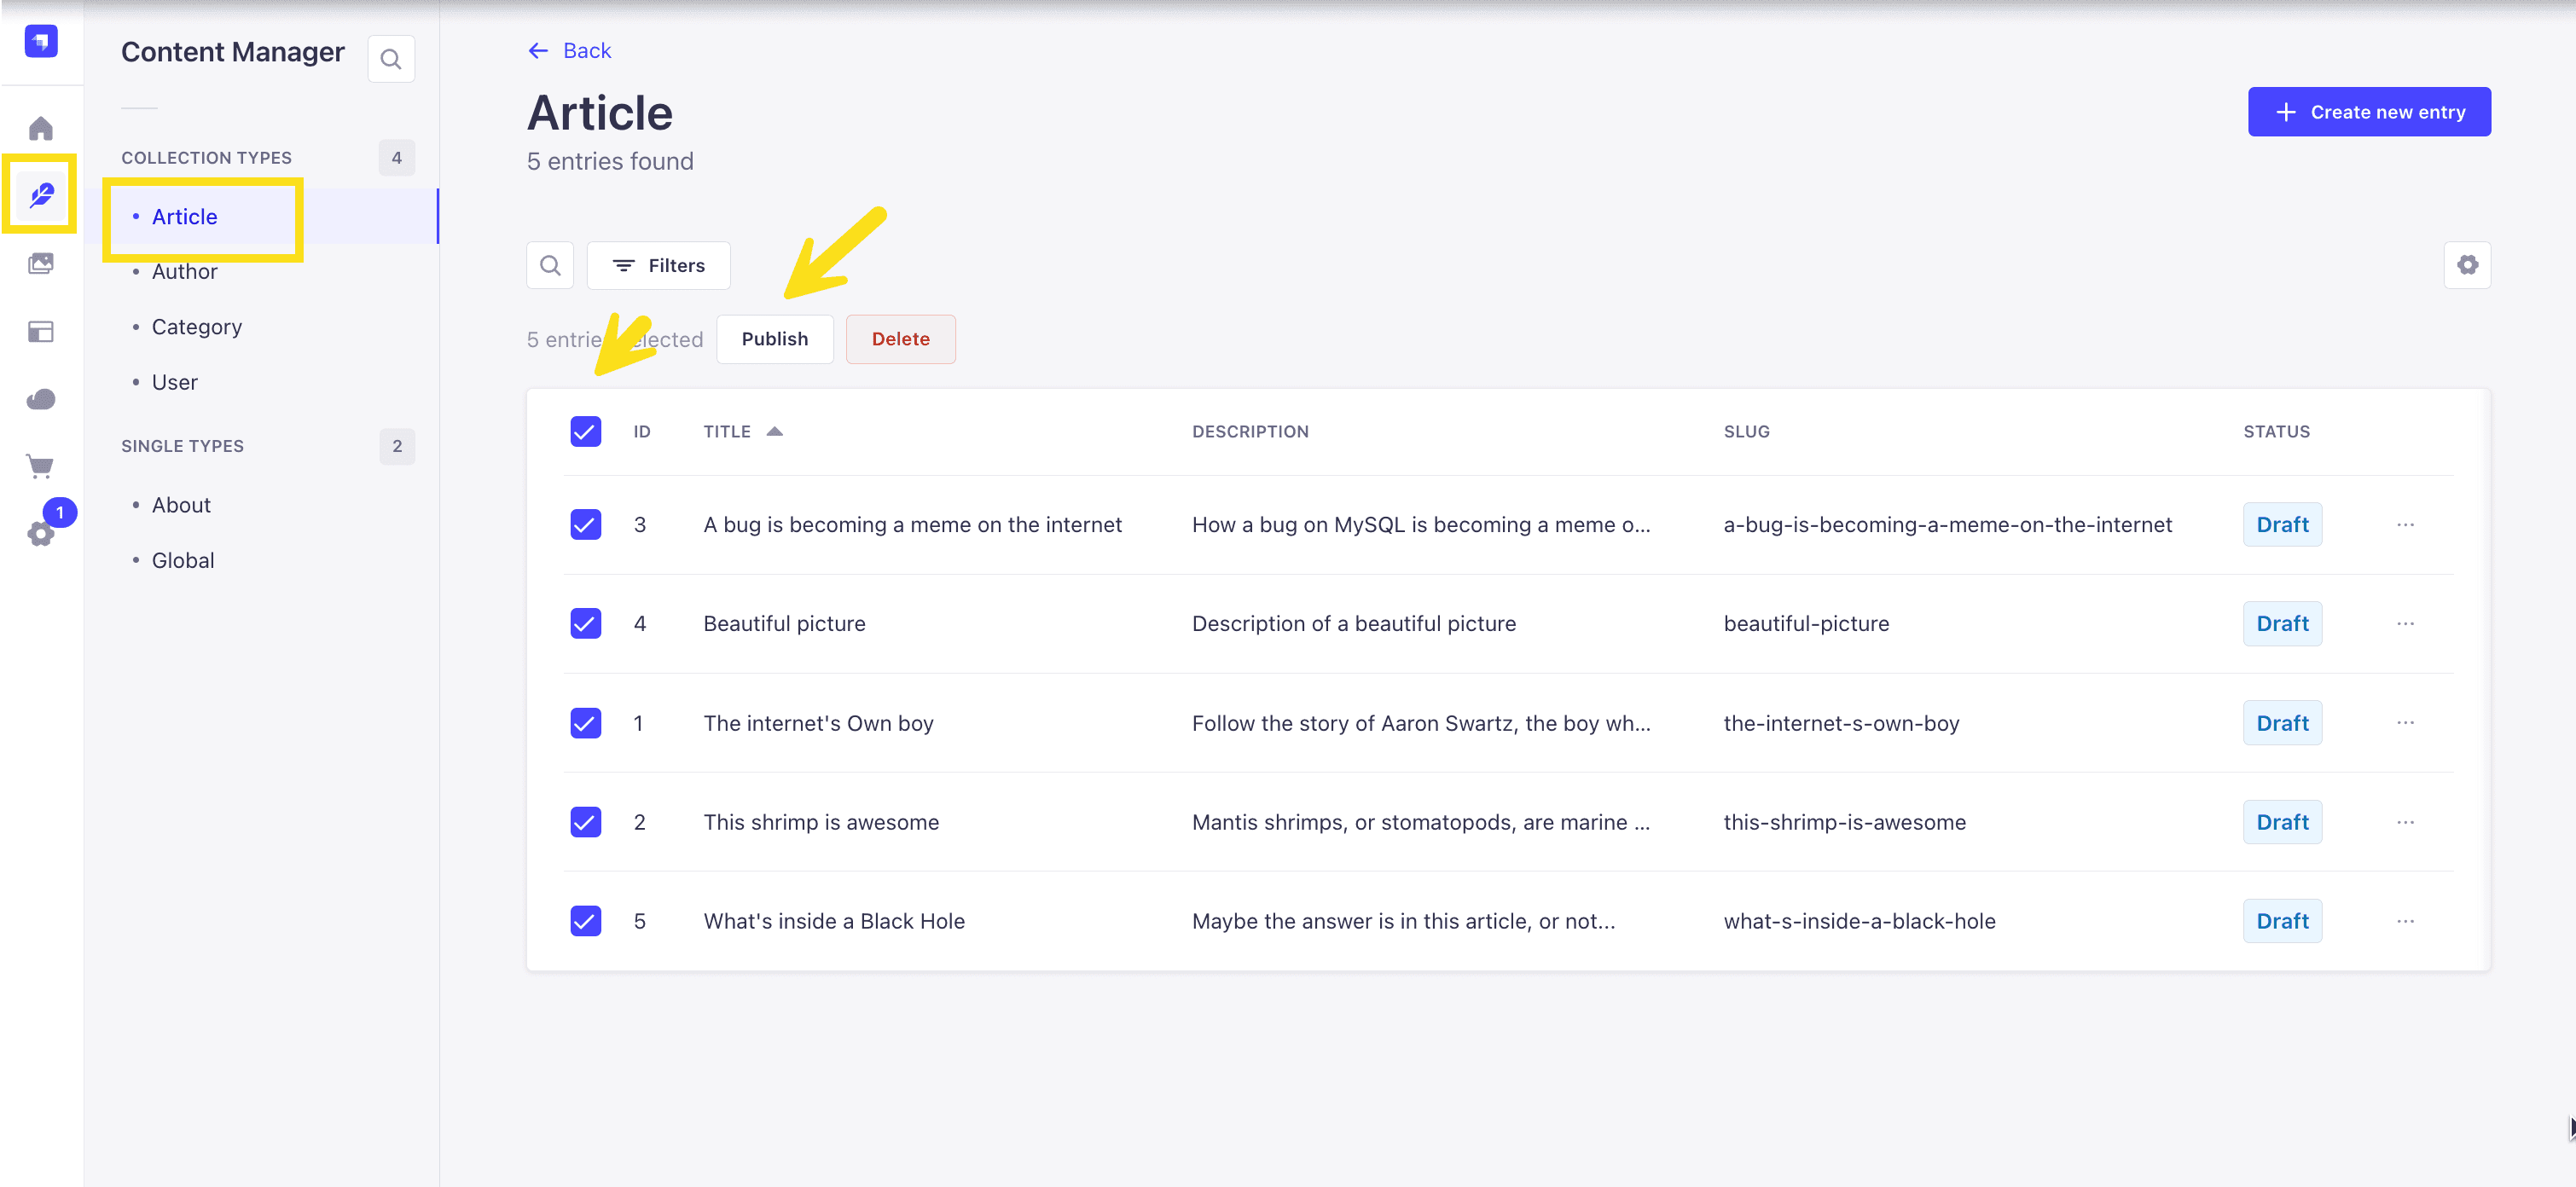
Now, let's make sure that all of the data is published. If not, you can select all items via the checkbox and then click the Publish button.
Enable API Access
Once all your articles are published, we will expose our Strapi API for the Articles Collection. This can be done in Settings -> Users & Permissions plugin -> Roles -> Authenticated -> Article.
Select all the options.
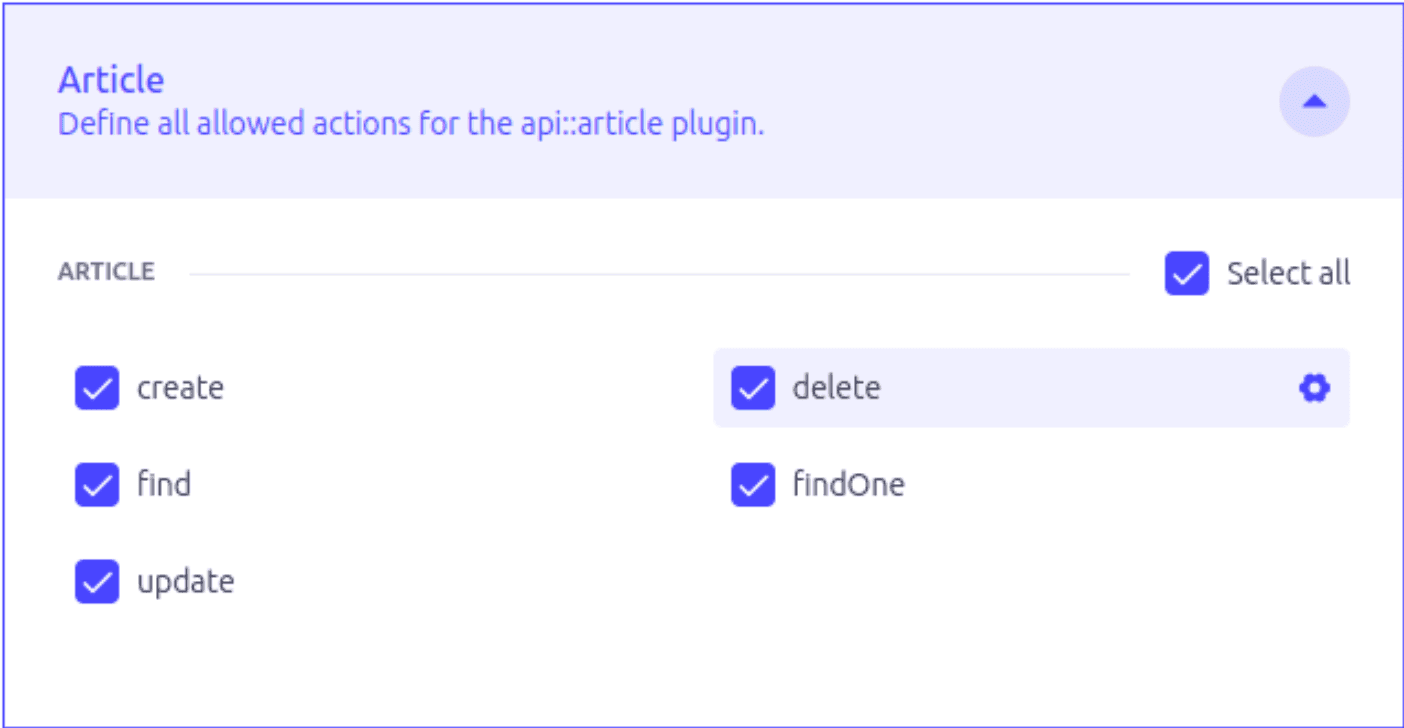
Do the same for Author and Category
Create a User
We want to create a user (not an admin one) in order to connect to access the API. To to Content Manager -> Collection types -> User. Create one making sure that you give it the Authenticated role.
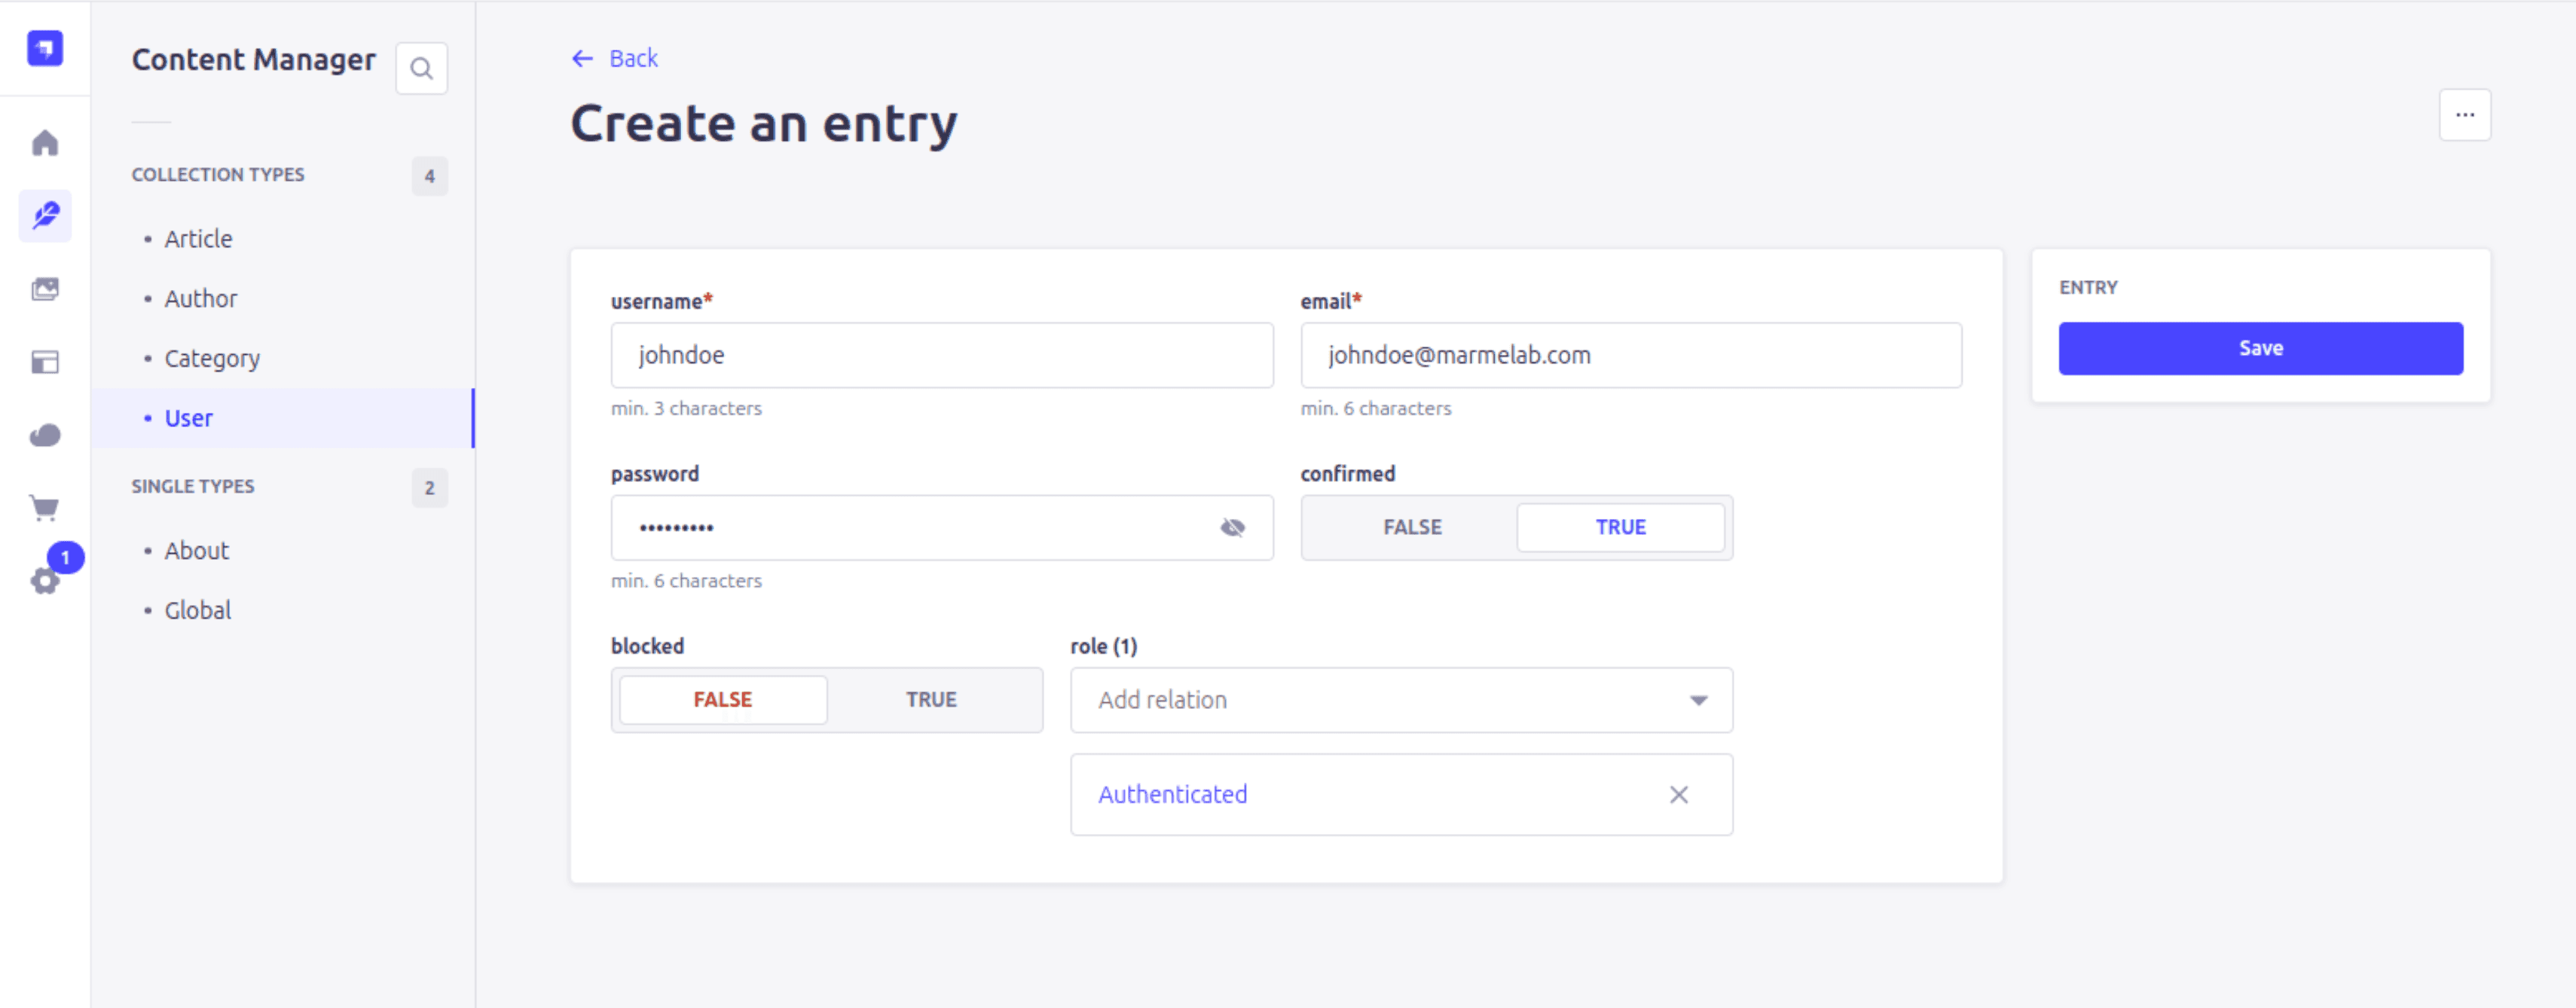
Nice, now that we have our Strapi 5 server setup, we can start to setup our React-admin application.
Getting Started with React-Admin
Install React-Admin
First we bootstrap a react-admin project using the create-react-admin cli:
npx create-react-admin@latest strapi-app --resource articlesThis should create a new directory, generate a new react-admin app, and install the dependencies:
Your application strapi-app was successfully generated.

To start working, run cd strapi-app.
Start the app in development mode by running npm run dev.
Configure the Strapi Dataprovider
Go to the newly created folder and install the ra-strapi package:
cd strapi-app
npm install ra-strapi
Open the strapi-appfolder with your favorite IDE and edit the src/App.tsx file:
import {
  Admin,
  Resource,
  ListGuesser,
  EditGuesser,
  ShowGuesser,
+ LoginWithEmail,
} from "react-admin";
+import {
+ strapiDataProvider,
+ strapiAuthProvider,
+ strapiHttpClient,
+} from "ra-strapi";
import { Layout } from "./Layout";


+const STRAPI_URL = "http://localhost:1337";
+const authProvider = strapiAuthProvider({ baseURL: STRAPI_URL });
+const httpClient = strapiHttpClient();
+const dataProvider = strapiDataProvider({ baseURL: STRAPI_URL, httpClient });

export const App = () => (
  <Admin
    layout={Layout}
+   dataProvider={dataProvider}
+   authProvider={authProvider}
+   loginPage={LoginWithEmail}
  >
    <Resource
      name="articles"
      list={ListGuesser}
      edit={EditGuesser}
      show={ShowGuesser}
    />
  </Admin>
);
Let's break down what we did there:
const authProvider = strapiAuthProvider({ baseURL: STRAPI_URL });: Use the Strapi authentication.const httpClient = strapiHttpClient();: Use the Strapi httpClient to include the JWT in each Strapi request.const dataProvider = strapiDataProvider({ baseURL: STRAPI_URL, httpClient });: Use the Strapi adapter for gthe data API.loginPage={LoginWithEmail}: Use the React-admin built-in Login form.
Change the Default Port
By default, the react-admin app starts on a port already taken by Strapi. To avoid this, edit the vite.config.ts:
export default defineConfig(({ mode }) => ({
  plugins: [react()],
  server: {
    host: true,
+   port: 8080,
  },
  build: {
    sourcemap: mode === "developement",
  },
  resolve: { alias },
  base: "./",
}));
Start the React-admin Project
npm run devNow go to http://localhost:8080:
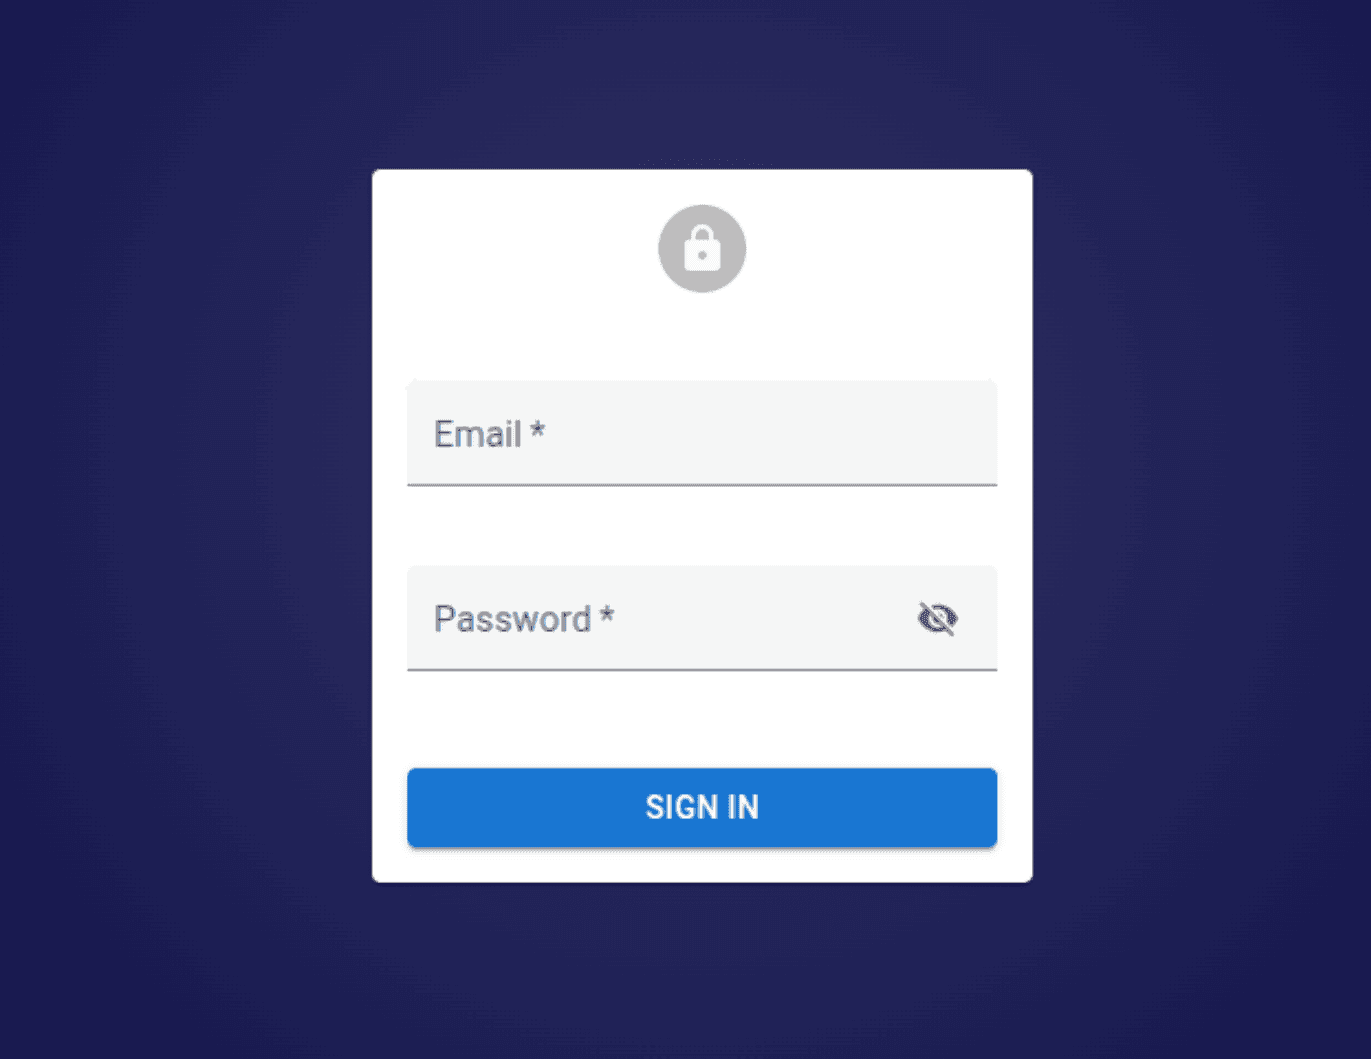
Log in with the previously created user (not the admin one), and you can now list, filter, paginate, reorder, update, and delete articles.
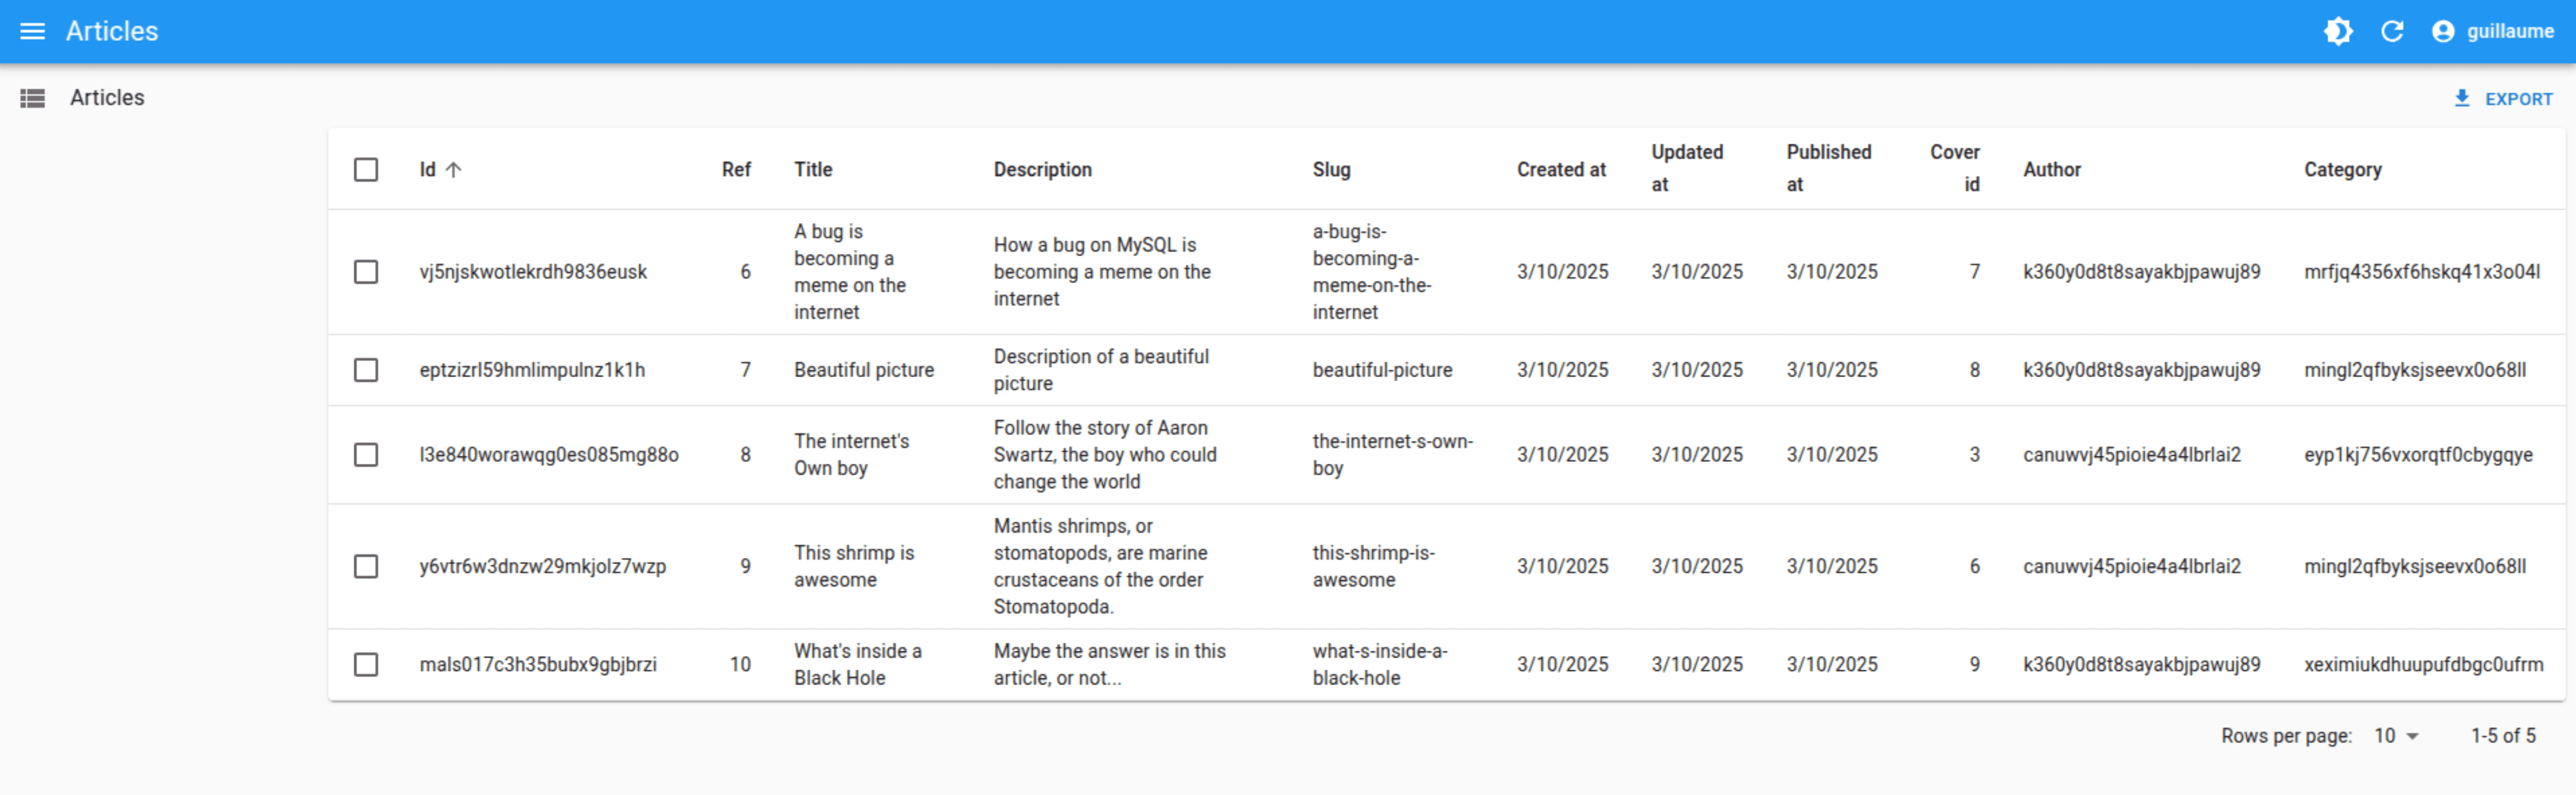
React-admin used API introspection to guess the Strapi data model and generate a working admin. You're now ready to go customize the interface using any of the 200+ components of react-admin.
Github Project Repo
You can find a fully working example in the marmelab/ra-strapi GitHub repository.
Strapi Open Office Hours
If you have any questions about Strapi 5 or just would like to stop by and say hi, you can join us at Strapi's Discord Open Office Hours Monday through Friday at 12:30 pm - 1:30 pm CST: Strapi Discord Open Office Hours
For more details, visit the Strapi documentation and React-admin documentation.